
Channel Migration
Summary
Migration moves the channel to another project.
Use migration when a channel must be managed in another project: for example, after splitting teams, moving a client, or changing account structure. Before transfer, check that the target project has the required agents, members, and tariff capabilities.
Steps
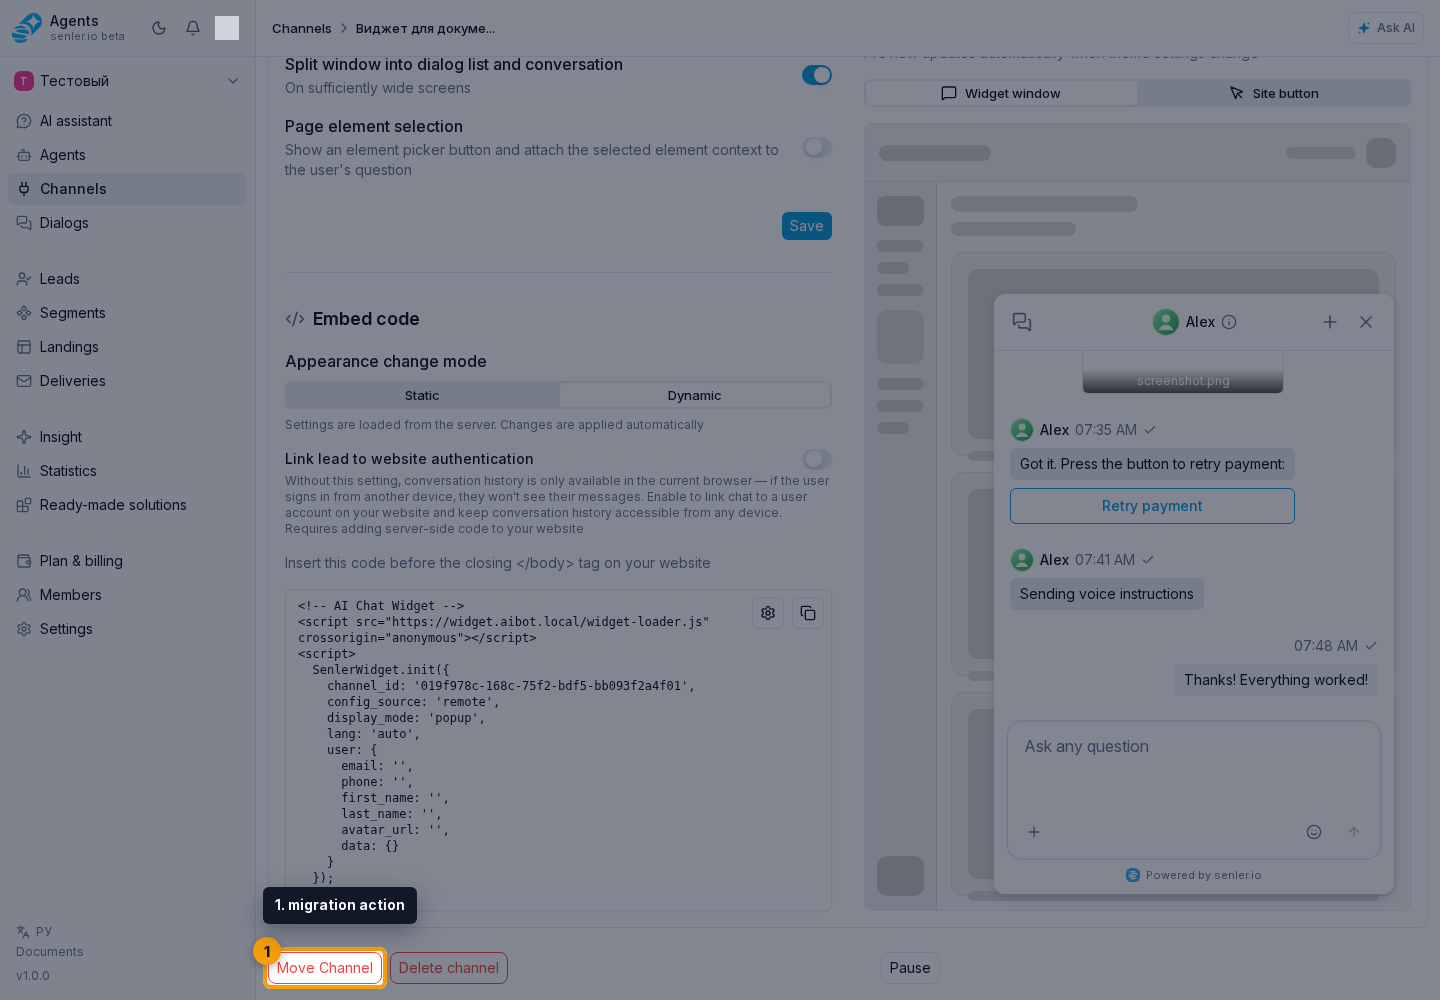
- Open the required channel settings and click the migration action.
- In the migration wizard, find a project through search and choose the target project. The current project is not shown in the list.
- Wait for the estimate of leads, dialogs, events, and approximate transfer time.
- Choose the amount of history to transfer.
- Click Next and check the channel, target project, and estimate again.
- Click Start migration. After the start, the channel may be temporarily unavailable, and the wizard does not provide a way to cancel the transfer.
History options
- do not transfer;
- within 1 month;
- within 6 months;
- for 1 year;
- within 2 years;
- the whole history.
Migration status
The migration status is visible in the source and target channel settings. The cabinet can show preparation, transfer, error, completion, and current progress: percentage, how many items have been processed, and how many are planned in total.
In the channel list, a migration badge may appear next to the channel. For the source channel it shows that the channel is being migrated; for the target channel it shows that the channel is waiting for data or receiving the transfer. On the settings page, a migration banner appears instead of the normal interface.
While transfer is running, some channel actions may be limited. If working availability is needed sooner, use fast finish when the cabinet offers this action.
Finish Now
The "Finish now" action makes the channel available in the target project sooner and transfers the remaining history in a separate backfill. This is useful when continuing work with the channel quickly is more important than waiting for the full transfer of old dialogs.
The Finish now button is available only on the target channel and only while migration is active. After clicking it, the cabinet shows that migration will finish after the current step completes safely. Until then, the channel may remain temporarily unavailable.
History backfill after fast finish
After fast finish, the target channel settings may show a history backfill block. It may be collapsed at first: click Show to see the estimate. The block shows how many leads, dialogs, and events remain to transfer, the approximate time, and the date until which backfill can be started.
If the estimate is available, click Backfill history. After the start, the banner changes to "History backfill is running": the new channel keeps working, and old history appears as the background operation completes.
Track the backfill in project background processes and do not start another migration of the same channel until the current operation finishes.
Warning
- migration may take time;
- access to the channel and agents after the transfer depends on the settings of the target project;
- fast finish may leave part of the old history for backfill;
- before migration, you should check the participants, agents and tariff of the target project.
After migration finishes, check channel settings, assigned agents, message history, and webhook. If history was transferred or backfill was started, make sure old dialogs are available in the new project.
Where this is in the interface
Main elements in this section:
- channel list
- Channels item in the side menu
- channel settings page
- open the migration wizard
- channel migration wizard
- target project search
- target project
- history amount to transfer
- continue to confirmation
- start migration
- migration status and progress
- fast finish
- history backfill
- show the backfill estimate
- start backfill