
Landings
Landings
A landing is a separate subscription page. It owns presentation, public-list visibility, button actions, and channel launch methods. Target subscribers and consents belong to segments. In the project menu, open Landings.
Creation and list
To create a landing:
- In the project menu, open Landings.
- On the landings page, select Add.
- Enter the page name.
- Select Create. The editor opens with an initial Cover block, and the initial page version is published immediately.
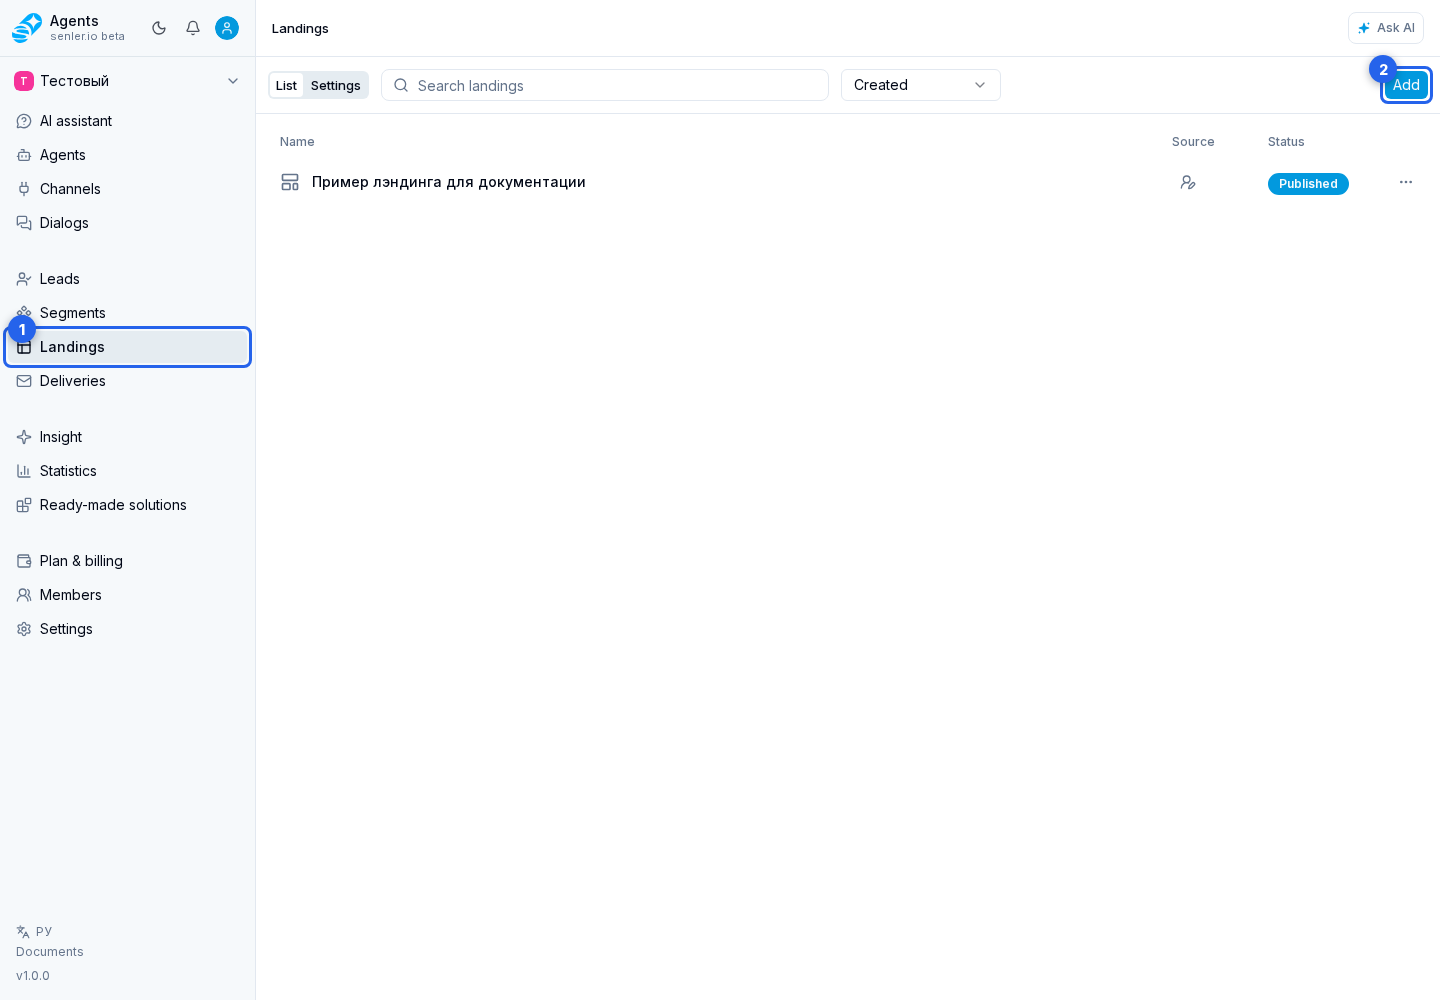
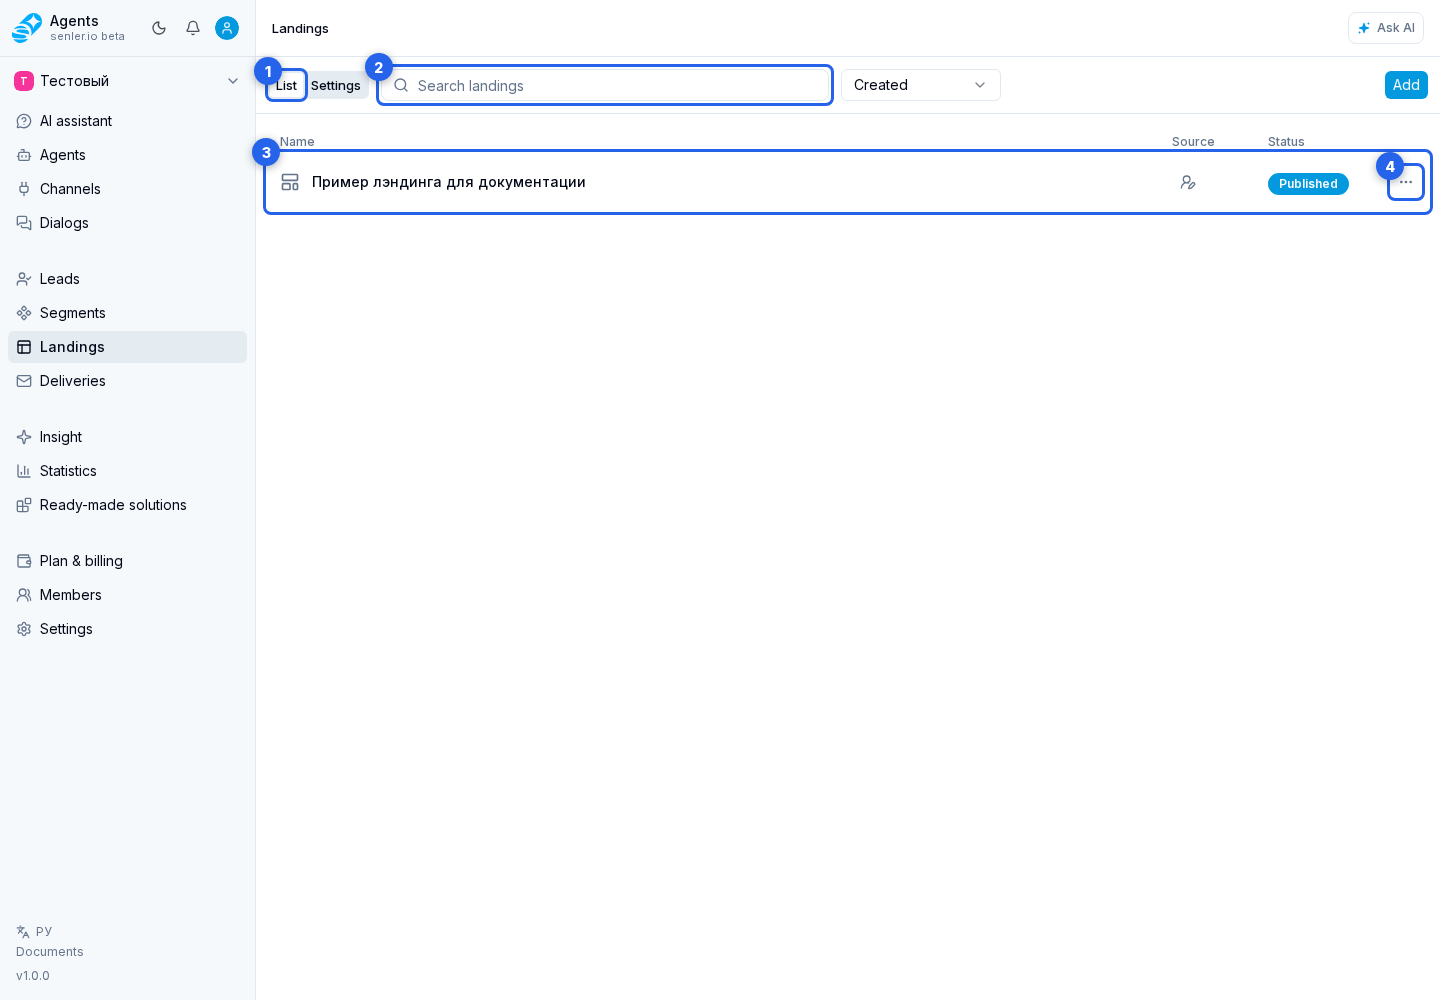
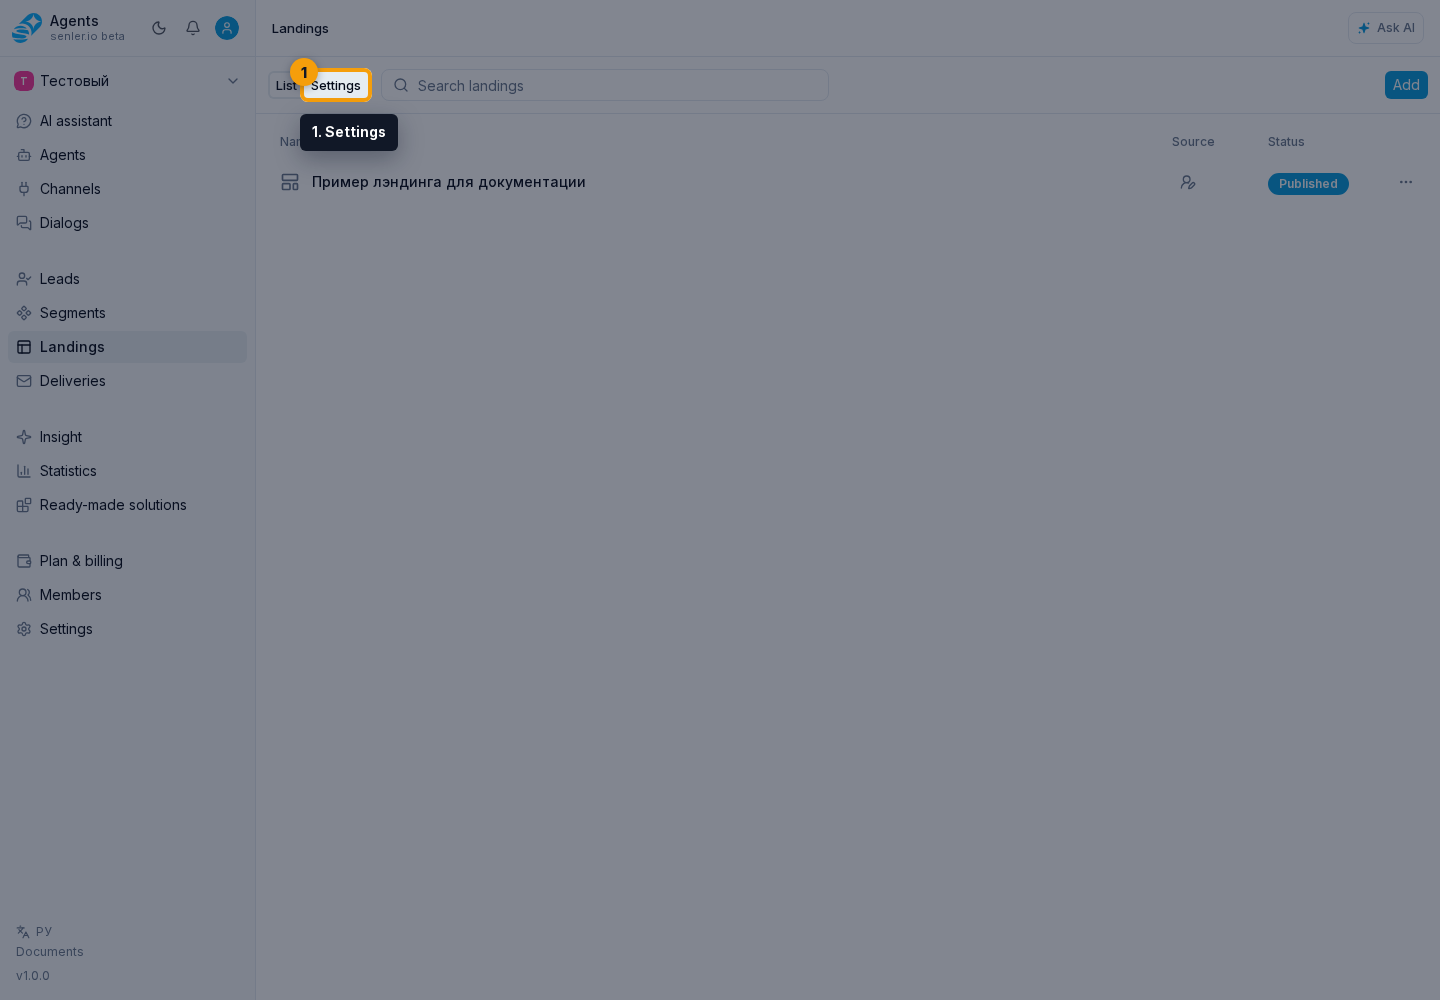
Use the List and Settings tabs to switch between the list and shared launch settings. The list provides search and landings with Published or Draft status. In the Source column, the manual creation icon identifies a standalone page, while the agent icon identifies an agent subscription page.
Select a row to open its page. The row menu can edit, copy, or delete it.
Select the agent icon in the Source column to view the agent's name and state or open its settings. Selecting that page's row opens the subscription page tab in the agent form directly. This landing is managed together with the agent, so it cannot be copied or deleted from the list menu.
Page settings
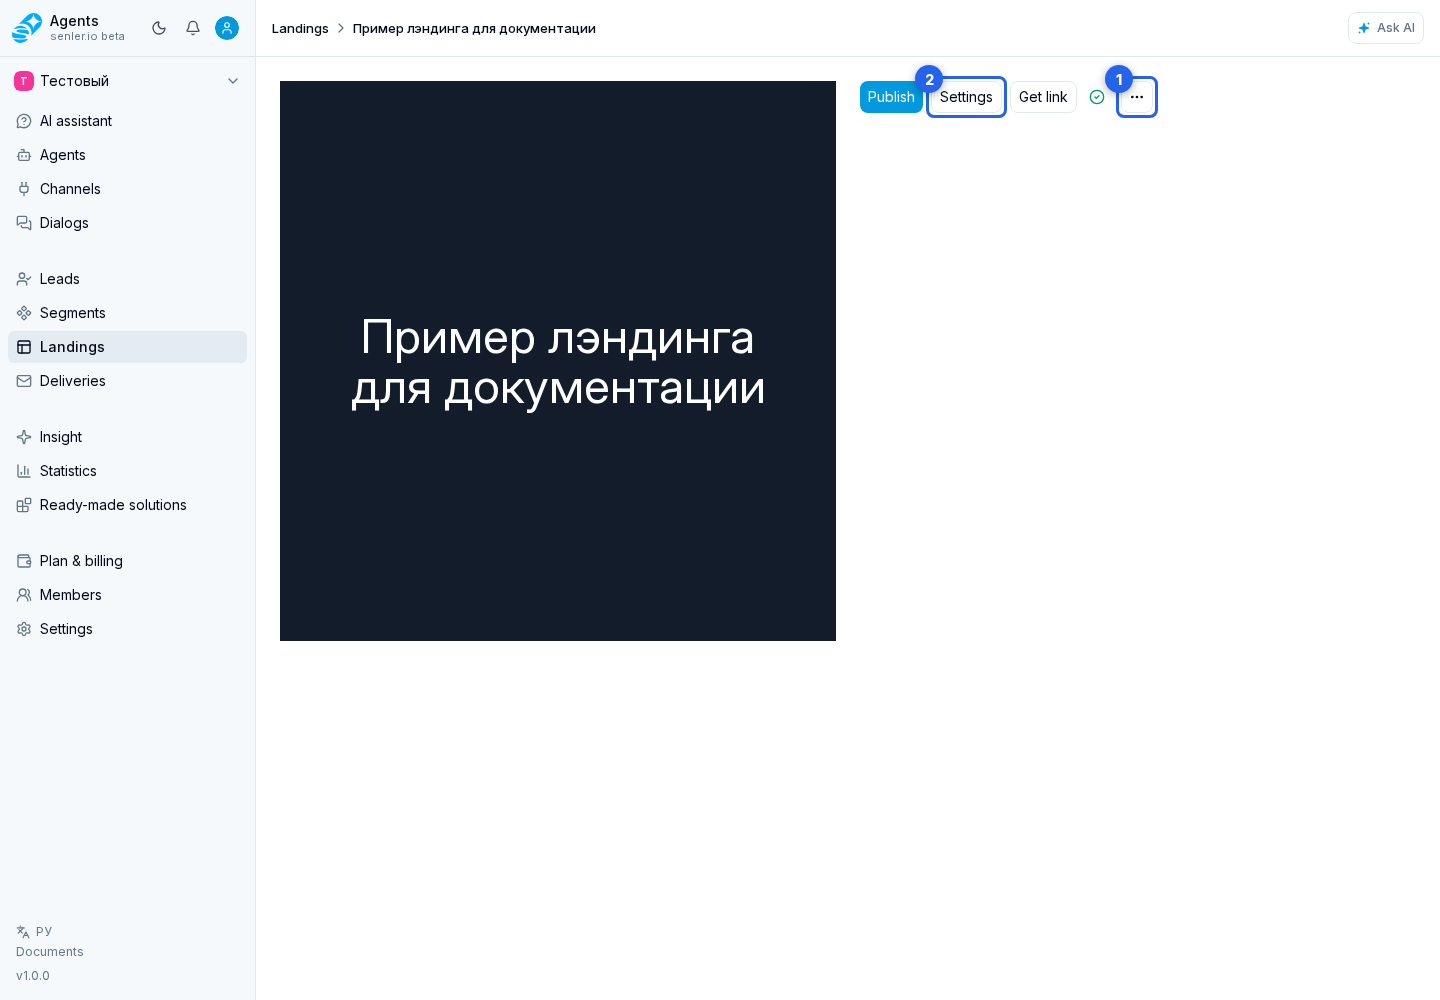
- In the editor, open the actions menu.
- Select Settings.
- If needed, change the name and visibility in the shared landing list.
- Select Save.
If another editor changed the name or visibility at the same time, the cabinet shows both values and offers Keep mine or Accept server. Save the settings again after choosing.
The editor menu also provides copy and delete actions for the current landing.
Block editor
On the editor page:
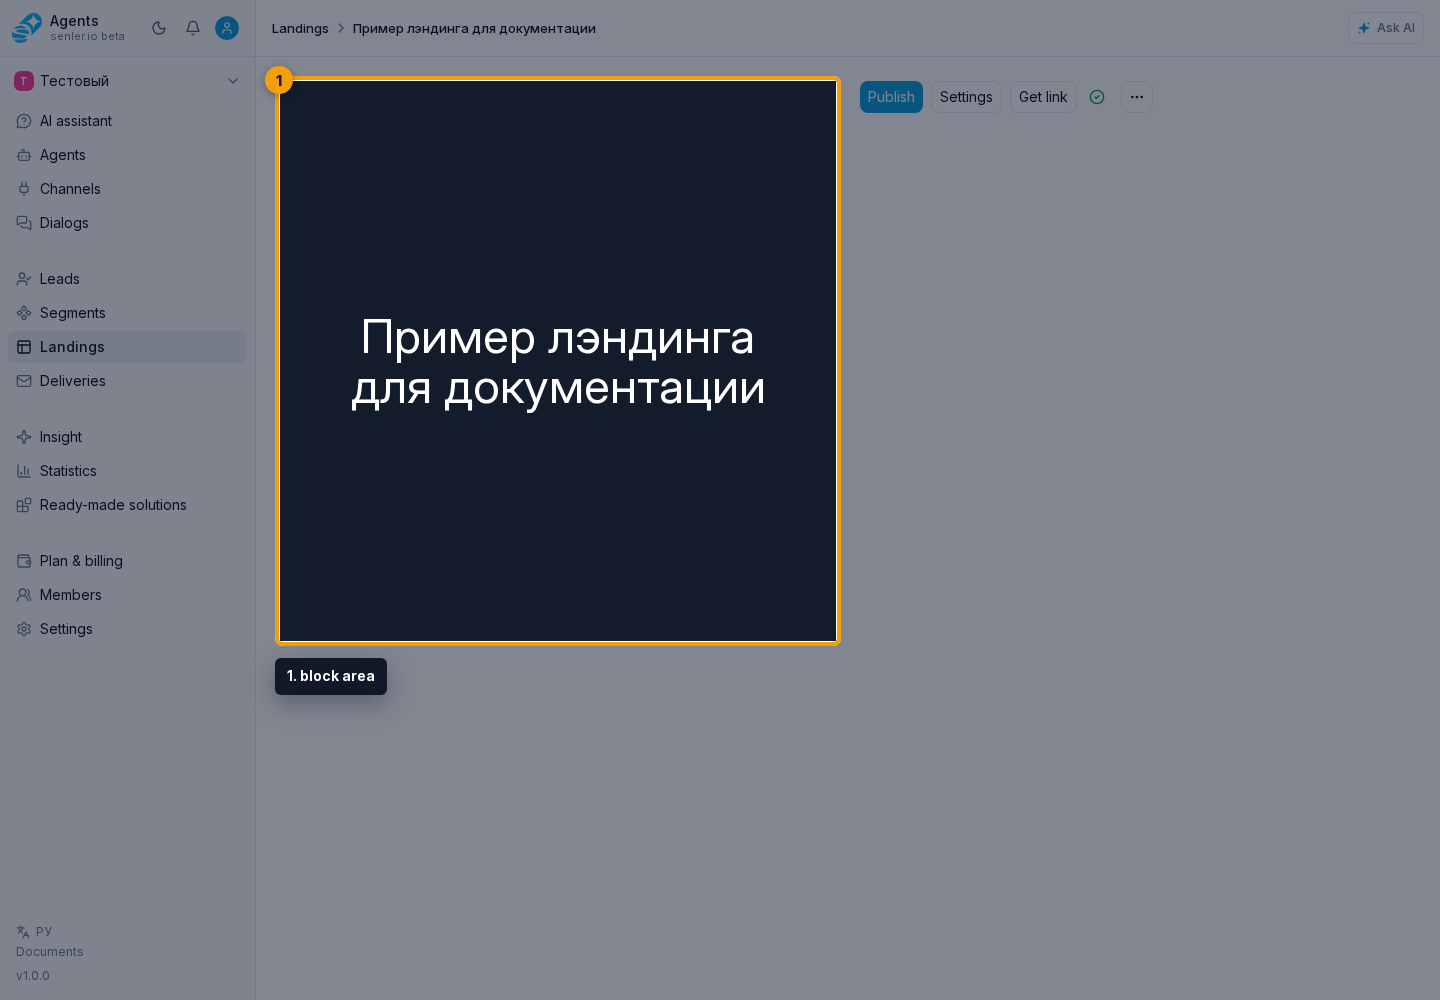
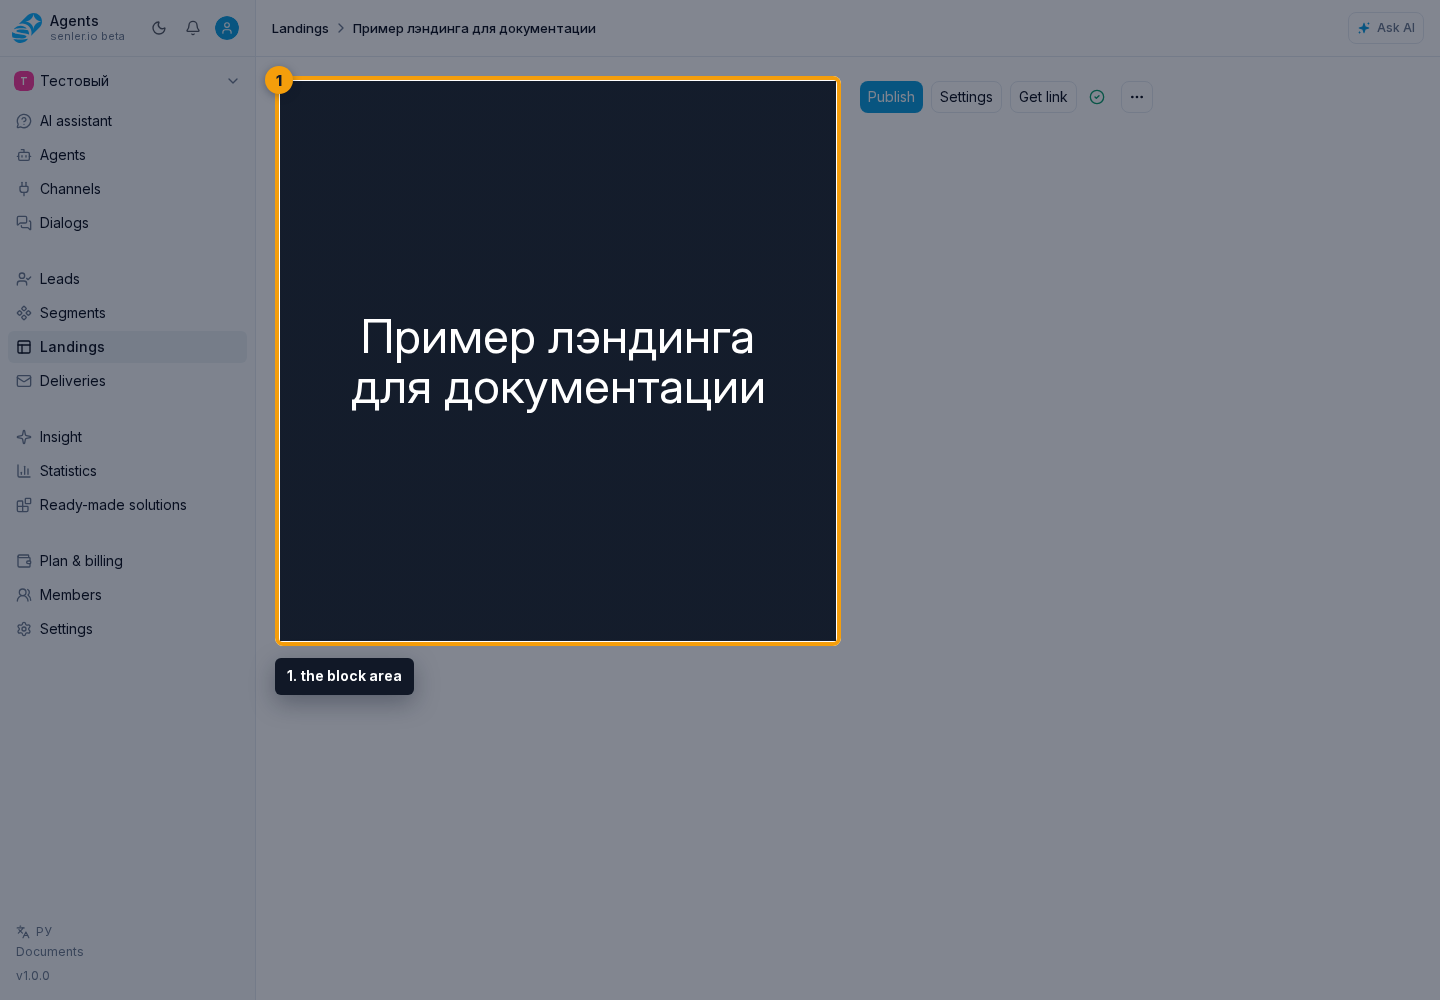
- Hover over a block area to show its actions.
- In the block toolbar, click the pencil to open the block settings. The same toolbar lets you move, hide, duplicate, or delete the block.
- Add the next block through the insertion zone.
Build a page from these blocks:
- Cover — heading, text, background image, and button;
- Text — heading and text;
- Button — one configurable button;
- Image — an uploaded image;
- Features and Reviews — section heading and text, plus cards with a heading, text, and image;
- Products — the same section and card fields, plus a price;
- Video — heading, text, and video URL;
- Timer — heading, text, timer date or label, and button;
- Divider — visual separation without content.
Images are uploaded directly in the settings of a supported block. A block can be hidden temporarily without deleting it: it remains in the editor but is not shown to visitors.
Insert variables from the variables list with the insert into active field action. Use the list to switch the data scope.
Button and subscription
In a Cover, Button, or Timer block, hover over the block area and click the pencil. In the opened settings, click Configure in the button action field. This opens the Button settings dialog, where all parameters are applied together. First select the button action:
- Subscribe — on a standalone landing, select a segment and a channel mode: all available channels or selected channels only;
- Open page — enter a safe
httporhttpsURL; - No button — no active button is published.
For Subscribe, enter the button label, select the segment and choose the channel mode. All channels shows every suitable project channel. In Selected channels, add one or more subscription channels and give each option a clear user-facing label. An agent landing already has its related segment, so it is not selected separately. The Request phone and Request email switches belong only to this button: contact details are requested after it is clicked. For Open page, enter a button URL with the http or https protocol.
Click Apply to transfer the complete setup to the block draft. The action remains unavailable until every required field is valid. Cancel closes the dialog without applying changes made in it. The exact launch or subscription method depends on the selected channel. Use ready links from the cabinet instead of assembling a Mini App or bot URL manually.
On the public page, the action runs through the subscribe or unsubscribe button. If the segment requires consents, each one is accepted through its consent checkbox before subscription is confirmed.
Draft and publications
Changes are saved automatically, and the header indicator shows the current save state. Complete button settings means that the selected action is missing a label, segment, or valid URL. Open that button's settings, complete the required fields, and click Apply; autosave then continues.
The collaborative editing indicator shows who currently has this landing open, including you in another window. It also shows recent changes made by an AI agent, application, API, or the system. Changes to different blocks are merged automatically. If both sides change the same block or block order, autosave stops while your changes remain on screen.
For this conflict, open the save indicator and compare your version with the server version. Keep mine saves the local version of conflicting blocks and order. Accept server replaces only the conflicting parts with the server version; independent changes from both sides remain.
When saving fails, open the indicator menu and read the reason. The recovery action depends on the situation:
- if a conflict is shown for specific blocks or their order, first choose Keep mine or Accept server;
- if the cabinet offers a full data refresh, click Refresh Data only when you are ready to replace unsaved local edits with the current server version;
- if the server connection was lost or the cause is unknown, click Retry Save;
- if another process is still completing a landing change, wait for it to finish and retry saving;
- if permissions are insufficient, contact a member with landing management permission;
- if the data is invalid, check block settings and required button fields.
When you create a standalone landing, its initial Cover is already published. After autosave, the indicator shows Saved as draft when current blocks or settings differ from the published version, and Saved and published when there is no difference. A draft becomes available to visitors only after you select Publish. Publication history lets you open an earlier version, restore its content to the draft, pin an important version, or unpin it.
If publication does not complete, the cabinet shows a dialog with the reason. Select Retry to send the same draft again. Until publication succeeds, visitors continue to see the last successfully published version.
Agent landing
In an existing agent's form, open the Subscription link tab. On the first open, the system prepares an agent subscription page and a managed segment. The initial Cover block uses the agent name as its heading.
The editor opens inside the agent form and returns through Back. A button can Subscribe to agent, open a page, or be removed. Subscribe to agent uses the related segment automatically and does not offer a segment selector; every visible subscription button on this landing works only with that segment. The landing can be saved without a subscription button, but the page then does not subscribe its visitor: use the agent's direct link or add the button back. There is no separate publication action because publishing the agent applies the agent, segment, and landing changes together.
When the agent was added by an installed ready-made solution, its settings and related landing are view-only. Changes arrive with a solution upgrade, so this landing cannot be edited separately in the project. The ready-made solution notice on the agent form explains this state.
If the page cannot be prepared, the cabinet shows a dialog with the reason. Click Retry or copy support information; it includes the failed API request method and address, current page, time, and technical error details. The dialog stays open while the retry runs so its outcome is not lost. Closing it without a successful retry returns the form to the Settings tab.
Getting a link
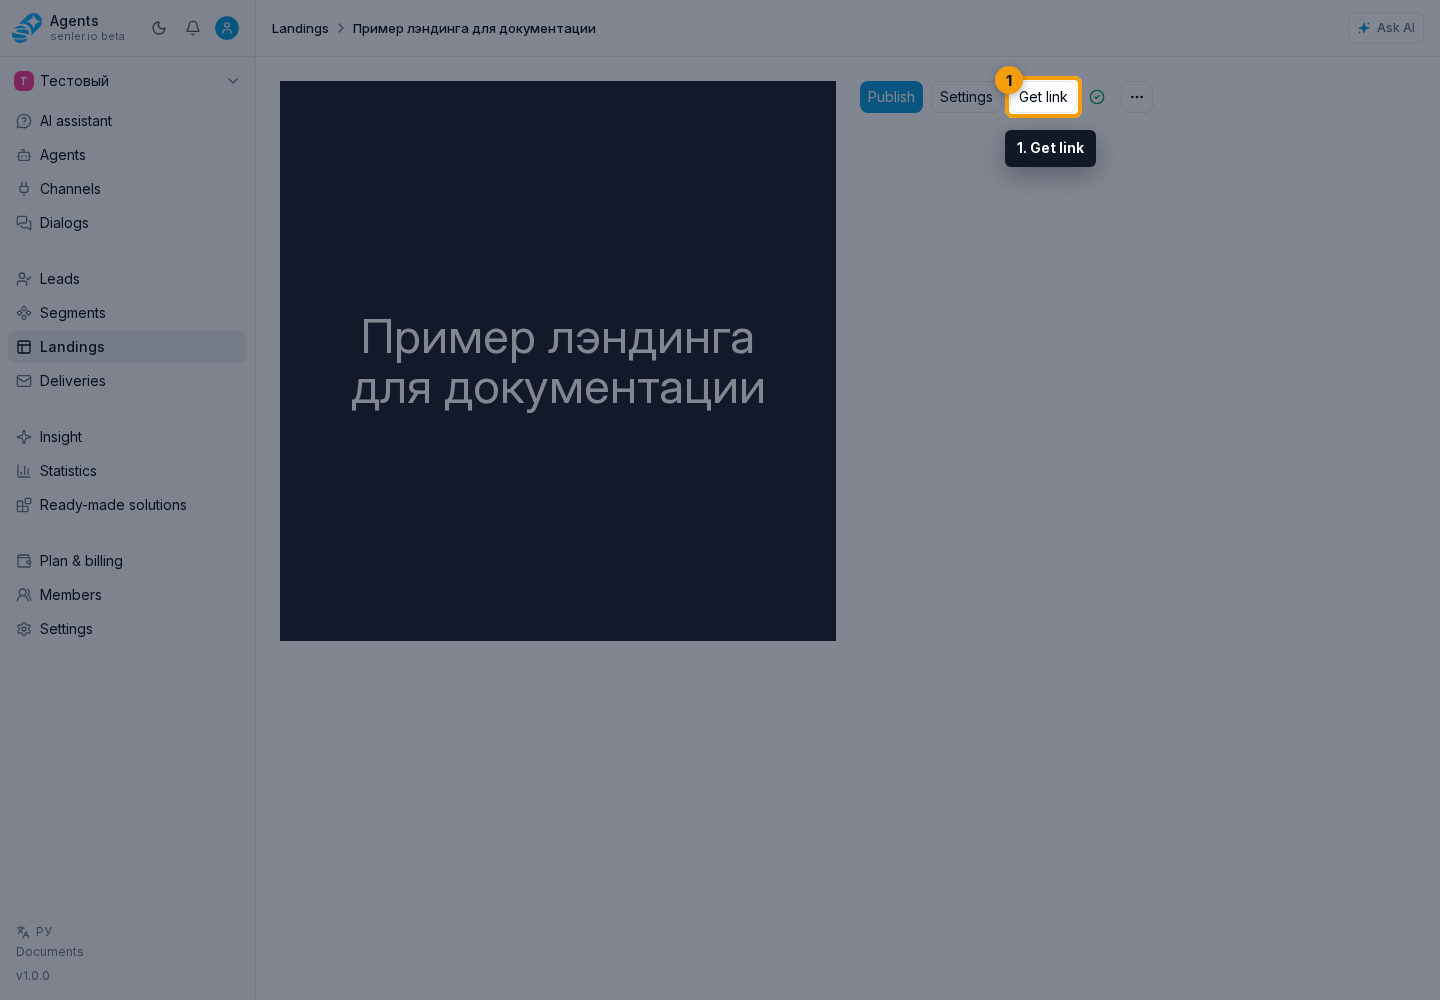
Get link opens the links dialog. The main link opens the landing in a browser. The channel selection area provides search by name and, when several platforms are connected, a platform filter. All channels returns the main link without binding it to a specific channel. After you select a channel, the dialog can provide a web page, VK App, Telegram Mini App, MAX Mini App, or Telegram bot launch link. A ready URL can be copied or opened.
An agent landing has Direct link and Landing tabs. On Direct link, select a channel: the preview shows a transition to VK messages, a Telegram bot, or a MAX bot and subscription without opening the page. These links are built for the managed agent segment independently of landing buttons, channels selected in those buttons, and contact capture settings.
A direct link does not open a form, so it does not request a phone number or email or record document acceptance. Use the Landing option with a form when those steps are required, even when a direct link is available. Direct links are unavailable when the managed segment has paid subscription enabled.
Channel launch settings
The Settings tab provides four options: Telegram menu button, Telegram Mini App, MAX Mini App, and VK App.
Telegram menu button
For a Telegram channel, you can check the current state. The dialog offers three modes: no button, open the landing list, or open one landing. The last mode requires a landing; enter the button text and apply the setting.
Telegram Mini App
For a Telegram channel, open Mini App configuration. Choose either the main app or a separate short-name app. You can copy the page URL for BotFather; a separate app also requires its short name. Complete the flow with verification in Telegram.
MAX Mini App
In MAX Mini App, Configure opens the dialog. From it, you can open MAX for Business, view the page URL, copy it, and then verify the setup.
The target can be the landing list or one landing. The second mode requires a target landing and the Save action. Close the dialog with Cancel.
VK App
In VK App, a VK channel provides Configure. It opens the dialog, which can open the VK application.
The target can be the landing list or one landing. The second mode requires a target landing and the Save action. Close the dialog with Cancel.