
Knowledge Base Upload
Supported formats
You can upload to the knowledge base:
- MD;
- MDC;
- TXT;
- DOCX;
- PDF;
- CSV;
- XLSX;
- PNG, JPEG, GIF, WebP, BMP, SVG, AVIF images;
- ZIP.
A ZIP archive up to 500 MB is imported as folders and files from the archive. If the archive is larger than 500 MB, the cabinet will show a size error.
CSV and XLSX
CSV and XLSX on the "Upload" tab are saved as knowledge base documents: rows and sheets are converted to text/Markdown so the agent can search their content like a regular material.
If you need an editable sheet with rows, columns, import, and separate agent permissions for changing tables, use the "Table" tab instead of a regular file upload.
ZIP archives
ZIP is useful for moving a whole documentation structure: folders, Markdown files, documents, tables, and images. During import, the archive is placed under a root folder named after the ZIP file; if the archive already contains that root folder, an extra duplicated root is not created.
Archive limits:
- ZIP size - up to 500 MB;
- total uncompressed size - up to 500 MB;
- one file inside the archive - up to 25 MB;
- up to 6000 entries, up to 2000 files, and up to 2000 folders;
- path depth - up to 12 levels;
- path segment length - up to 255 characters.
Service files such as __MACOSX, .DS_Store, and Thumbs.db are skipped. Unsafe paths, paths that are too deep, and unsupported files should not be included in the imported structure.
Markdown images and links
Images can be uploaded as separate files or placed in a ZIP next to Markdown. Archives support PNG, JPEG, GIF, WebP, BMP, SVG, and AVIF. After upload, these images become separate knowledge base materials and can be used in Markdown preview.
If Markdown links to a file from the same knowledge base, for example  or [PDF](docs/rules.pdf), the cabinet tries to connect that link with the uploaded material. This lets Markdown preview show images and helps the agent understand that the instruction also has a related file.
How to upload
- Open "Settings" -> "Knowledge Base".
- Click "Add".
- Select the "Upload" tab.
- Drag files to the upload area or select them on your computer.
- Check the list of selected files.
- Click "Upload".
Background loading
After start, the cabinet shows the background loading panel. It shows:
- current file;
- stage "Uploading", "Saving" or "Creating files from the archive";
- number of processed files;
- percentage of progress;
- result "Upload completed" or "Upload with error".
On mobile, the upload can block the interface until completion. This is normal: wait for the operation to finish.
Conflicts and import summary
If the selected folder already contains a material with the same name, the cabinet shows a conflict and offers to upload the new material under another name or replace the existing material. For folders, check what exactly will be replaced so you do not accidentally remove needed nested materials.
After a successful import, the cabinet shows a summary: which root folder was created, how many folders and files were added, which materials were replaced or renamed, and how many files are still waiting for text extraction.
Frequent errors
- “The file could not be uploaded. Check your connection and try again” - there may be a network problem or a temporary failure.
- “The server returned an incorrect response after uploading” - the file may have been partially uploaded; it is better to update the list and repeat if necessary.
- “Processing” hangs for a long time - the file is saved, but the text is still being extracted or indexed.
- "Processing error" - the text could not be prepared; it is worth checking the format, size and contents of the file.
If upload fails
Try uploading one file first and check its size. For large sets, use a ZIP archive up to 500 MB and watch the archive limits; if the structure is too large, split it into several parts. If the error repeats, refresh the page, check the knowledge base file list, and upload only the missing materials.
Where this is in the interface
Main elements in this section:
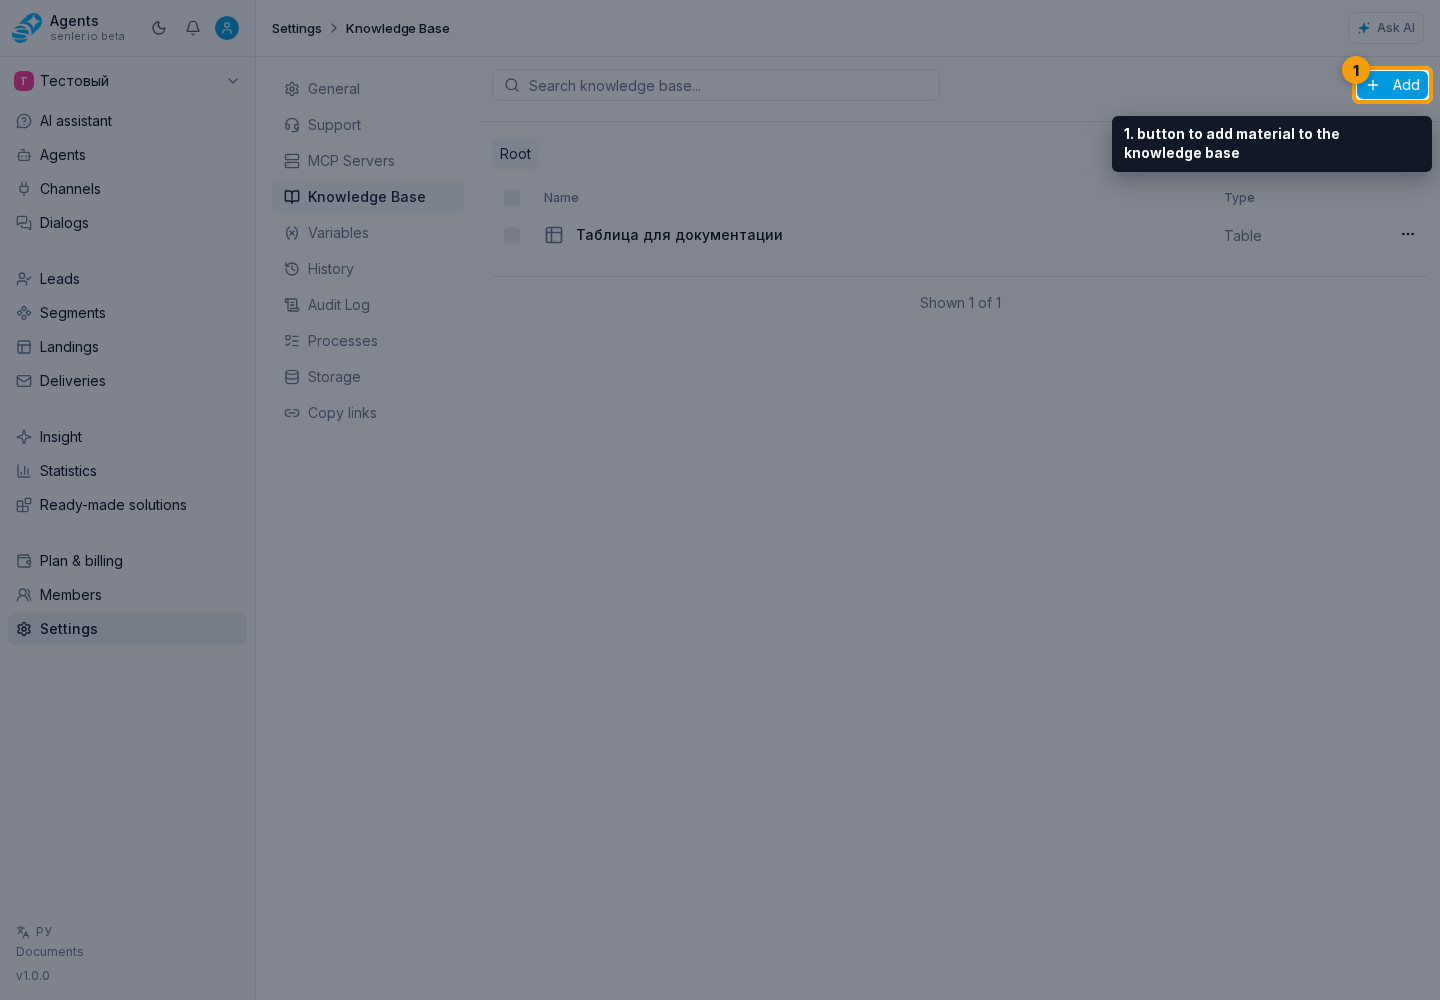
- Settings item in the side menu
- project settings page
- button to add material to the knowledge base
- button to add material to an empty knowledge base
- knowledge base material form
- upload documents tab
- document upload form
- upload documents button