
Lead Card
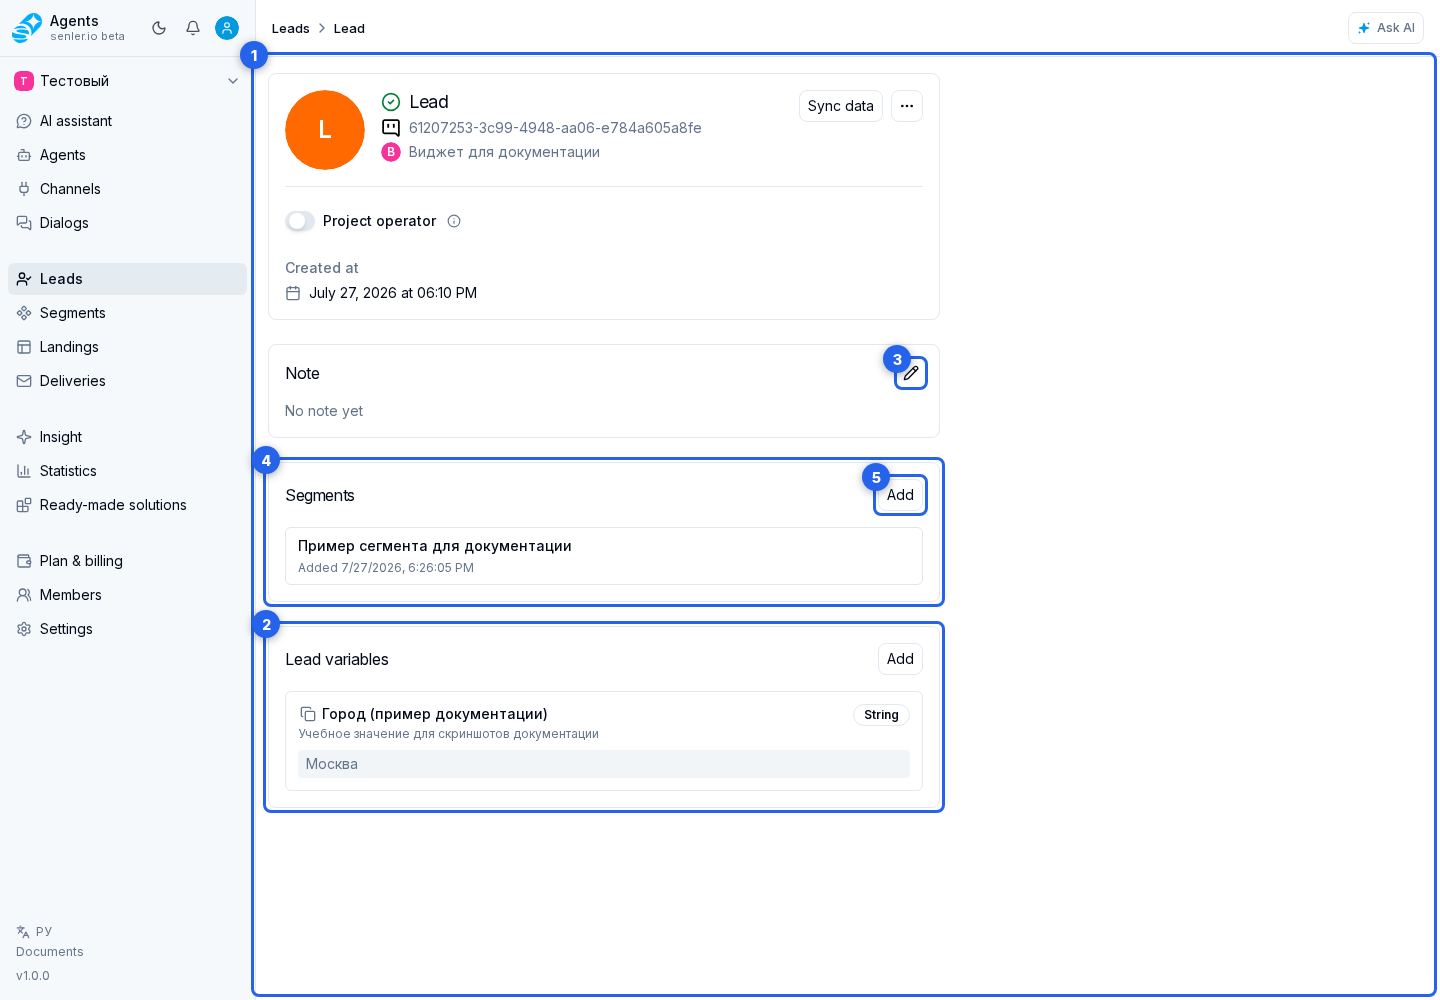
In the lead card you can see
The lead card helps you quickly understand who contacted the project, which channel the person came from, and what is already known about them. From here, you can check variables, subscription status, external profile, and blocking.
- avatar and name;
- subscription;
- black list;
- platform;
- external user ID on the platform;
- platform username;
- link to external profile;
- channel;
- language;
- date of creation;
- unsubscribe date;
- date of adding to the black list;
- whether the user blocked the bot;
- current segments, membership source, and join date;
- consent documents accepted in segments and their versions;
- lead variables.
Actions
Actions in the card change data for one specific lead. Before blocking or refreshing the profile, check the channel and make sure you are working with the right user.
- update lead data;
- add to the black list;
- remove from the black list;
- manually add the lead to a segment or remove it from one;
- edit lead variables.
Lead segments and consents
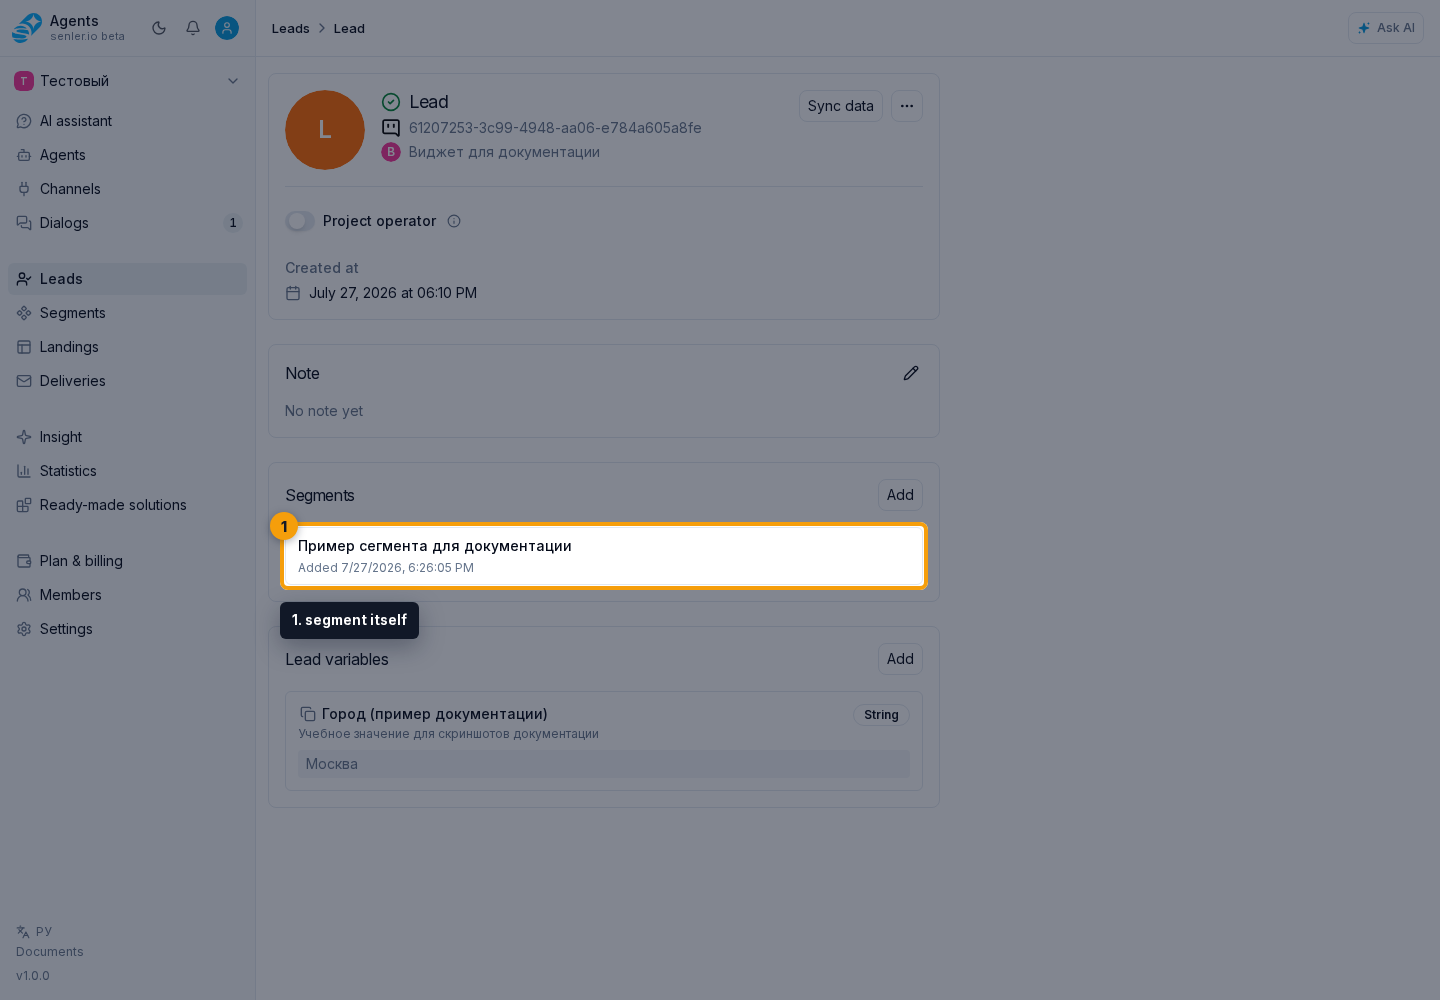
The Lead segments block shows segments the lead currently belongs to. An agent subscription segment has a separate agent icon: select it to view the agent's name and state or open its settings. Open the segment itself to see the join date, subscription source, and consents accepted for that segment.
Each accepted consent shows the document name, version, and acceptance date. When the document is stored as a PDF, it can be opened. This lets you verify the exact text the user accepted at subscription time.
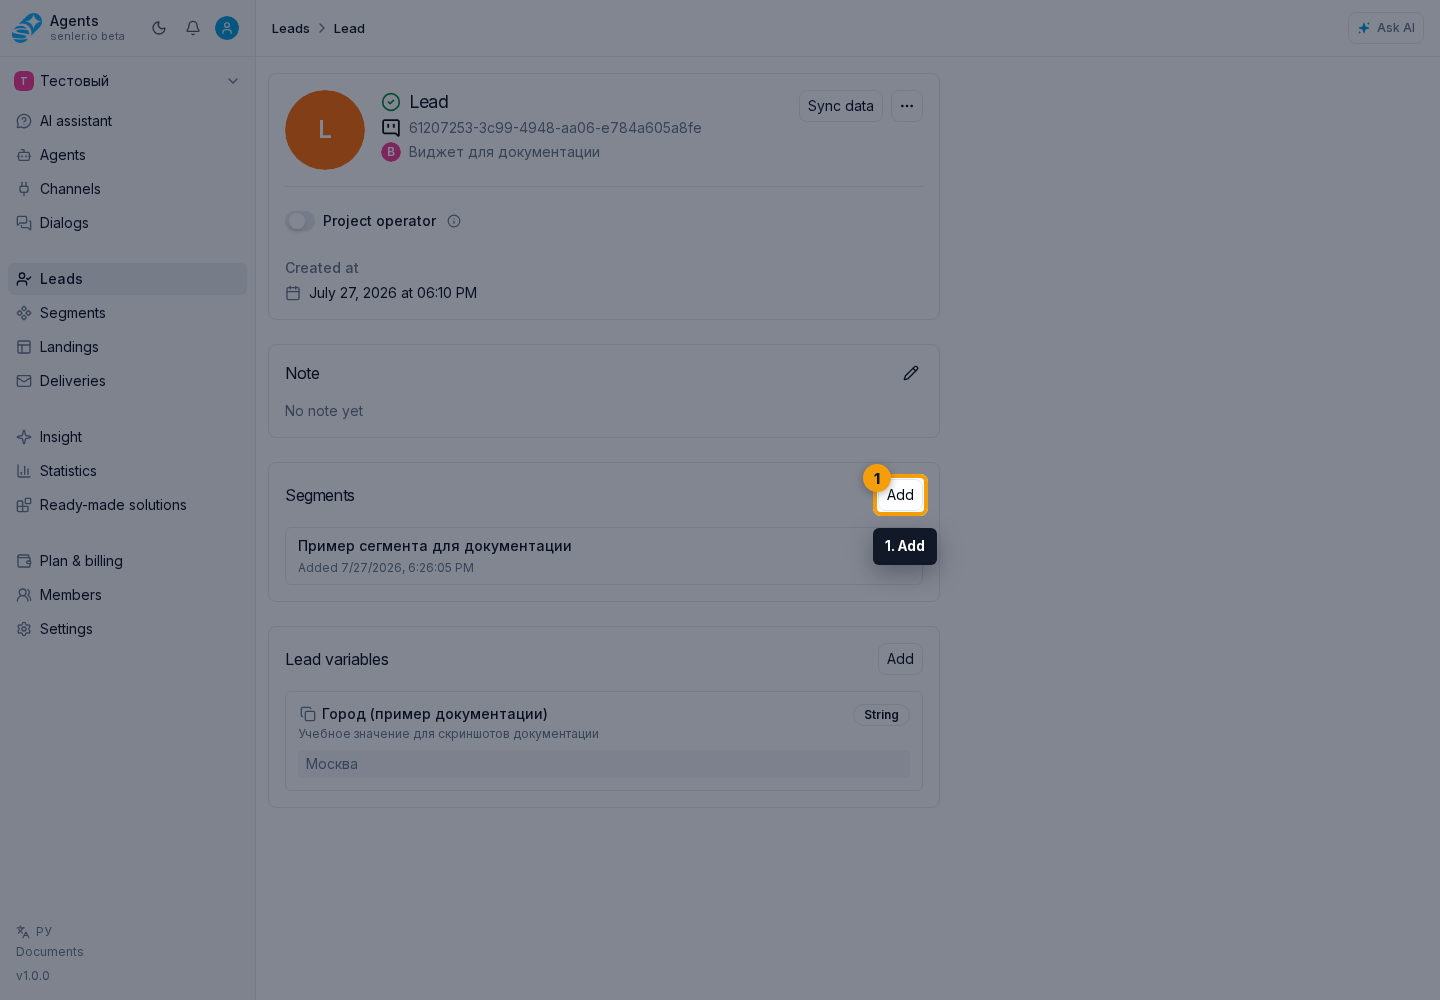
To add a lead manually, click Add. In the selection dialog, find a segment through search and click the required segment. An ordinary segment is added immediately; segments already connected to this lead are not shown. Segments with an agent icon remain visible to explain the relationship, but a lead cannot be added to them manually.
In the membership details, Remove removes the lead only from the selected ordinary segment. It does not delete the lead card or the project segment. Membership in an agent segment is controlled by the agent subscription and cannot be removed manually. Other segments require permission to manage leads.
Blacklist
- when adding, you can specify the reason;
- the reason is saved and displayed;
- blocking a lead may stop the agent from working with that person.
If the profile is not updated
- check channel access;
- check if the user exists on the platform;
- check synchronization errors.
Where this is in the interface
Main elements in this section:
- Dialogs section
- Dialogs item in the project side menu
- lead list
- lead card
- lead variables
- operator notes for the lead
- save operator notes
- lead blacklist
- current segments
- add a lead to a segment
- segment membership
- membership details and consents
- remove from the selected segment
- Leads item in the side menu