
Knowledge Base Tables
When you need a table
The table is suitable for structured data:
- price lists;
- leftovers;
- catalogues;
- schedules;
- lists of branches;
- rules with columns and values.
If data is better read in rows and columns, use a table rather than a long text file.
Creating a table
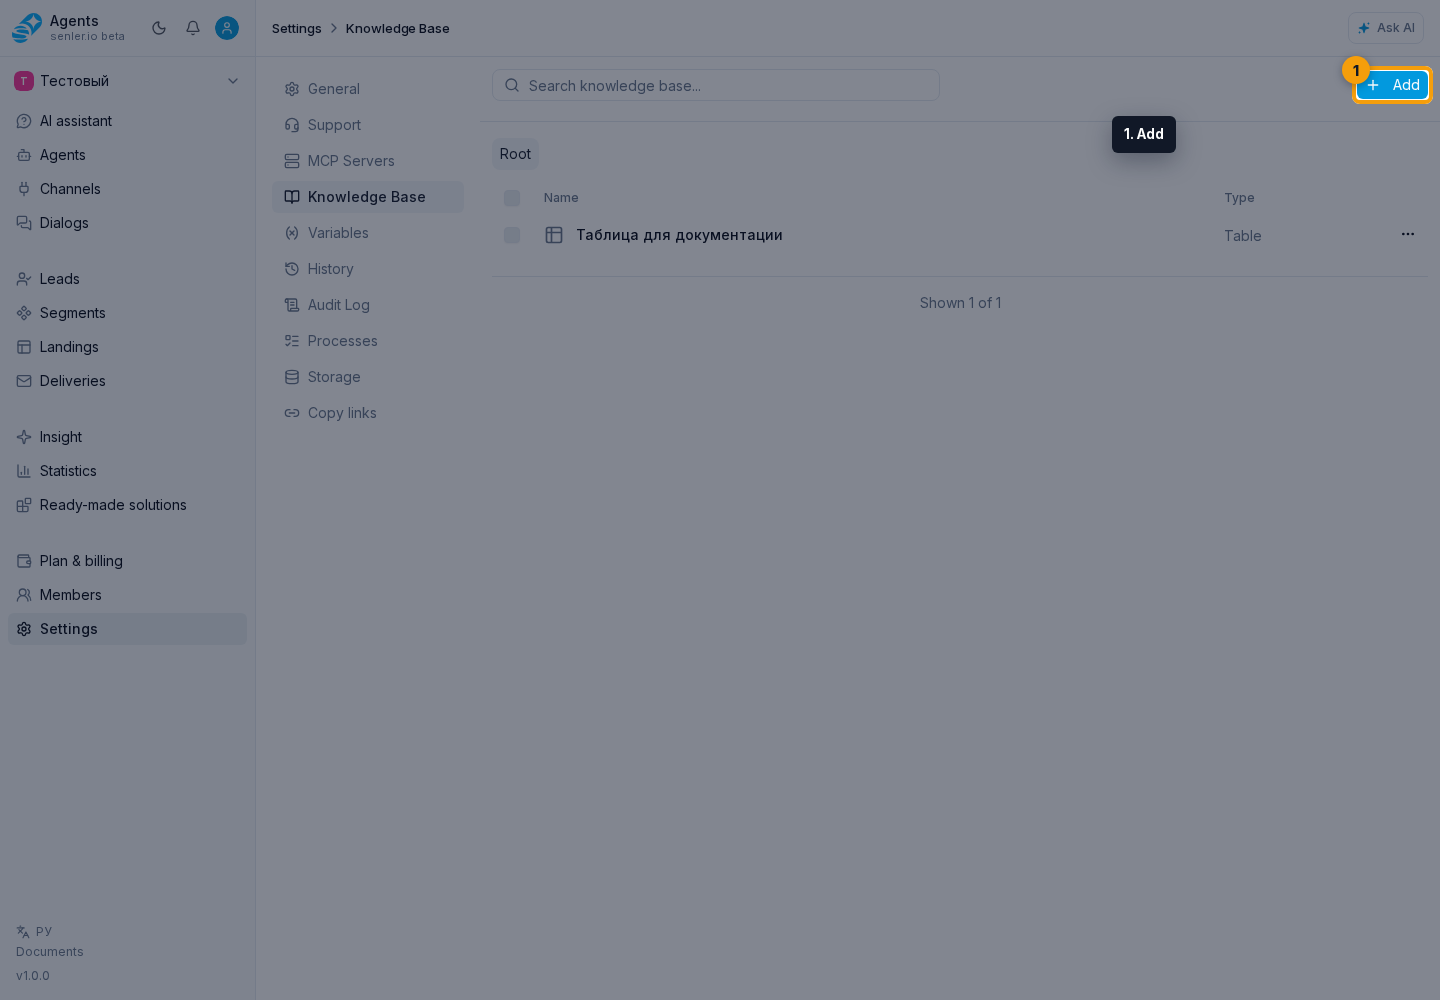
- In the left menu, open Settings, then Knowledge Base.
- Click Add.
- Select the Table tab.
- Enter a name.
- Click Create table.
- In the Table created dialog, click Go to editor.
The table editor opens separately. If the dialog is closed, the table can be opened from the resource card in the knowledge base list.
Importing CSV/XLSX as a table
CSV and XLSX can be used specifically as a table if you upload them through the table flow. CSV becomes one default sheet, and XLSX keeps non-empty sheets from the workbook. An empty file or workbook without rows will not create a table.
The regular "Upload" tab also accepts CSV/XLSX, but there they become a searchable document. To edit rows and columns, choose table creation or table import.
Table editor
The table editor opens as a separate screen. Its workspace consists of the editor and the workbook with sheets. You can change values, formulas, sheets, column widths, row heights, formatting, merged cells, borders, import, export, printing, history, and collaborative work.
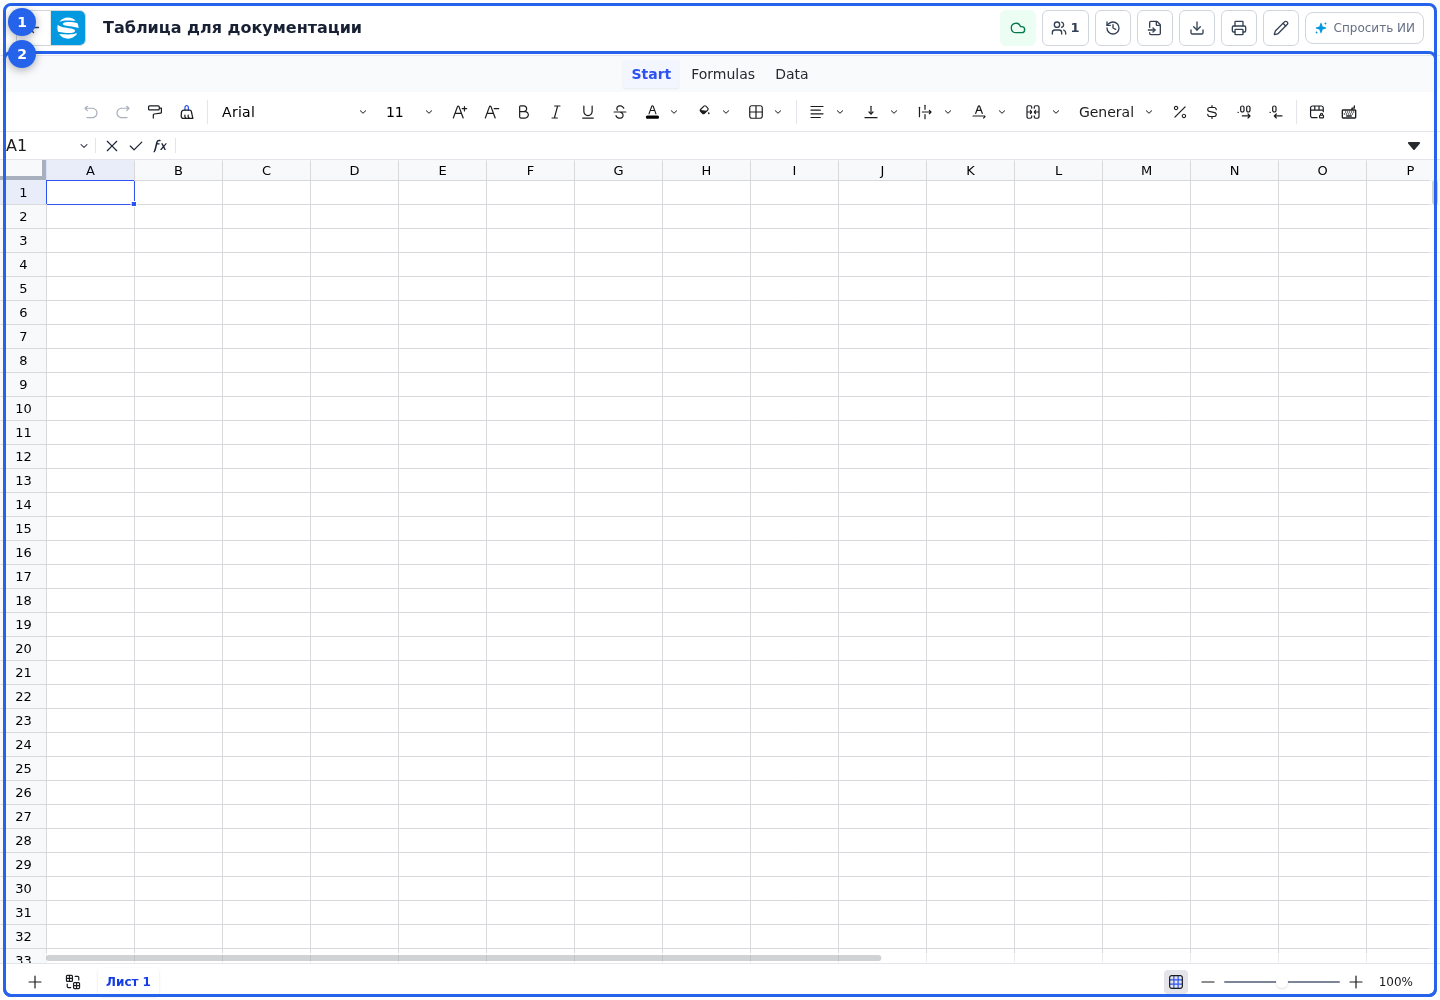
The top toolbar shows the title and sync status. Back returns to the cabinet, while the more actions menu contains commands that do not fit at the current width. From here you can rename, import, export, print, open history, or view participants.
When renaming, enter the new title and click "Save". "Cancel" and the close button keep the old title.
In the participant list, each participant row identifies a current user; close the panel with Close. In history, choose a version to preview, view its author, copy the author ID, and close history. A preview offers exit without changes and apply this version.
If history or an old version preview is open, return to the current table before making changes. Preview is for checking a previous version, not for editing working data.
AI in the table editor
The editor has an "Ask AI" button. It opens the assistant with the context of the current table, open sheet, and selection. If the assistant fails to load, use retry.
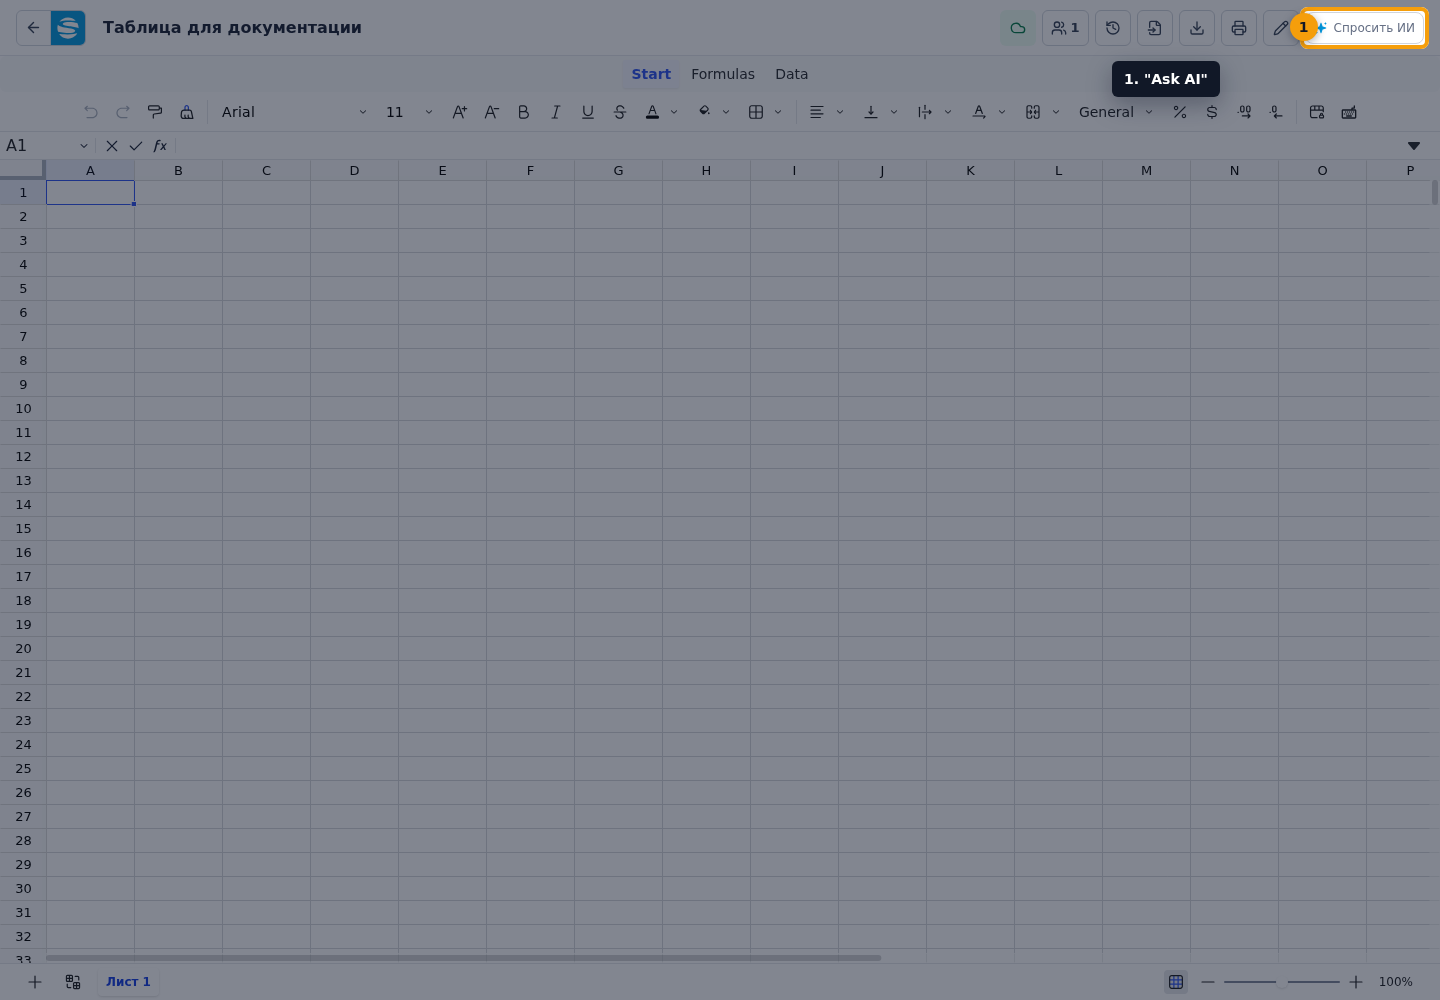
To help AI understand where to change data:
- select one cell if you need to "insert here" or start a table from a specific place;
- select a range if only the current block should change;
- if rows must be added to the end, say that explicitly;
- if you need a border, grid, color, column width, row height, or merged cells, select the required range.
The assistant can help fill a schedule, price list, calendar, task list, change values, clear or move a range, add or delete rows, insert or delete columns, hide rows/columns, merge or unmerge cells, apply formatting and borders.
From the assistant, you can also open table history, participants, XLSX export, or PDF printing if the current user has access to that action.
After a successful change, the open table receives updates through collaboration mode. Usually you do not need to refresh the page manually.
Agent connection
For the table to be used in agent answers, select it in the agent settings in the "Knowledge Base" block. The minimum read permission is "Receive data". To change tables you need separate rights:
- "Edit content";
- "Add rows to tables";
- "Import CSV/XLSX";
- "Delete rows";
- "Create sheets";
- "Delete sheets";
- "Create tables";
- "Delete tables."
Don't give the agent the right to modify tables if all they need to do is respond to the data.
What table permissions allow changing
"Receive data" allows reading the table structure, selected ranges, and rows by headers.
"Edit content" is needed to write values and formulas into cells, fill a rectangular block from the selected cell, insert and delete columns, move rows/columns and ranges, resize, hide rows/columns, clear, copy, merge, unmerge, format, and set borders.
"Add rows to tables" is needed to append rows to the end and insert empty rows into a specified place. "Delete rows" is needed to delete rows. Creating and deleting sheets, tables, and CSV/XLSX import are enabled by separate rights.
If the change did not work
Check:
- the table is selected in the agent's knowledge base sources;
- the agent has "Receive data" and the required change permission;
- the user is in the current table version, not in history preview;
- the correct cell or range is selected;
- the request clearly says whether to change the selection, start from the selected cell, or add rows to the end;
- if the change is risky, the user confirmed that they understand the consequences.
If AI changed the wrong area, undo the action through history or a manual edit, select the correct range, and repeat the request more specifically: "change only the selected range" or "start from cell B4".
If the editor loses its connection to the current version, use refresh data first. Use discard local changes only when the unsaved draft is no longer needed.
Where this is in the interface
Main elements in this section:
- create table button
- table name field
- table tab
- project settings page
- Settings item in the side menu