
Support
Summary
In the project menu, open Settings and select Support.
This page configures the support schedule and operator response SLA. The schedule defines working time for response statistics and SLA, while SLA shows in dialogs when waiting time is approaching a breach.
Support schedule
The support schedule consists of shifts and operator assignments. A shift is a time template, for example "Day 09:00-18:00". An assignment is a specific operator, date, and working interval.
The schedule time zone is selected by region name, for example (UTC+03:00) Europe/Moscow. The offset before the name makes options easier to compare, while the region accounts for calendar changes to that offset. The selected time zone is used to create and display shifts and for the dates and current time passed to the agent.
If Use schedule in response statistics is enabled, first and average response in communication statistics are calculated only inside support working intervals. If it is disabled, statistics calculate responses without the schedule.
The same switch affects SLA. When schedule accounting is enabled, time toward the warning and breach advances only inside saved operator assignments and pauses between working intervals. Overlapping assignments do not multiply the shared working time. When schedule accounting is disabled, SLA advances by normal calendar time.
Schedule usage is enabled separately in each agent's capabilities. It is not enabled automatically with schedule accounting for statistics and SLA, and the agent checkbox does not alter statistics. Once the capability is published, replies can account for the time zone, current date and time, support availability, and boundaries of the current or next continuous coverage. Overlapping and touching assignments are merged, and the absence of future assignments is accounted for as well.
Fill the calendar in advance. For each new wait for a reply, working intervals and SLA thresholds are taken when the customer starts waiting. Later schedule or threshold changes apply to the next waiting period and do not move deadlines already calculated for the current wait.
An assignment can be created by shift or manually. When a shift is selected, the time comes from the template. If you select "No shift", specify start and end manually. For night intervals, enable "Ends on the next day".
An assignment can intersect several calendar days. In the calendar, it appears on every day touched by the interval.
Schedule views
Above the schedule, select Calendar or Compact view. The cabinet remembers the selected view in this browser. On a narrow screen, the controls use calendar and table icons with the same names in their hints.
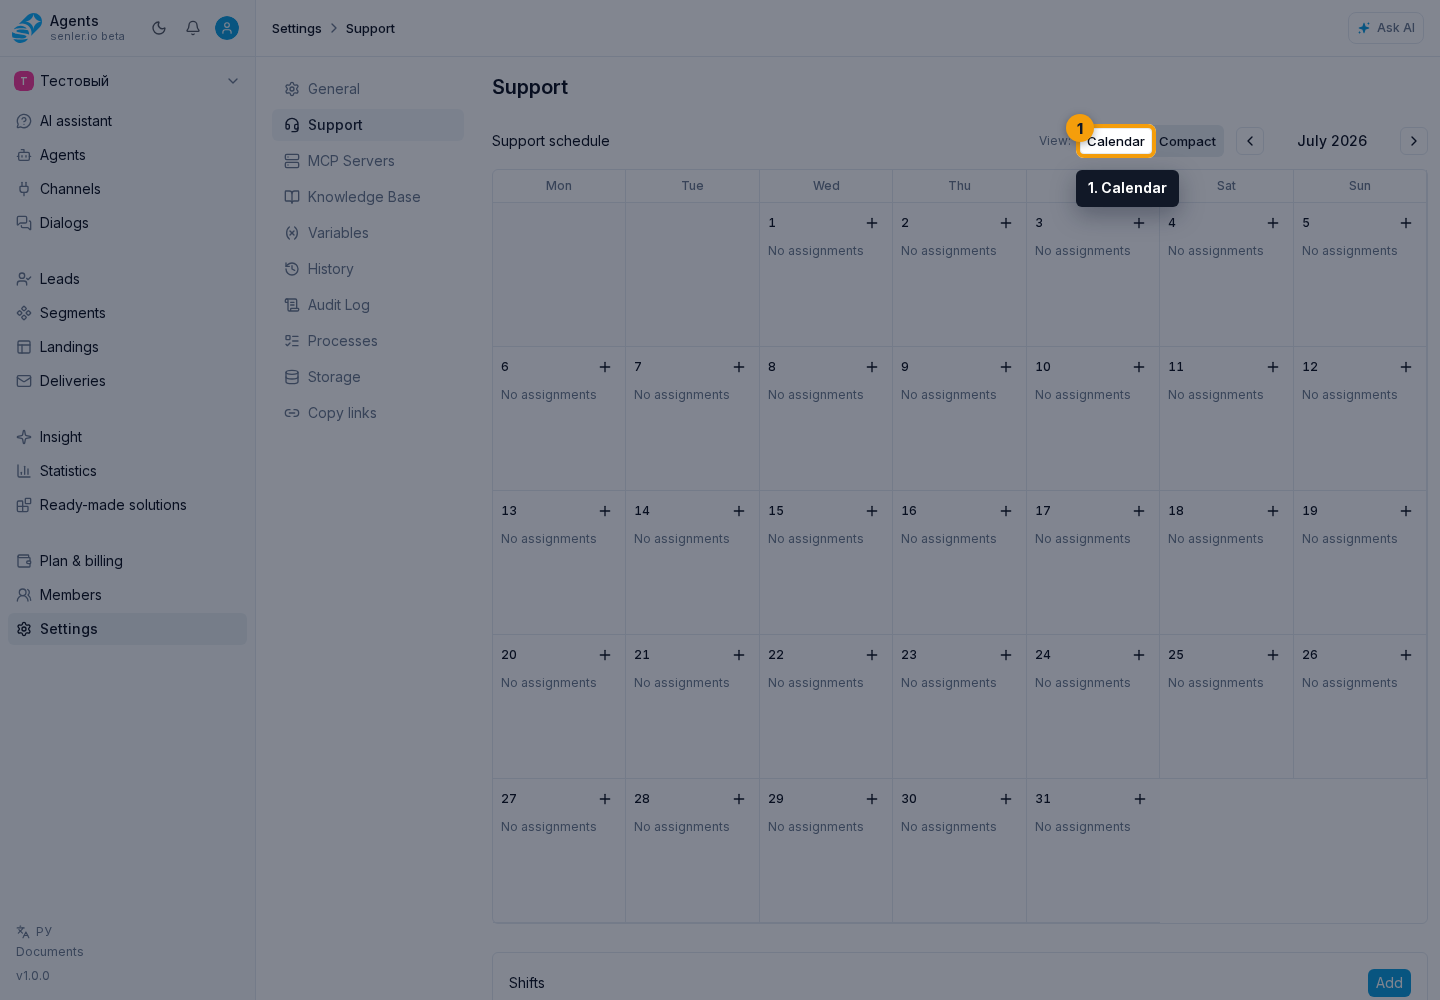
The calendar groups assignments by day. A card shows the operator, shift or manual interval, and note; select the card to edit the assignment. The back arrow and forward arrow switch the month.
The compact view shows operators in rows, dates in columns, and totals for shifts, operators, and hours on the right and at the bottom. A template-based assignment displays the shift name, with the complete time in its hint. A manual assignment displays its interval.
Select a shift name in the compact table to open the assignment menu. From it, you can edit this shift or add another shift for the same operator and date. In an empty cell, use the add action.
The compact schedule can be printed, downloaded as PNG, or copied as an image. Add buttons are hidden from exports. Image copying depends on browser support; download the PNG if copying is unavailable.
How to configure the schedule
- Make sure the needed members are marked as support operators in the Members section.
- Check the schedule time zone.
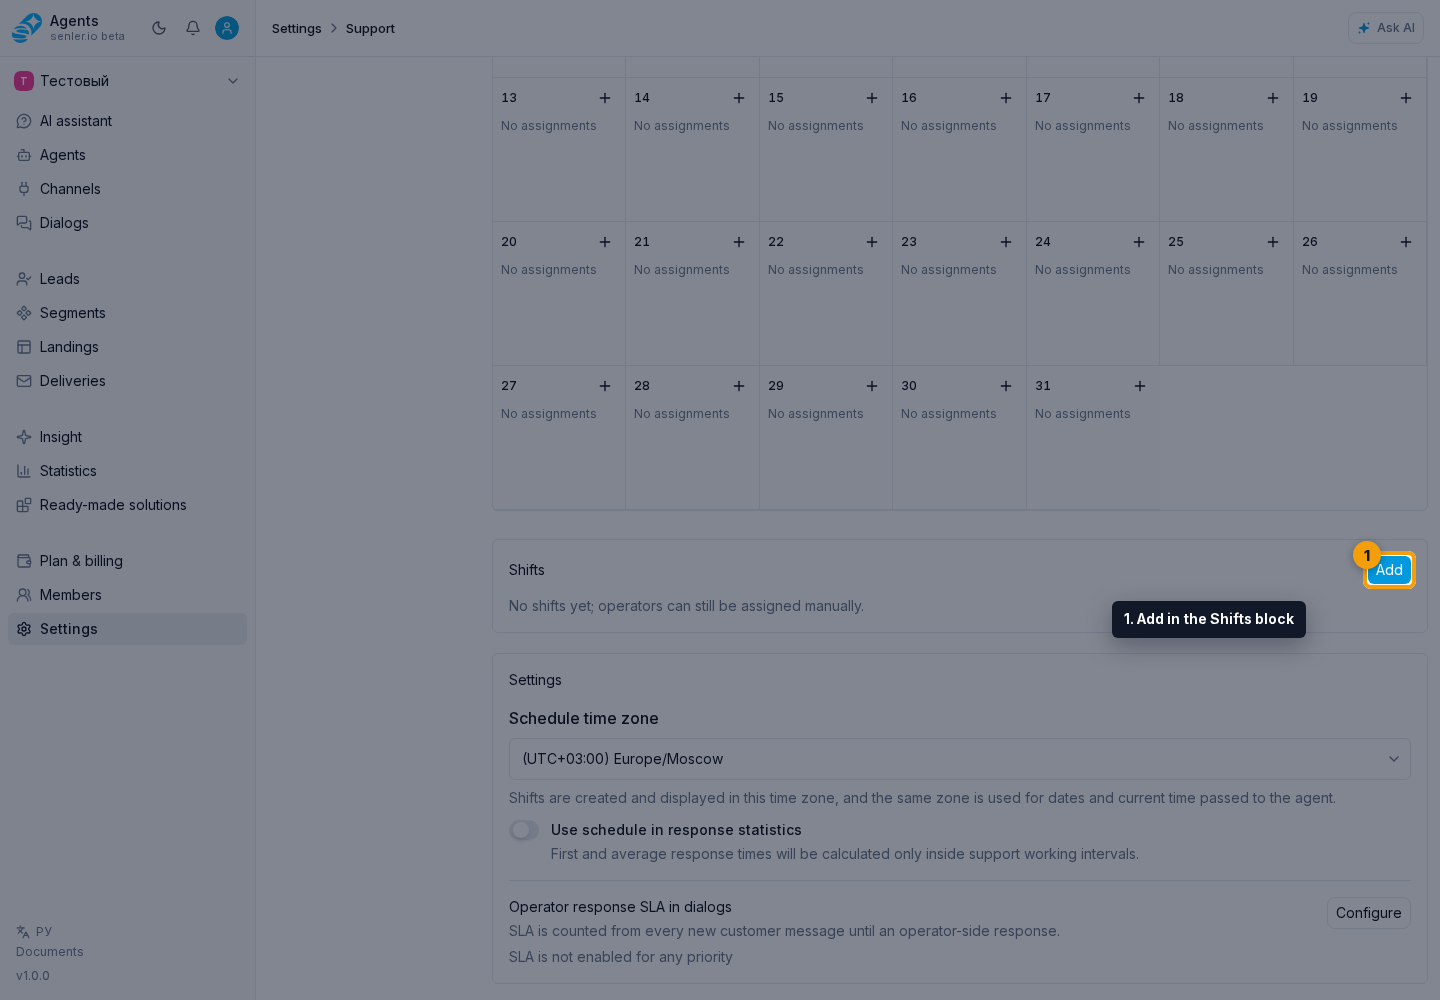
- If needed, select Add in the Shifts block, set the name, start, end, and for a night interval enable Ends on the next day. Select Save.
- In the calendar, choose a date and select add operator.
- Set the date, operator, and shift or manual interval. For a manual interval, set its start, end, and if needed next-day end. You can add an assignment note.
- Select Save.
If there are no operators, the cabinet shows a hint. Click Go to members: the Members section opens. Open the required member and enable the support operator flag.
Editing and deleting
An assignment card can be opened from the calendar. Before the form opens, the cabinet loads the current shifts and operators, so the form shows up-to-date data.
A shift can be changed from the Shifts block. Deleting a shift or assignment is available in its edit form if the user has permission to manage the schedule. Select delete shift or delete assignment, check the name in the shift deletion confirmation or assignment deletion confirmation, then select Delete for the shift or Delete for the assignment. This action cannot be undone.
A member cannot be unmarked as a support operator or removed from the project while they have a current or future assignment. Delete those assignments first or move them to another operator.
Operator response SLA
The same page contains the Operator response SLA in dialogs block. It is used for the dialog queue: SLA shows the current response-waiting state and how close it is to a breach.
In SLA you can configure:
- the "First response only" or "Every customer question" mode;
- warning and breach thresholds for urgent, high, medium, low, and no-priority dialogs;
- enabling or disabling SLA for each priority.
In "First response only" mode, the timer runs from the first customer message until the first operator-side response. In "Every customer question" mode, the next customer message after an operator reply starts a new timer; additional messages before the reply do not reset the active wait.
The threshold is set in minutes. The warning threshold must come first, then the breach threshold. If SLA is disabled for a specific priority, dialogs with that priority do not receive an SLA indicator.
How to configure SLA
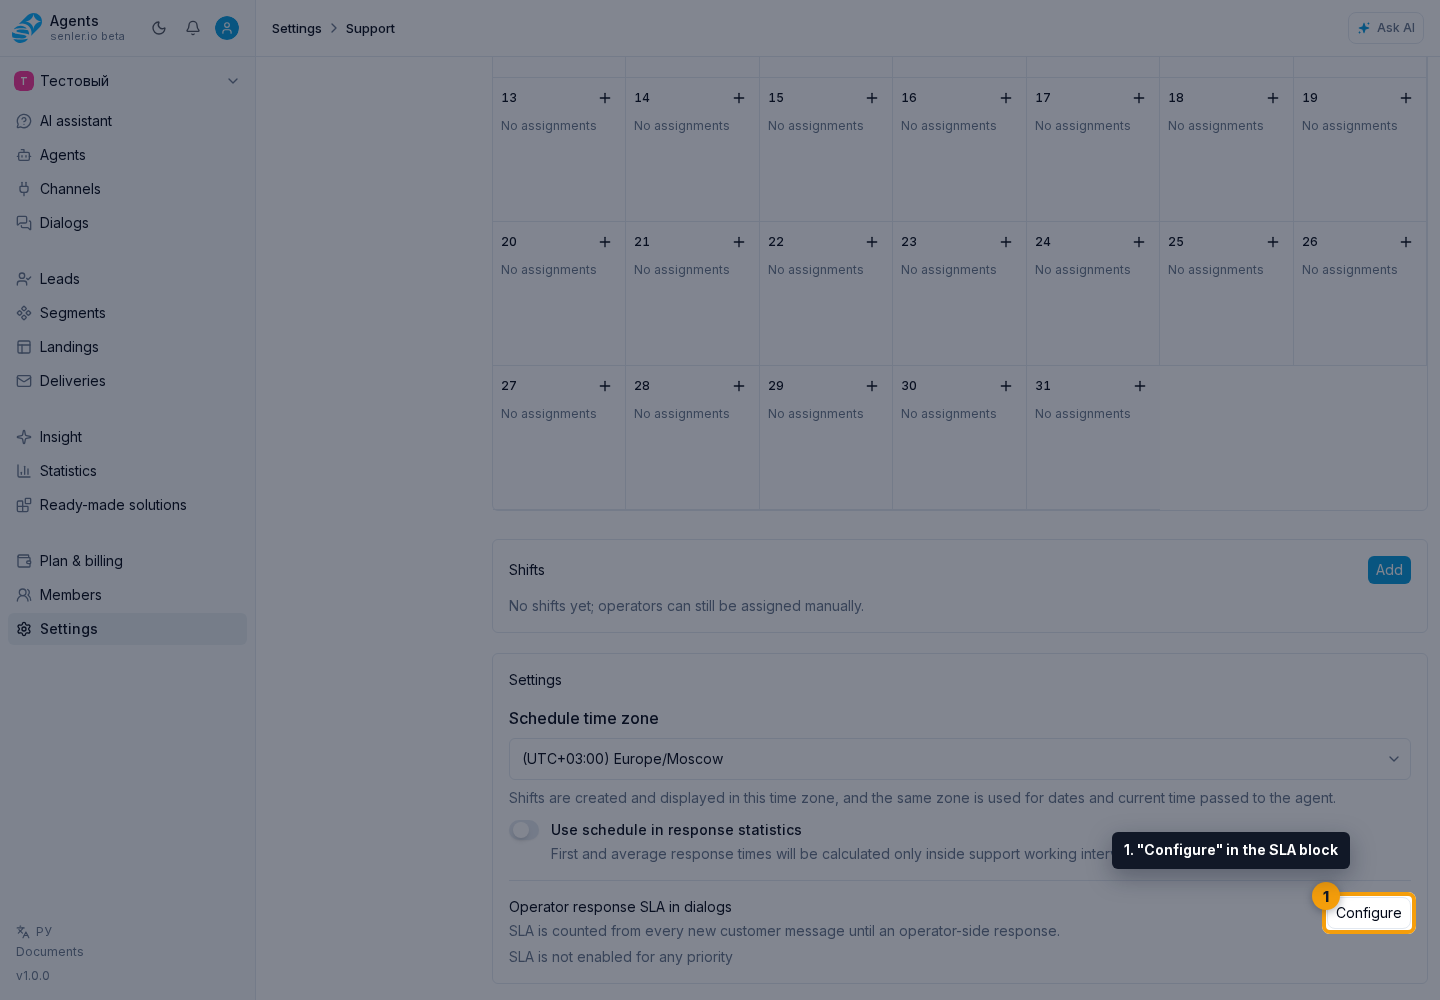
- Click "Configure" in the SLA block.
- In the SLA form, choose the calculation mode.
- For each required priority, enable SLA accounting, set the minutes until warning, and set the minutes until breach.
- Click "Save".
Each row has its own settings. Check the priority name before making a change: for example, edit the warning threshold in the "Urgent" row rather than the first warning field you see.
If the schedule or SLA does not work
- check that the required project is open;
- check the user's rights to view or manage settings;
- check that the member is marked as a support operator;
- check that the interval start is earlier than the end, and for a night shift that the next-day flag is enabled;
- if the cabinet says the assignment overlaps another interval, this operator already has a shift at the selected time: change the interval, select another operator, or edit the existing assignment;
- if SLA is not visible in a dialog, check the dialog priority and whether SLA is enabled for that priority;
- when schedule accounting is enabled, check that enough future assignments were already saved when the wait began to reach the SLA thresholds;
- if you just changed the schedule or thresholds, wait for the next reply-waiting period: the current deadline is not recalculated.