
Dialog and Message Info Panel
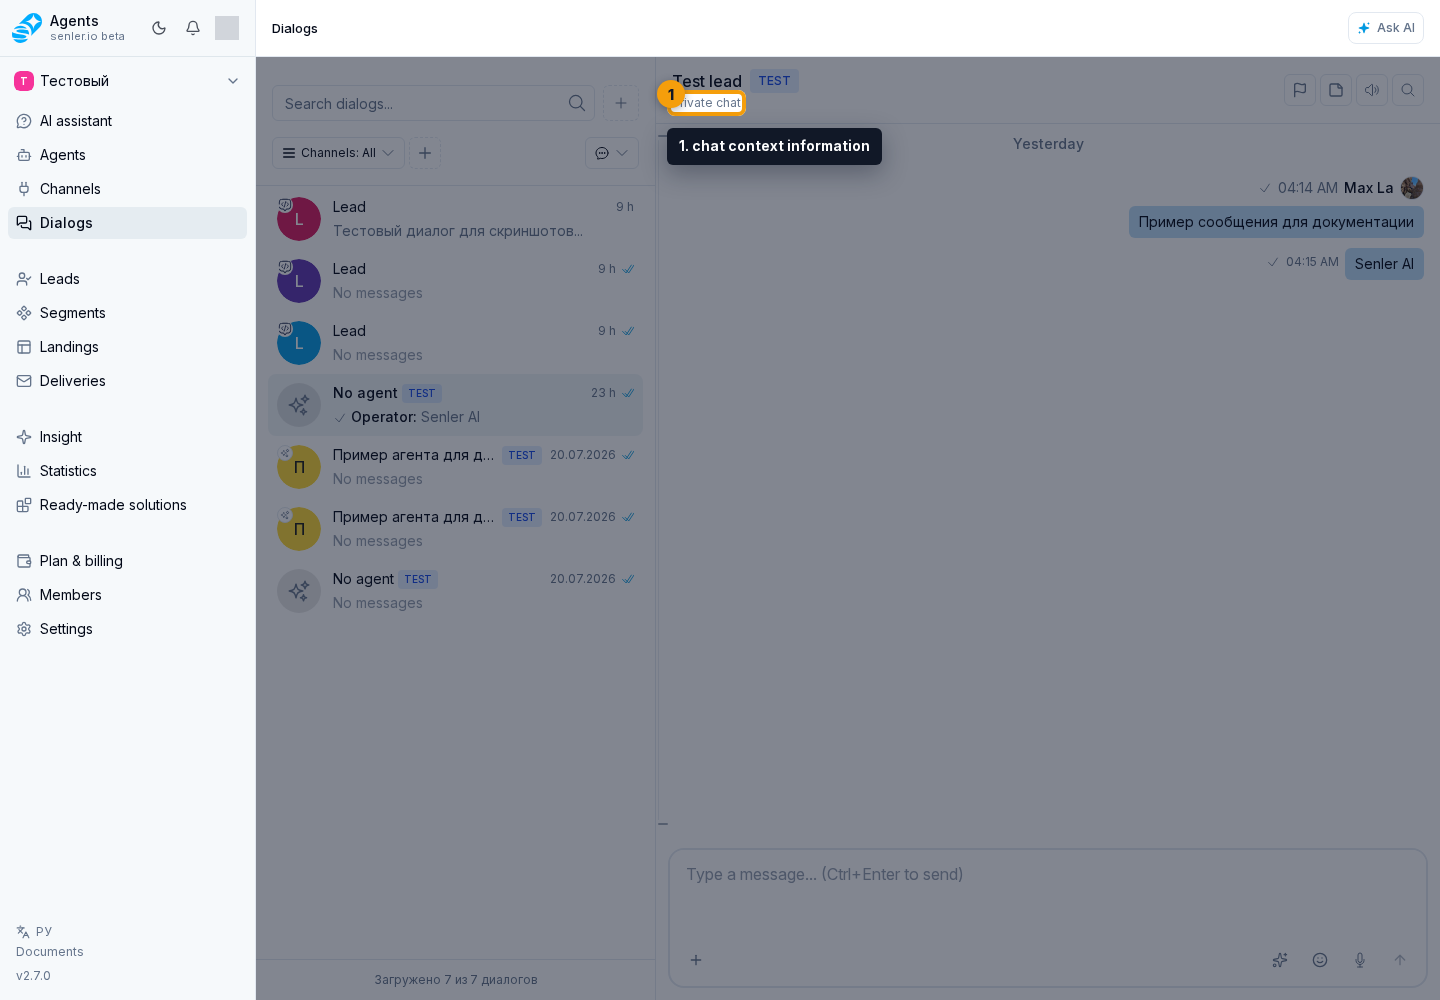
Open Dialogs in the project side menu, choose a conversation on the section page, and click chat context information. The information panel opens with dialog details, assignments, IDs, or data for a specific message; its close button closes the panel.
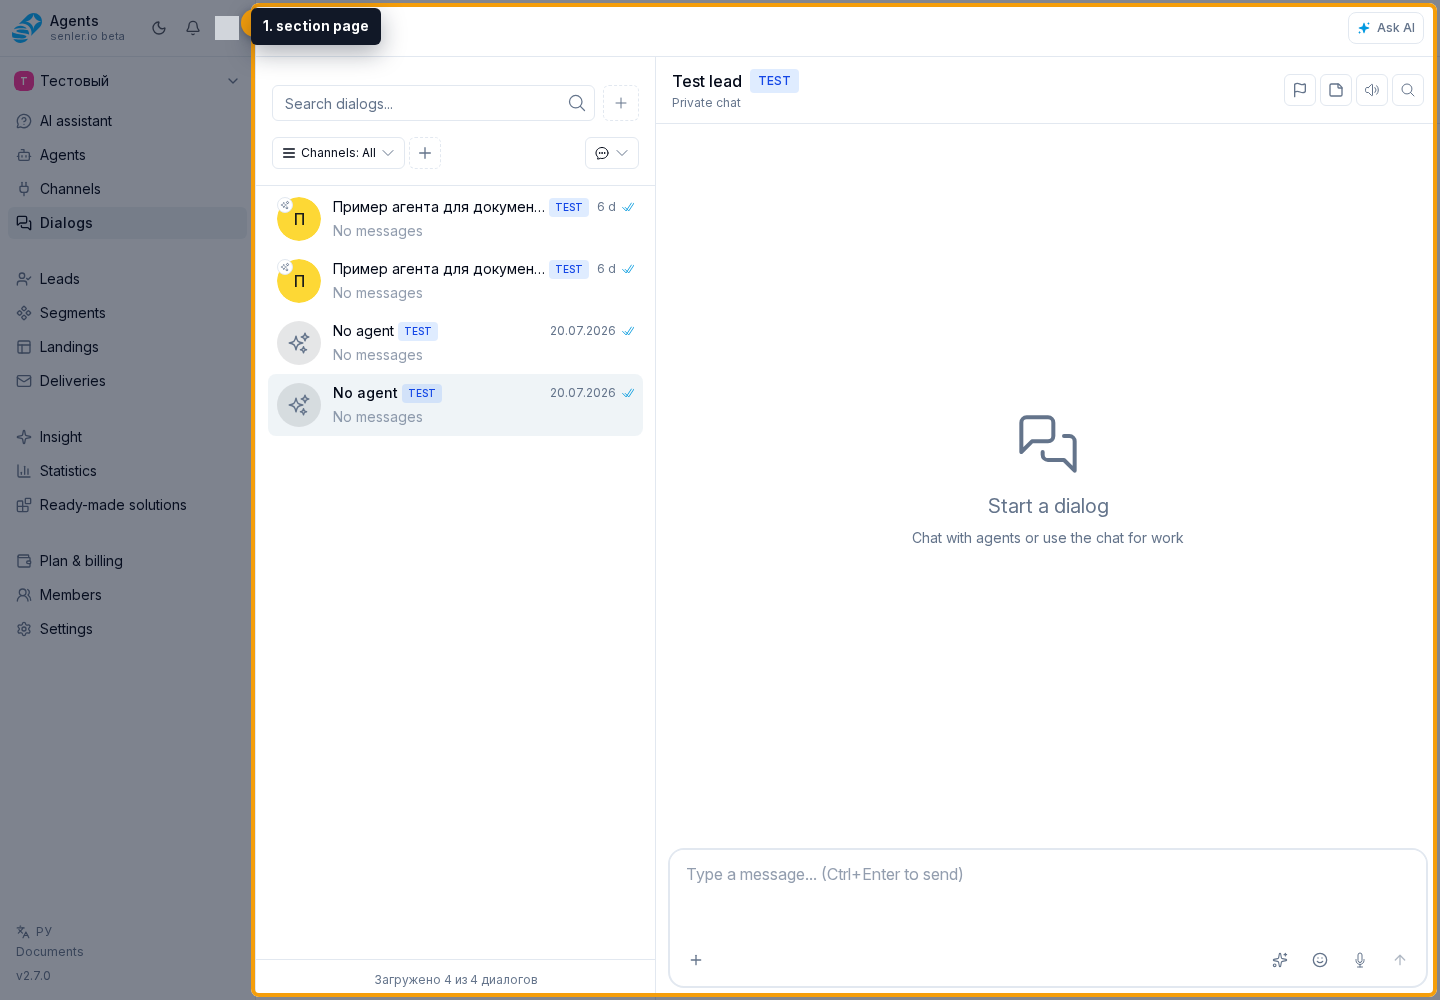
Dialog information
The dialog panel shows:
- Dialog ID with a copy action;
- channel and space;
- lead for personal chats;
- main agent;
- background agent;
- whether auto-assignment of agents is allowed;
- start, end and last event dates;
- number of events;
- duration;
- status: Active, Completed, or Archived;
- test dialog marker if the conversation was created while testing an agent.
For VK or Telegram post threads, the space can be shown as a post card: with space type, title, text preview, media/cover, and comment count. If the space has an external link and channel access is available, you can open it from the panel.
In a dialog for a VK wall post comment, the card may initially show community data instead of the publication itself. Post metadata updates automatically, so wait and reopen the panel. If the title, text, or cover does not appear for a long time, refresh that space in channel settings and check the channel's access to the VK post.
The main and background agents are edited separately. When choosing an agent, use search, select the required agent or No agent, and click Apply. Cancel or the close button closes the selector without saving.
The auto-assignment hint explains that new messages can assign an agent according to project rules when the dialog does not have an assigned agent yet. Manual assignment remains available. The Operator field separately shows the assigned team member.
For a private dialog, you can open the lead note through the chat button or the information panel, change the note text, and save it. "Cancel" closes the editor without applying the current draft.
Archive removes a completed dialog from active work. When deleting, check the confirmation carefully: confirm the deletion or cancel it.
Priority and SLA
Priority helps sort the support queue and apply different SLA thresholds. In the chat header and in the info panel, you can open the dialog priority selector and choose an option: no priority, low, normal, high, or urgent.
In the dialog list row, the current priority appears as a priority icon on the dialog avatar.
The SLA indicator is shown in the list only for dialogs where the customer is waiting for an operator response, if SLA is enabled in project settings for the current priority. Possible states are OK, warning, and breach. The SLA mode is configured in project settings: first response only or every customer question.
The current waiting state is shown in the Operator response status field.
If schedule accounting is enabled in support settings, warning and breach are reached using working intervals from the calendar: SLA waiting does not advance outside shifts. The current wait deadline is determined when that wait begins, so a later schedule change applies to the next wait for a reply. The same calculated deadline determines both the indicator color and the dialog position in the support queue.
If the SLA indicator is not visible, check:
- the dialog operator response status shows that the customer is waiting for a response;
- SLA is enabled in project settings for its priority;
- the project has warning and breach thresholds configured;
- the selected SLA mode matches the dialog history.
If the indicator remains "OK" longer than expected while schedule accounting is enabled, check whether future operator assignments had already been saved when the wait began. If the available working intervals are insufficient to reach a threshold, the warning or breach deadline will not occur. Editing the calendar does not recalculate a wait that has already started.
Message information
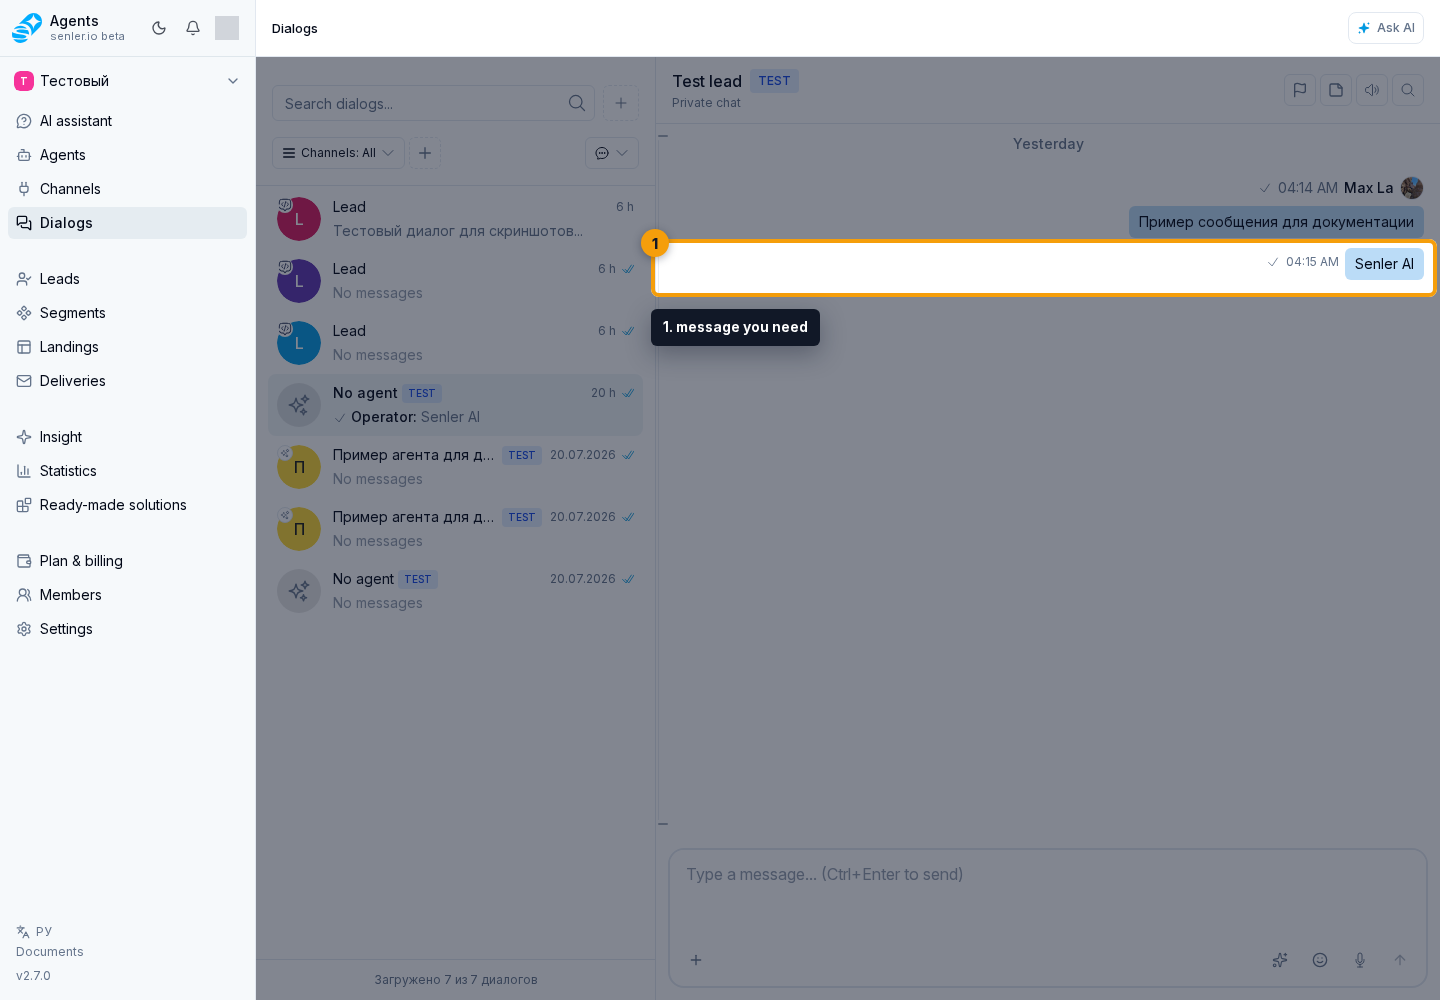
Open the context menu of the message you need and select Information.
The message bar may show:
- role and type of sender;
- text, attachments, buttons, and the purpose of each button;
- context used by AI;
- reasoning, when available;
- a short summary;
- MCP calls and tool calls;
- model and cost;
- status of sending, delivery and reading;
- read markers of operator and recipient;
- ID of event, message, lead, channel, space;
- editing history;
- reaction or survey data.
For message buttons, check the action type: sending a response back to the bot, opening a link, or running a site action. This helps explain why the button sent data back, opened a link, was converted for platform limits, or did not appear in the sent message.
In Widget messages, context tags may appear next to the message bubble: page, project, selected element, AI summary recommendation, or another entity. The tag can be expanded to view its details and, when there is a link or route, open it from the tag menu.
Before sending, these tags are visible in the widget composer and can be removed by the user. After sending, they become part of message history: in the information panel and next to the bubble they can be expanded and opened by link, but cannot be changed or removed.
From message information, you can show the event in chat and copy its ID. Additional IDs open under Identifiers and use a separate copy button. An attachment has a jump-to-message action; a location can be shown in chat or opened in Yandex Maps. When a metric is shown, its text and object open separately.
How to use for diagnostics
To diagnose an incorrect reply, open the message information and prepare:
- Dialog ID;
- Event ID;
- text of the question and answer;
- appointed agent;
- AI context;
- context tags, if the question came from Widget;
- MCP calls and tool calls;
- delivery or action error details, if any;
- button data for checking if the issue is related to button click or display.