
Knowledge Base
The knowledge base stores answer materials: instructions, files, tables, FAQs, product descriptions, and operating policies. It is important not only to upload a document, but also to link it to the right agent with the right permissions.
The page is in project settings and shows a resource tree: folders, files, and tables. At the top there is search, a counter of shown items, breadcrumbs for the current folder, and the add button.
Main actions
- search materials by title and content;
- open folders and return to the knowledge base root;
- create folders to group materials;
- create text documents directly in the cabinet;
- create tables for structured data;
- upload files and ZIP archives;
- open a material menu, then rename or edit it;
- open a newly created table in the editor;
- copy selected materials to another project;
- create a link for sharing selected materials;
- delete outdated items with a separate confirmation.
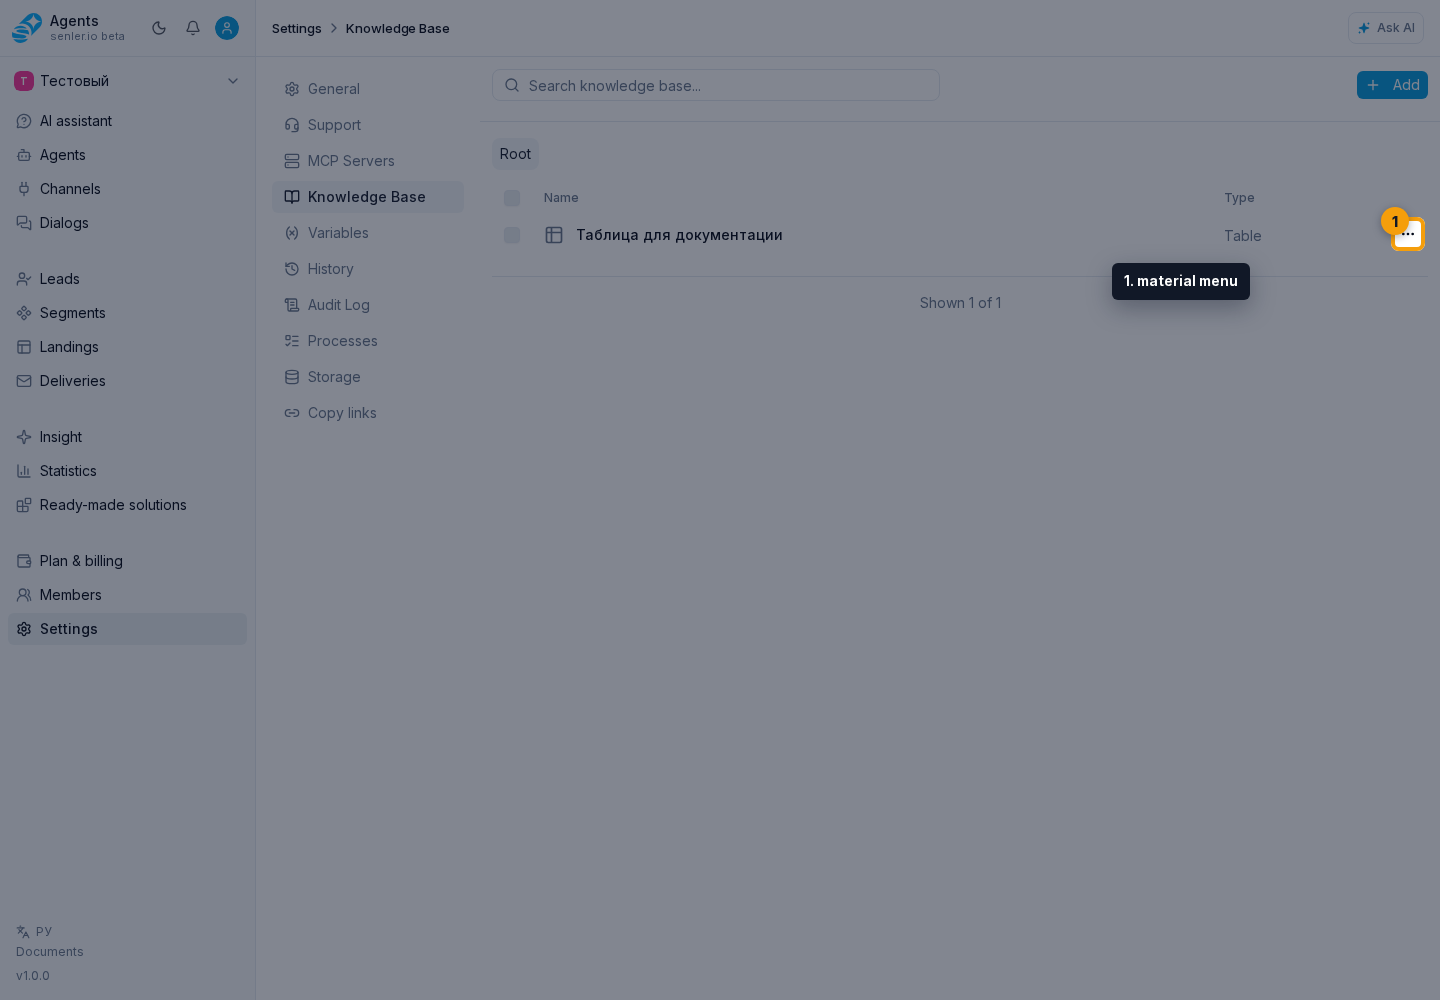
For the current folder, open edit, change its name, and click Save.
Resource types
- Folder is a container for files and tables. If you link a folder to an agent, current and future items inside it become available for that agent's answers.
- File - knowledge base document. Can be created manually or obtained from an uploaded file: Markdown, TXT, DOCX, PDF, or another supported format.
- Image - a separate knowledge base material that can be used next to Markdown instructions and in document preview.
- Table - structured data that opens in a separate table editor.
Markdown files may store metadata in frontmatter: for example document ID, section route, or source. This data helps search and links the answer to the right material, but it does not replace clear instruction text. If Markdown contains links or images, the cabinet tries to connect them with uploaded knowledge base materials.
Card statuses
The cards may have statuses:
- "Inactive" - the resource is disabled and may not be used in answers.
- "Processing" or "Processing: N%" - the file is still being extracted or indexed; click the indicator for details.
- "Processing error" - the text could not be prepared; open the indicator, check the reason, and retry the upload when needed.
- "Without text extraction" - the file is saved, but the text is not extracted for search.
Deleting materials
Deleting an element cannot be undone through a regular form. Before deletion, check whether this file, folder, or table is connected to an agent. If the resource is already linked to an agent, first open the agent settings and check the "Knowledge Base" block.
To move several selected materials, click Move, choose the destination folder, and confirm with the move button. For mass deletion, use Delete and the separate confirmation.
For mass deletion or moving, check background processes and event history: these operations may run sequentially, and the interface does not always show detailed progress for each item.
If materials need to be moved to another project, select the items and use Copy or Share. These actions create a resource package, and package import is shown as a background process.
If knowledge does not appear in answers
Check in order:
- The resource exists in “Settings” -> “Knowledge Base”.
- The resource is active and is not in a processing error.
- The file or folder is linked to the desired agent.
- The “Receive Data” right is enabled for the agent.
- If the question involves an image, PDF, or another file, that material is also uploaded, active, and connected to the agent.
- If the question is related to a site element, check whether there is a separate article or instruction that describes that element.
- If the document links to an image or file, the target material really exists in the knowledge base and the Markdown link is written correctly.
- After changing the document, the answer was tested on a real question.
Where this is in the interface
Main elements in this section:
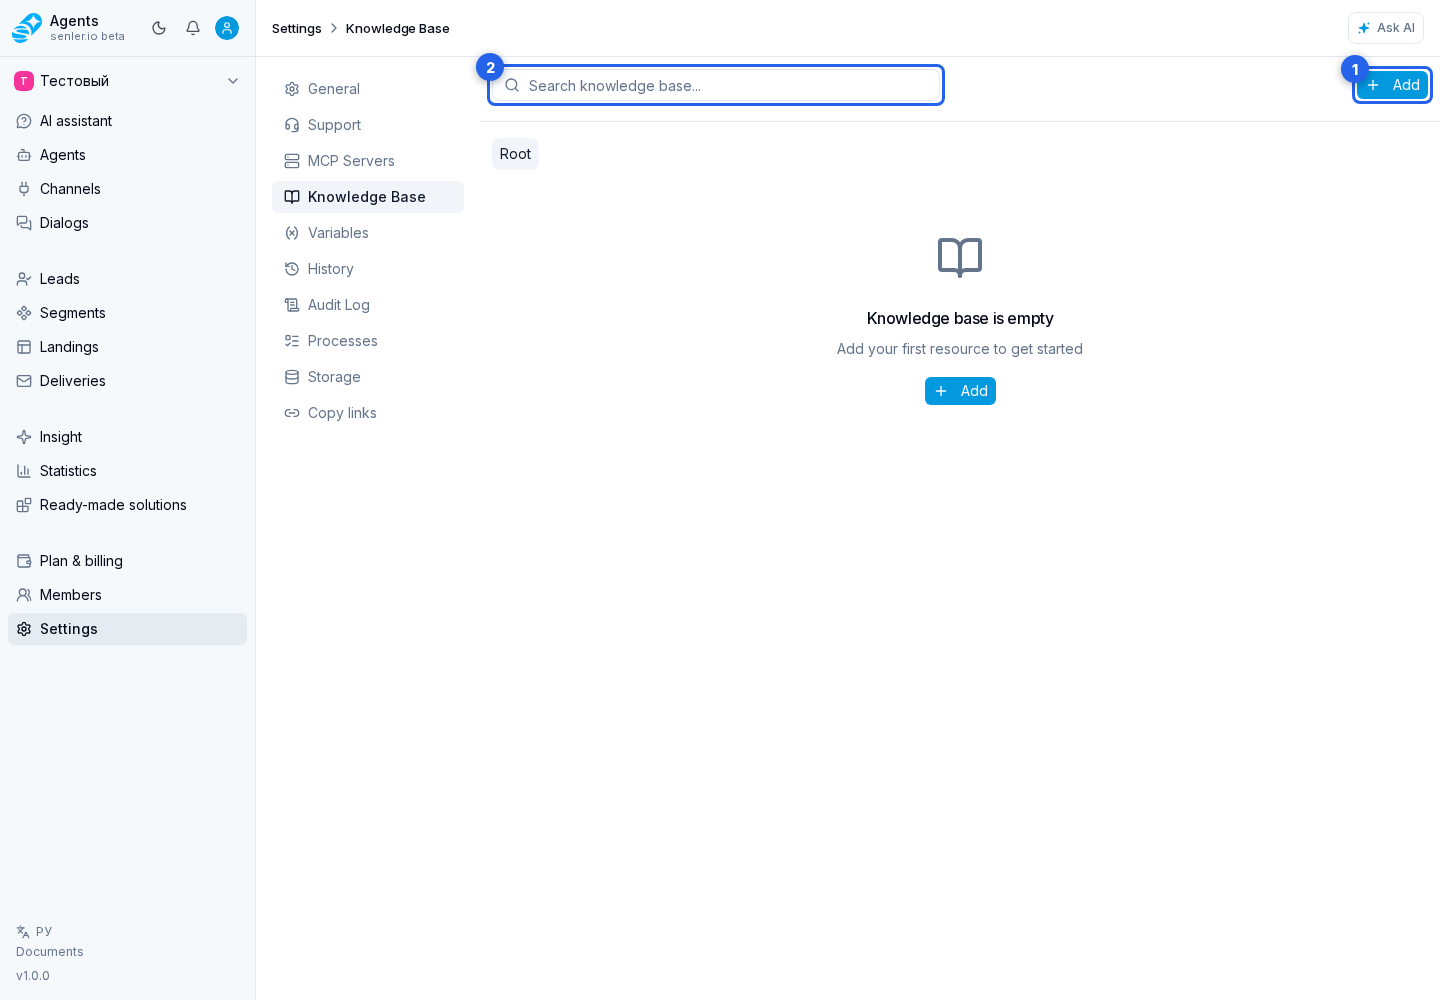
- add knowledge base button
- create folder button
- folder name field
- folder tab
- knowledge base material
- knowledge base page
- knowledge base search field
- project settings page
- Settings item in the side menu