
Ready-made solutions
Ready-made solutions
The "Ready-made solutions" section shows solutions that can be installed in the project and applications that already have access to the project.
Open the project and choose "Ready-made solutions" in the side menu. The section has two tabs: "Catalog" and "Installed".
Catalog
The catalog shows published ready-made solutions available for installation. The card shows the name, description, cover or icon, and install count.
Open a card to check the solution description and website, installation parameters, and developer access setting for related dialogs. If the solution is already installed, you can go to the installed copy management instead of installing it again.
Ready-made solution access
A ready-made solution is installed from the catalog without a separate selection of project API permissions. It receives only the resources and setup steps from the published version. Separately, the project owner decides whether the developer may view dialogs related to the solution.
Permissions for other applications
The Installed tab can also contain other applications connected to the project. If such an app requests access to project data or actions, grant only the permissions it needs. The cabinet shows only permission groups allowed for that app, so you cannot grant more access than the app requests.
Installing and changing permissions requires project app management permission. Without it, the section may be view-only.
Developer dialog access
For a ready-made solution, you can separately control developer access to that solution's dialogs. This is not full project access: the developer sees only dialogs where agents from the installed ready-made solution participated.
Access is enabled by default during ready-made solution installation. The user can turn it off before installation or later in installed app management. The solution author does not control this setting for the user's project.
Installed applications
The "Installed" tab shows applications already connected to the project. Each installation shows status, installation date, version, number of granted permissions, and developer dialog access state.
Agents, managed segments, landings, and other resources added by a ready-made solution may be view-only. Their content changes when the installed solution is upgraded, so the cabinet does not offer editing them as standalone resources. On an agent form, the ready-made solution notice shows the source and settings availability.
Through installation management you can:
- change granted permissions;
- enable or disable developer dialog access;
- upgrade the ready-made solution to a new published version;
- delete the installation.
When a manual upgrade is available, the cabinet shows the current version and its publication date, the new version, and release notes. Before clicking Upgrade, read the upgrade impacts section when it appears:
- a resource will be removed from the project;
- access to an MCP server must be reconnected;
- a landing button subscription must be configured again.
This is not a general upgrade error but a list of actions for the current installation. Required setup steps may appear again after a manual transition.
A version using Automatically is applied without a button only when the entire path from the installed version consists of automatic releases. If any version on the path uses After Confirmation, the installation waits for a manual upgrade. Rolling back or selecting an intermediate release is not supported.
If the app description is temporarily unavailable, the cabinet shows current permissions and lets you delete the installation, but may disable permission editing so extra access cannot be granted accidentally.
Ready-made solution setup
After installation, the cabinet guides the user through steps in the order defined by the author. A required step cannot be skipped; an optional step can be postponed. Depending on the solution, the wizard may ask the user to:
- fill in project variables;
- select the default agent;
- select an agent for a specific dialog;
- complete a subscription;
- follow an instruction from the author.
A manual upgrade can add new required steps. Complete them to return the installation to Active status. If the cabinet warned about resource removal, MCP reconnection, or a landing button, complete that action after the upgrade and test the solution's working flow.
Installation statuses
The installation status shows the state of the app connection to the project.
- "Active" - the app is installed and can work.
- "Setup required" - the installation was created or upgraded, but required steps still need to be completed.
- "Paused" - the installation is kept, but app operation is temporarily limited.
- "Revoked" or "Uninstalled" - access has been revoked and the installation is removed from active work.
If the installation has setup steps, use the related ready-made solution installation guide.
Deleting an installation
Deleting an installation disconnects the app from the project. Before deletion, check whether agents, workflows, integrations, or data from this ready-made solution are used in project operations.
Where this is in the interface
Main elements in this section:
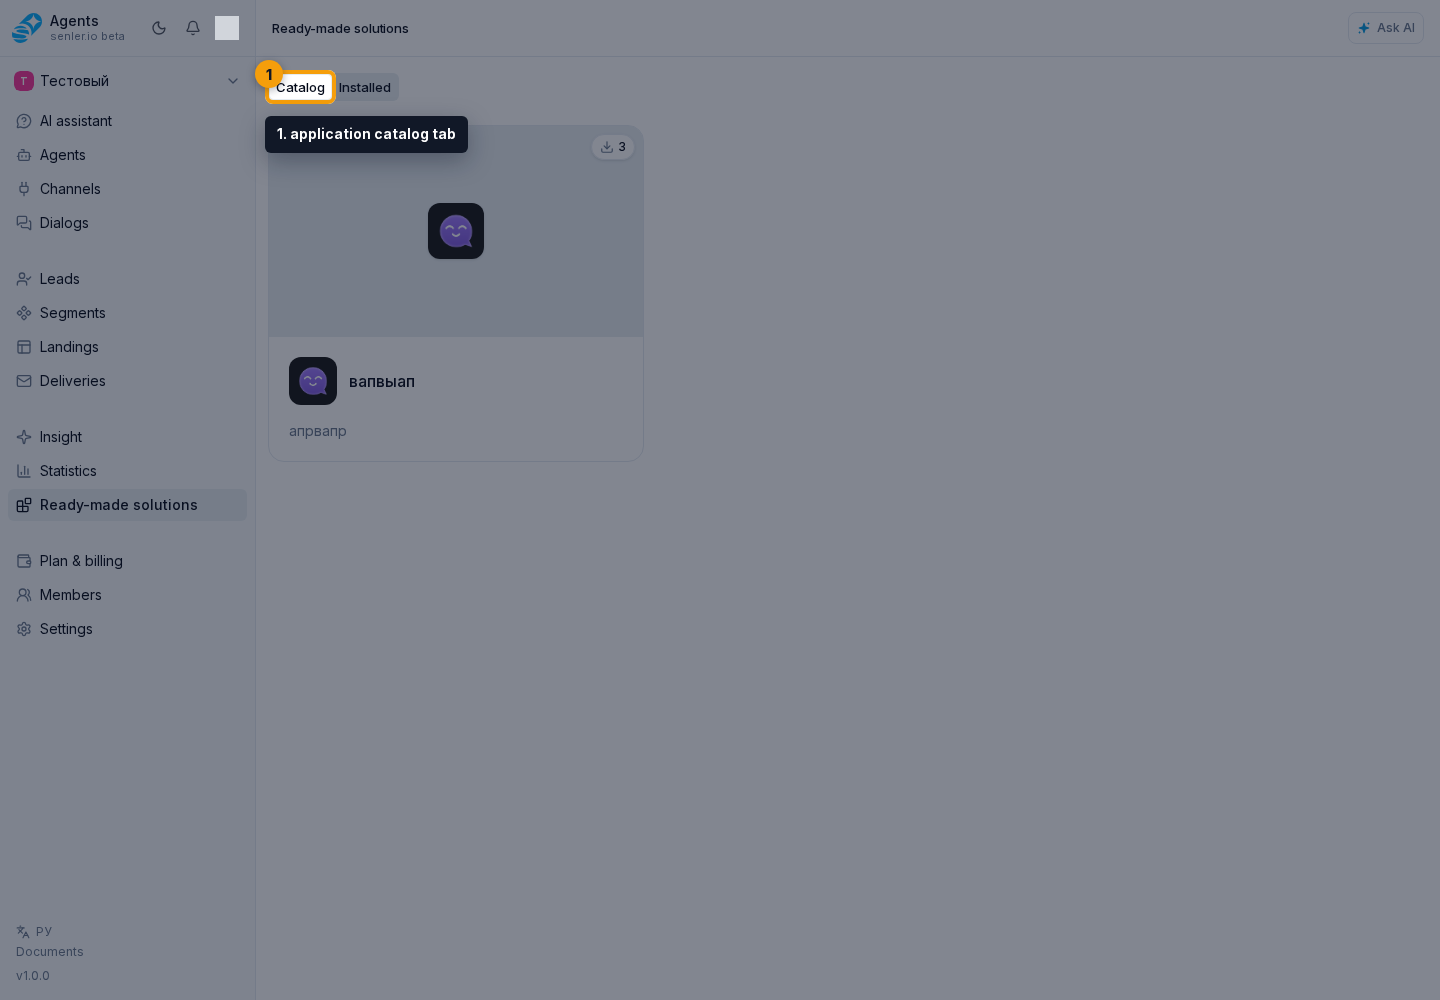
- Ready-made solutions item in the project side menu
- project applications page
- application catalog tab
- installed applications tab
- application card in the catalog
- install application button
- manage installed application button
- developer dialog access toggle
- upgrade installed ready-made solution button
- upgrade impacts that require attention
- delete application installation button