
Developer Section Overview
Developer section
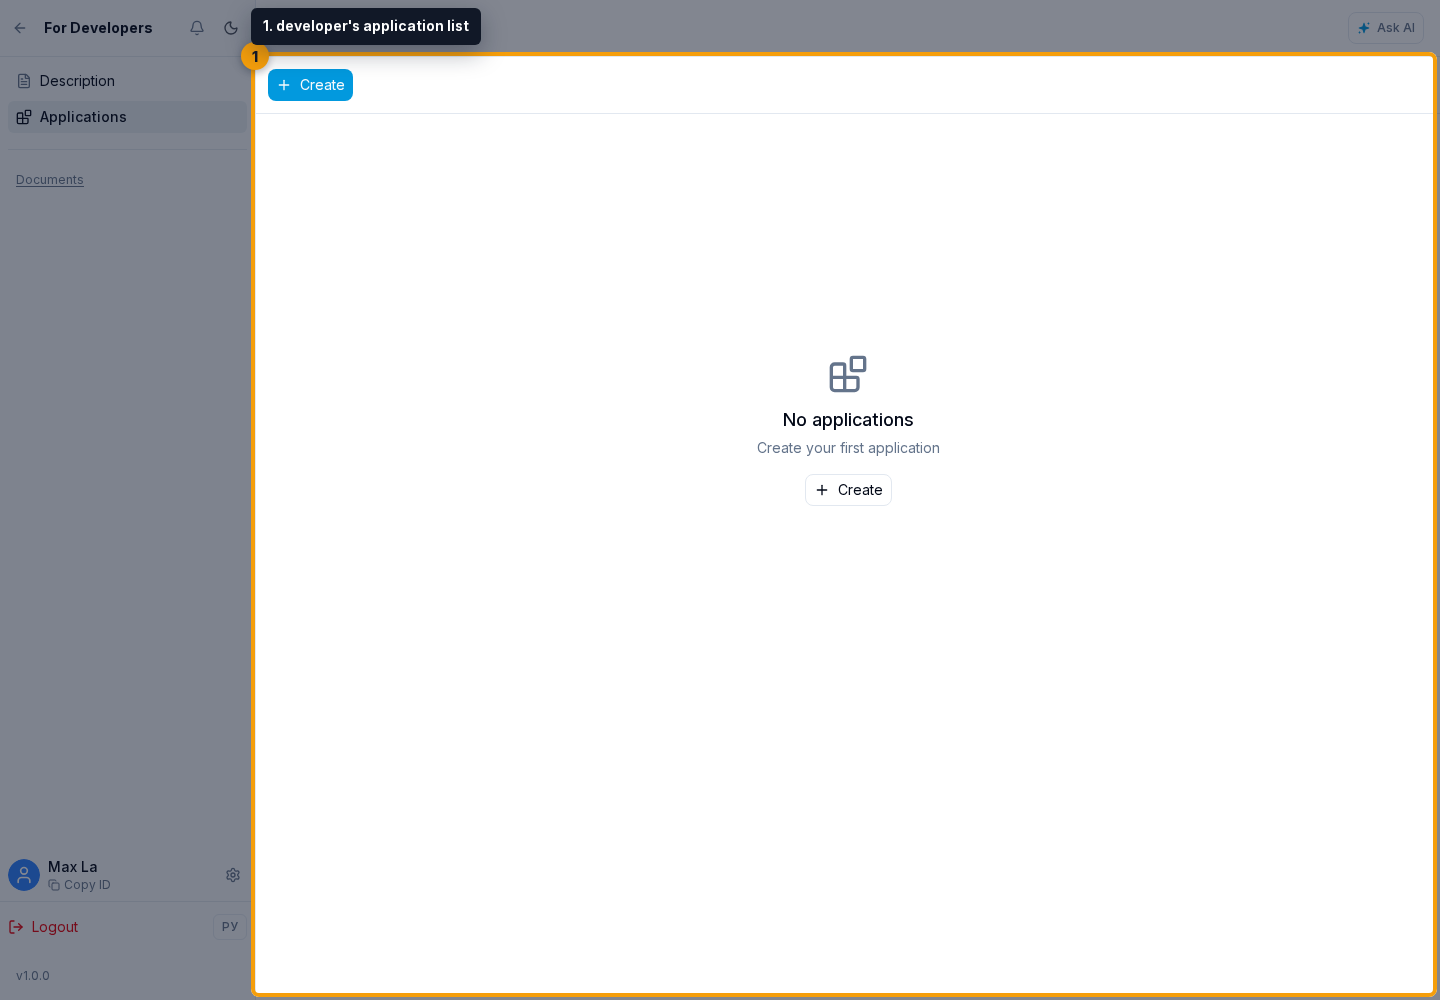
Open the Developer section or For Developers. Its main page contains your application list. The section is intended for external integrations, ready-made solutions, and other application types available in the current cabinet version.
Features
- external website integrations through application OAuth credentials;
- ready-made solution catalog;
- installation of applications in the project;
- installed application management;
- ready-made solutions;
- the ready-made solution version list, individual version settings, and installation steps;
- Tool applications that add agent actions, an embedded page, or both capabilities at once;
- application webhooks;
- links to API documentation and Storybook.
Application types
- Website integration - an external site connects the project using a Client ID, Client Secret, redirect URL, and selected permissions.
- Ready-made solution - a ready-made workflow or funnel that users install into their project; this type does not have OAuth settings.
- Tool - one installable application can add HTTP or MCP tools to agents, a page inside the cabinet, or both capabilities at once. The developer enables tools and the page independently.
Creating a developer application
On the application creation page, enter:
- name;
- description;
- application type: select one card.
Click Create. The application page opens; change its main details, OAuth, and permissions on the settings page.
Application members
A developer application has a separate Members page. It belongs to the team that develops and publishes the application, not to the projects where the application is installed.
Project members are managed separately: open the Members item in the project side menu, then the project members page and the invite employee button. Do not use developer application members to grant project access.
The "Members" tab shows active and inactive members, role, and date added. Search works by name, email, or ID. Roles are owner, administrator, developer, and viewer. The owner cannot be edited from the regular menu; administrators and the owner can manage members.
The "Invitations" tab shows invitations by user ID or email. An invitation can be awaiting a response, accepted, declined, expired, or cancelled. An invitation awaiting a response can be resent after a short delay or cancelled; after cancellation, its link no longer works.
How to invite a member
- On the application members page, click Invite.
- Choose invitation by user ID or by email.
- Enter the user ID or email, depending on the selected method.
- Choose a role: administrator, developer, or viewer. The owner role cannot be transferred through an invitation.
- Click Create invitation.
- The cabinet shows the invitation link. Click copy and send the link to the invited person.
The person does not become an application member until the invitation is accepted. The created invitation also appears on the "Invitations" tab, where its status can be checked.
How to edit or remove a member
Open a member on the Members tab. On the edit page, choose the role and click Save. The permissions block shows the rights granted by the role; individual permissions are not toggled on this page.
To revoke application access, click Remove member and confirm through Remove. This removes the person from the developer application team, but not from projects where they have separate membership. The application owner cannot be changed or removed this way.
Catalog and settings
- project-ready solutions are available through Ready-made solutions in the project side menu;
- a separate Plugins item shows published website integrations and Tool applications;
- a Tool application is installed once, after which its actions can be enabled for selected agents and its embedded page can be opened from installation management;
- a website integration starts connection on the developer's external website through OAuth;
- the installation may request access to the project and configuration steps;
- for a ready-made solution, developer access to related dialogs is enabled by default during installation, but the project owner can turn it off before installation or later; access is limited to dialogs where agents of that solution participated;
- an installed app can be removed when it no longer needs project access;
- if installation fails, check the published version, required setup steps, and user permissions in the target project.