
Project API keys
How to open the list
On the General page, find the API card and click Settings.
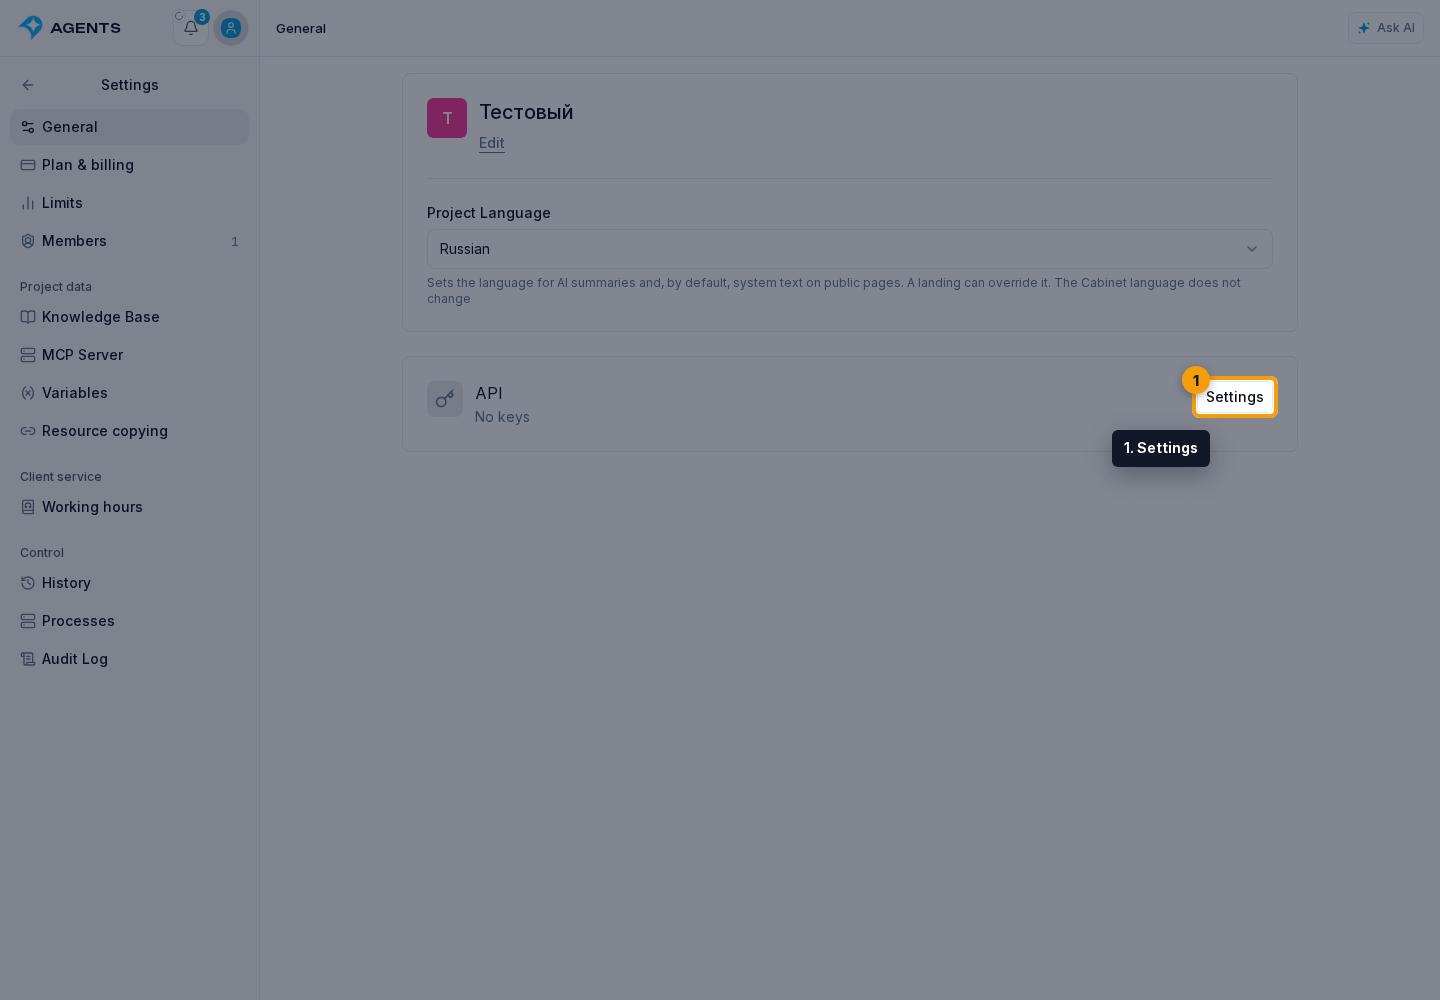
This opens the project API key page.
Each key card shows:
- name;
- masked prefix;
- granted permissions;
- Active, Inactive, or Expired status;
- creation date;
- last-used date or Never;
- expiration date or Never expires.
Expired status is determined by the expiration date even if the key itself was not disabled.
How to create a key
Click Create API key.
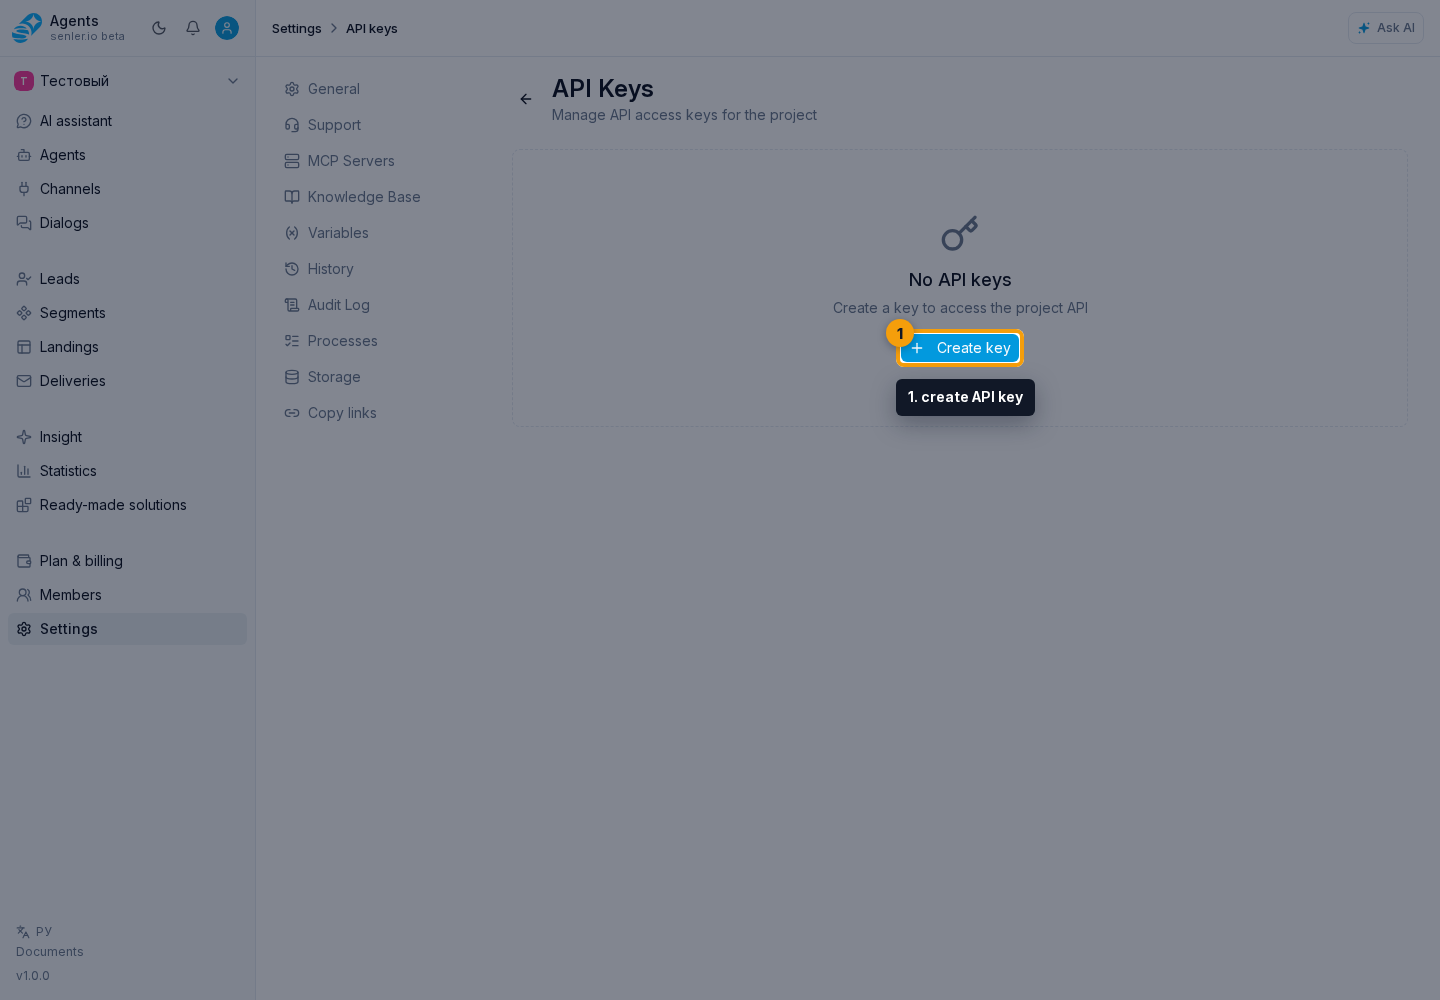
On the creation page:
- Enter a name.
- In Permissions, keep only the access required by the integration.
- Optionally set an expiration date. An empty field creates a key without an expiration date.
- Click Create API key.
After successful creation, a dialog displays the full value. Click Copy and save the key in secure storage. After the dialog is closed, the list displays only its prefix; the full value is no longer available in the interface.
How permissions work
Permissions are grouped by entity. Select all adds every available optional permission, including write permissions; Deselect all removes only optional permissions.
The required project permission is locked in the selector and preserved during creation and editing. This is enforced by the form, so it cannot be removed.
Use the smallest sufficient permission set. Do not include the full key in documentation, messages, or support requests.
Editing
Click the edit icon for the relevant key. On the edit page, you can:
- change the name;
- change permissions;
- enable or disable the key using the status switch.
The expiration date cannot be changed on the edit page. After saving, requests use the new status and permission set.
Deletion
Click the delete icon, verify the key name in the dialog, and confirm with Delete. Requests using the deleted key can no longer authenticate.
If the key may have been exposed, delete it and create a new one instead of merely renaming it.
If an integration receives 401 or 403
Check in this order:
- the integration uses the full current key value;
- the key is active and has not expired;
- the key belongs to the correct project;
- the key has permission for the requested operation;
- after rotating the key, the integration actually saved the new value.