
How to Send Messages in a Dialog
In an open dialog, an operator can send a new message, reply to a selected message, or edit their own message.
- Open Dialogs in the project side menu and choose the needed conversation in the list.
- Write in the input field. If needed, add an emoji with the emoji button.
- Click the send button. From the keyboard, use
Ctrl+Enteron Windows and Linux orCmd+Enteron macOS.
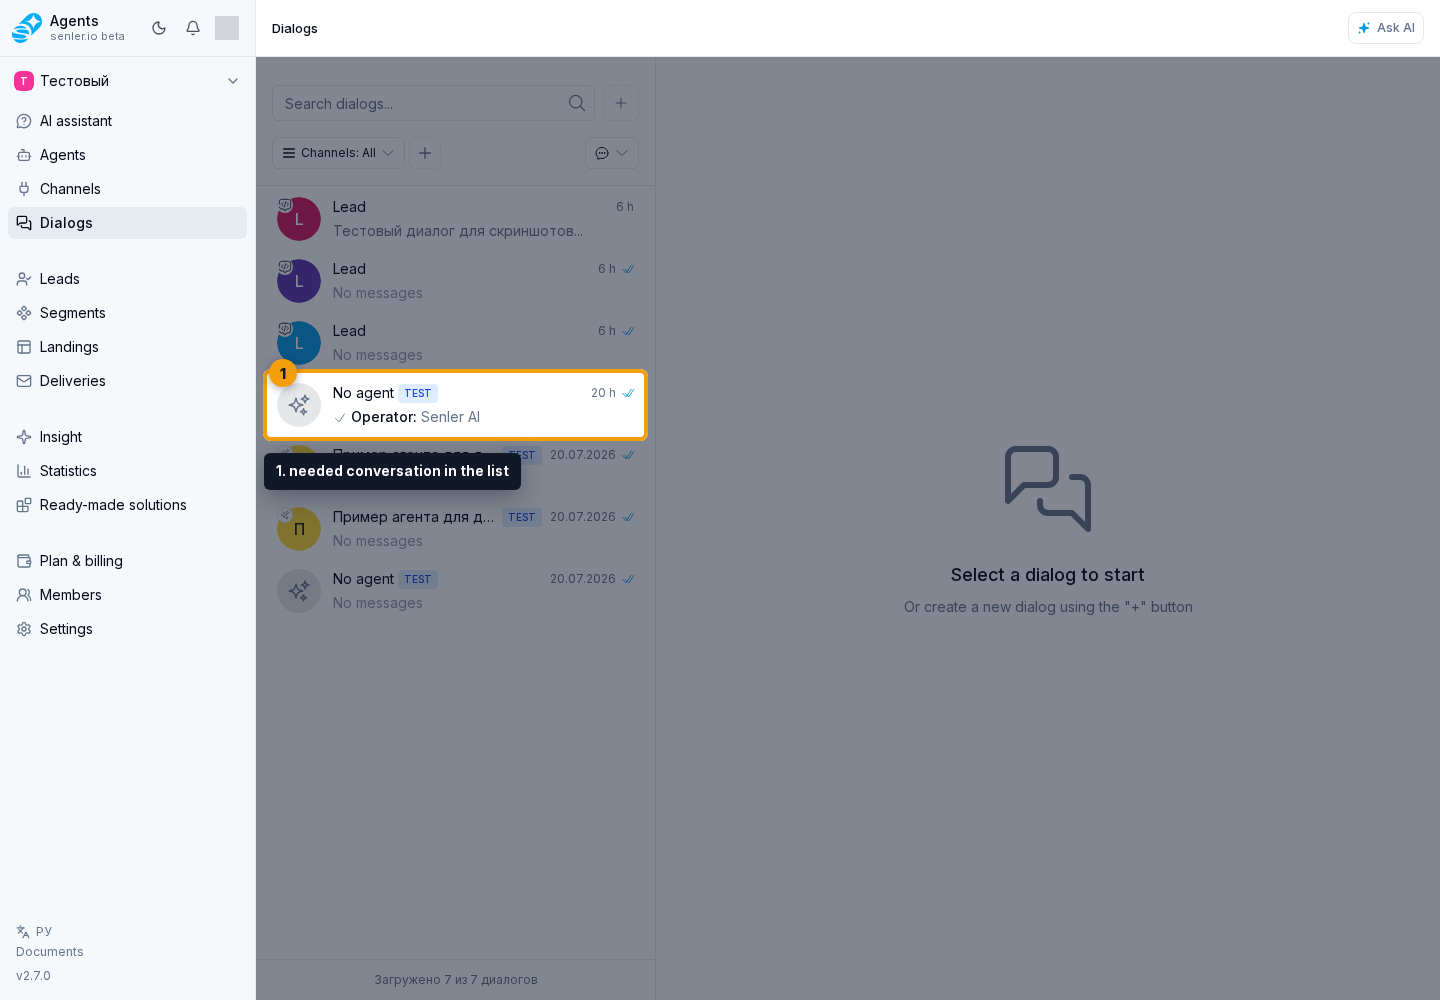
After you select a conversation, its chat opens. A draft is saved separately for the current dialog, so entered text remains when you switch conversations. On a narrow screen, the back button in an empty chat and the back button while loading return to the list.
The cabinet respects the format stored with each message. A Markdown message renders headings, lists, links, quotes, tables, and code blocks. Plain text preserves line breaks but shows asterisks, hash signs, and other Markdown characters literally.
Long messages in VK
If an outgoing VK message is longer than 4,000 characters, Senler AI sends it automatically as several consecutive parts. Whenever possible, it splits between paragraphs, lines, or words, so you do not need to divide the text manually. It remains one message in the cabinet, while the VK recipient sees several messages in a row.
If the long text includes a reply or attachments, they are sent with the first part. Message buttons are attached to the last part. The final delivery status appears after all parts have been processed.
A VK message sent in several parts cannot be edited yet: the action menu explains why. Delete removes all discovered parts on the VK side. For details about action restrictions, see Message Actions.
Reply to a Message
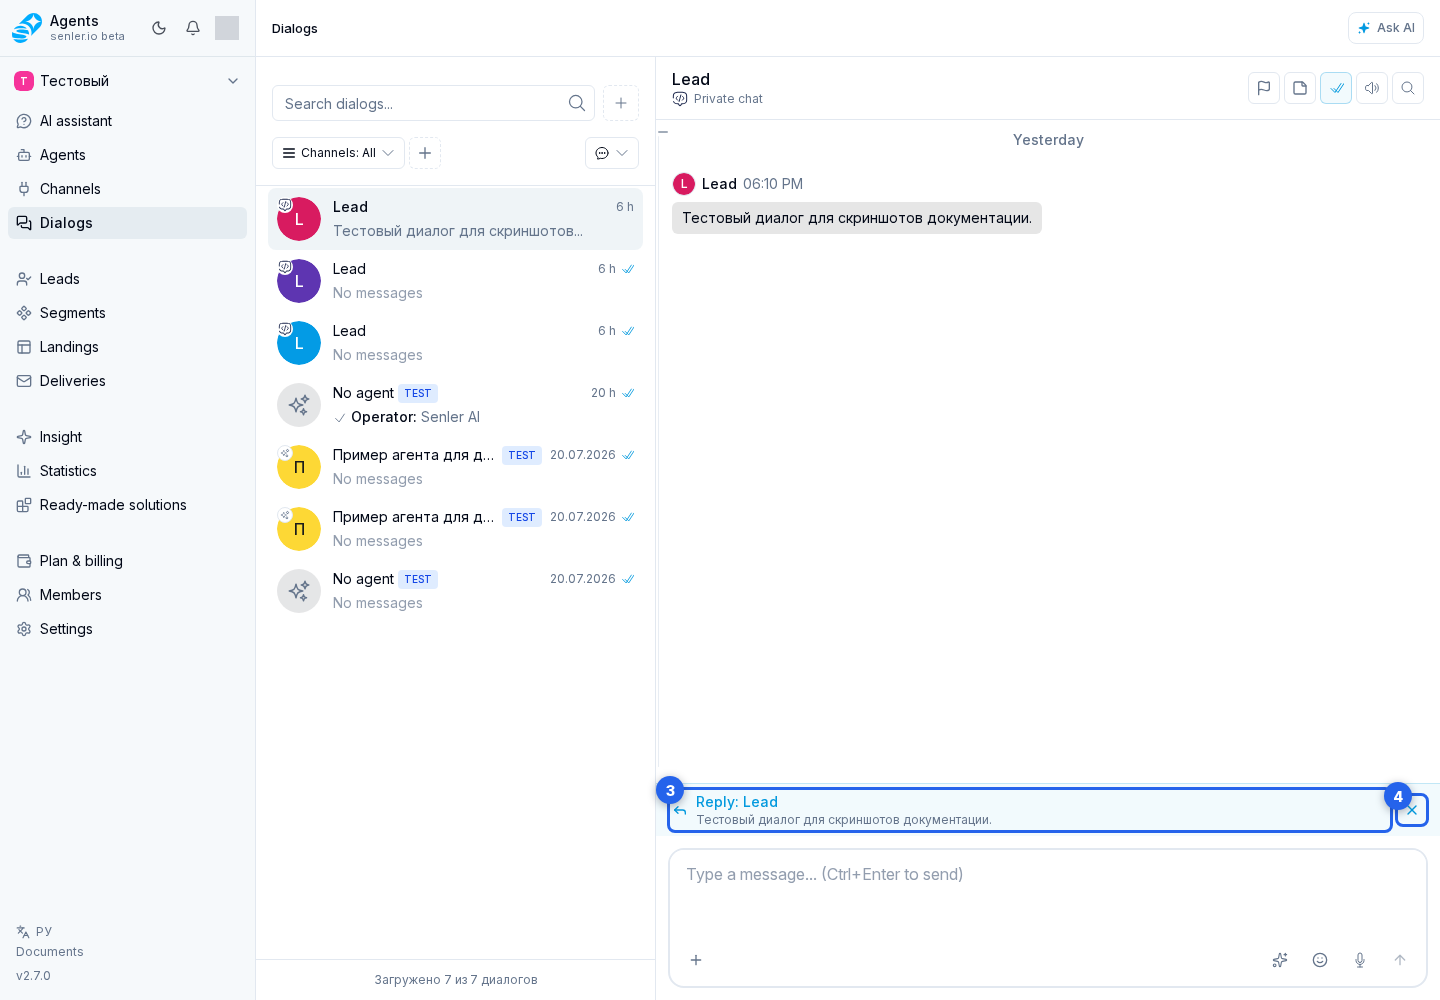
- Open the menu of the needed message and choose Reply.
- Write and send your reply. It remains linked to the selected message.
- In the reply block, click the preview to jump to the source message, or cancel the reply.
Edit a Sent Message
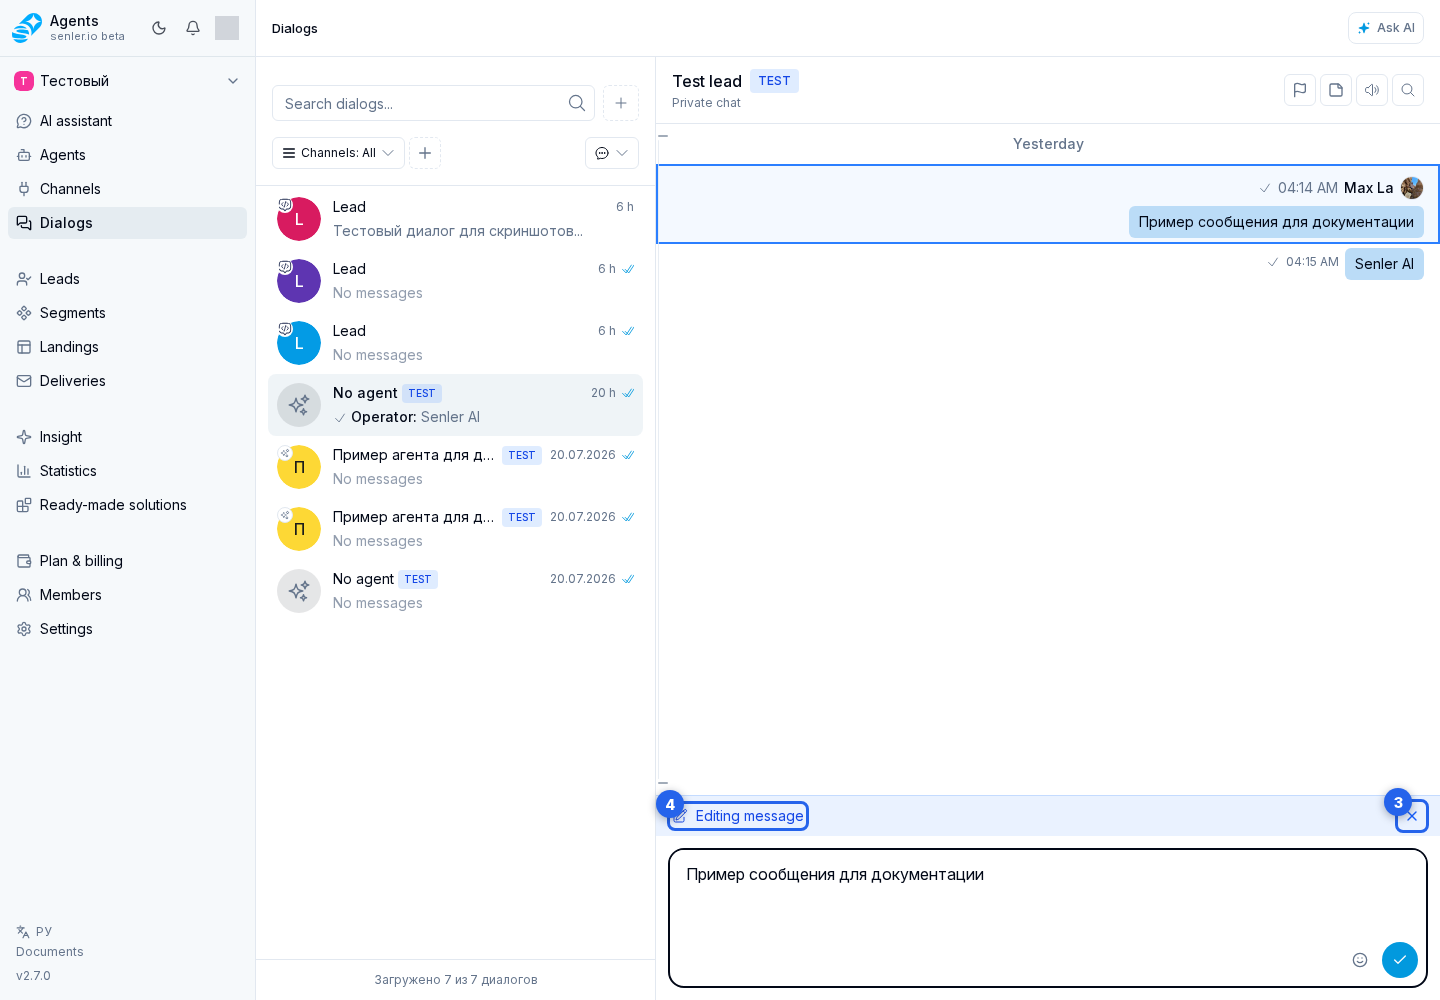
- Open the menu of your message and choose Edit.
- Change the text and save it with the send button,
Ctrl+Enteron Windows and Linux, orCmd+Enteron macOS. - Before saving, you can cancel editing or jump to the edited message.
Improve a Draft With AI
- Choose the needed conversation in the list and write a draft in the input field.
- Open AI help and choose improve wording, shorten, clarify, or fix errors. In an empty field, you can choose text generation.
- For a custom task, use the request field and submit it. To continue in AI chat, choose "Open chat".
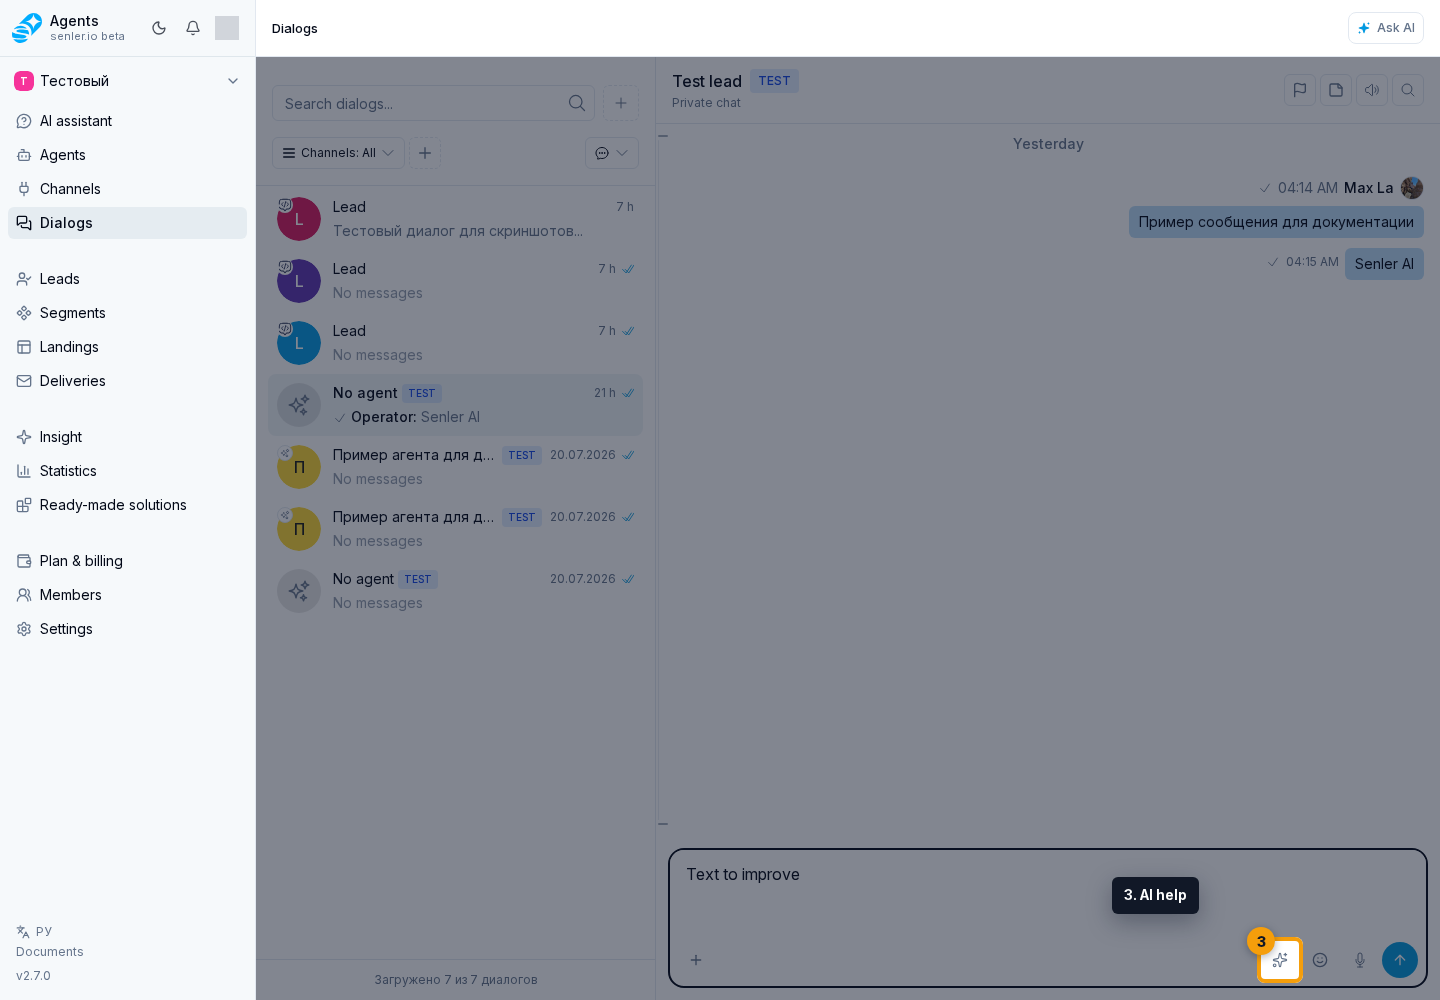
AI shows an edit preview. You can accept it, restore the original text, close the edit, or discuss it in chat. The change is not sent to the client without operator confirmation.
Use an Agent Suggestion
If the agent has an Operator reply template, a suggestion may appear in the dialog that the client cannot see. You can move it to the message input field, edit it, and use the send message button.
If the suggestion belongs to a specific client message, click the preview to jump to that message. Attachments prepared by the agent may also be added to the draft; you can check or remove them before sending.
Manage the Selected Dialog
Above the conversation, you can open dialog information, turn notification sound on or off, and change the priority. The Message history is below these controls.
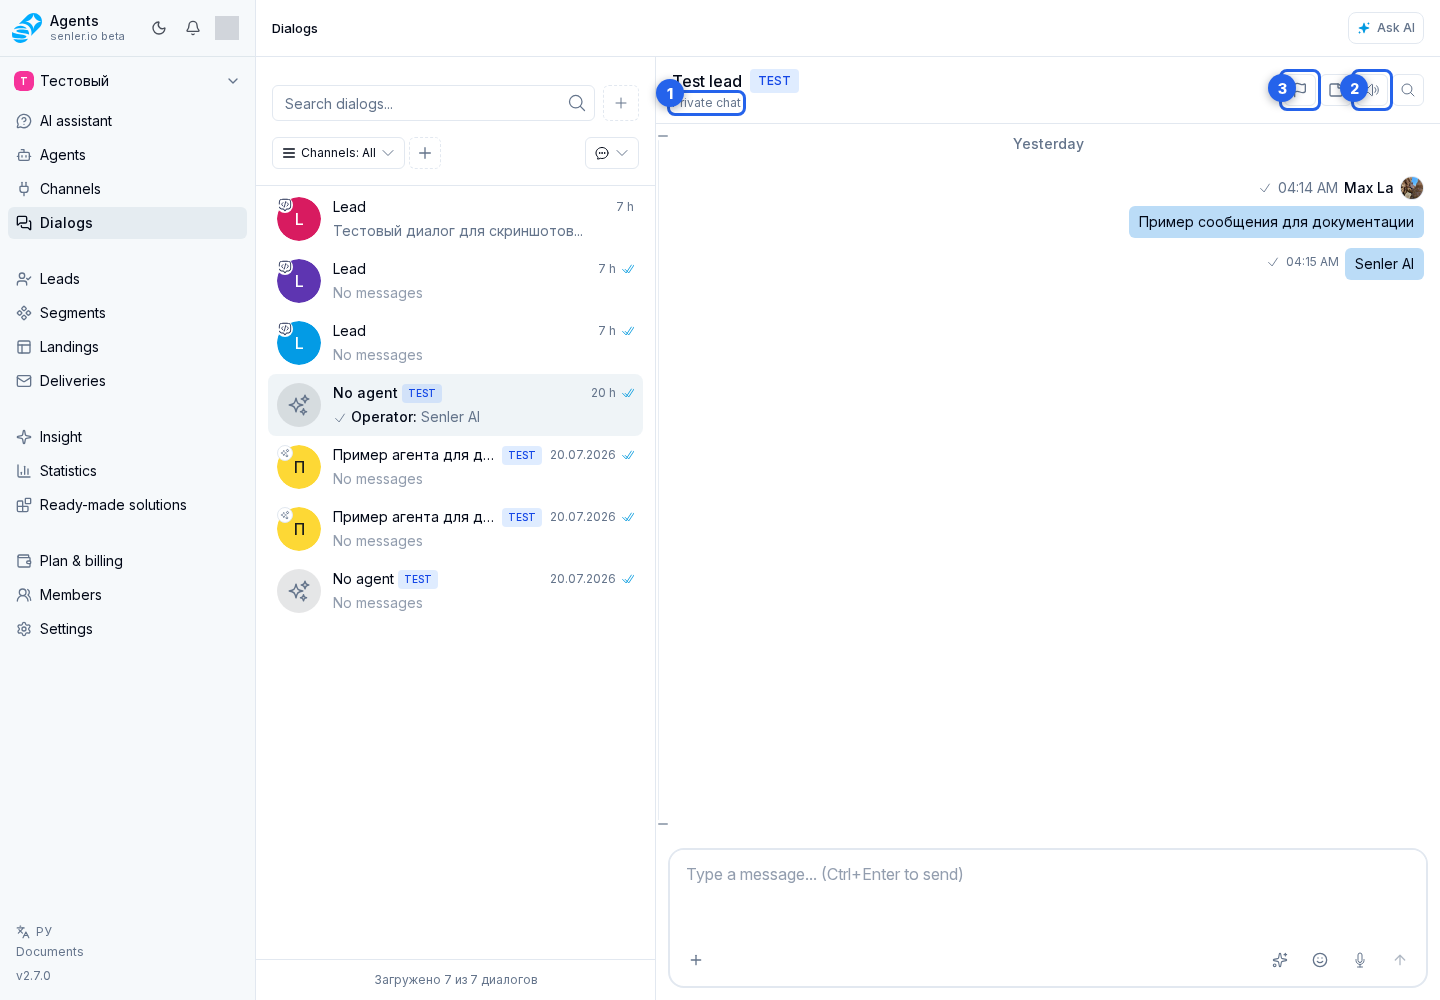
The back button returns to the dialog list. The manual operator-answer marker lets you mark that the client has received a reply.
Find a Message
- Click the search button.
- Enter words from the message in the input.
- Select a search result to jump to the message. You can then close the results.
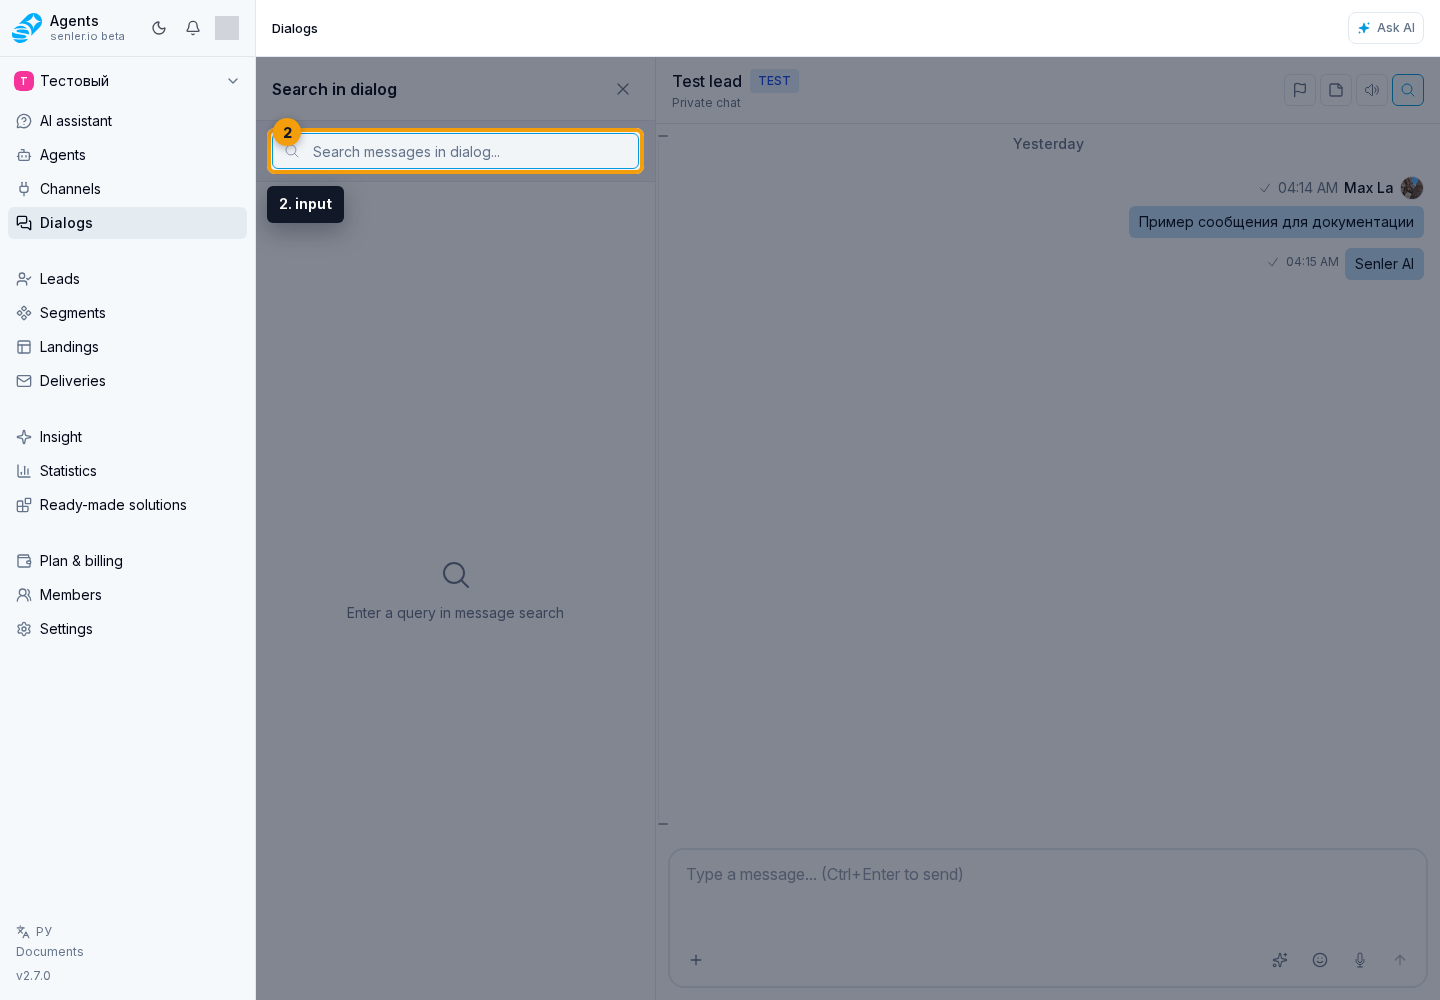
On a narrow screen, the close button closes the search results and returns to history. In test mode, a test-dialog creation button may appear nearby.
In a long message history, a semantic navigation rail may appear. Hover over a dialog section marker to see its topic and summary; click the marker to jump to that point.
Check Message Status
- Queued — the message is waiting to be sent.
- Sending attachments — files are still uploading; wait for the upload to finish.
- Sending to the platform — the message is being transferred to the connected channel.
- Text sent, some attachments were not delivered — the channel has already accepted the text, but at least one file could not be sent. Do not automatically send the text again; inspect the attachment warning or message information.
- Not delivered or Send error — the message was not delivered.
If the send request itself fails, a Send error row with a short reason appears above the input. Expand it to inspect the available error code, HTTP status, and request endpoint. Copy for support copies these details; it does not resend the message.