
MCP server setup wizard
Opening the wizard
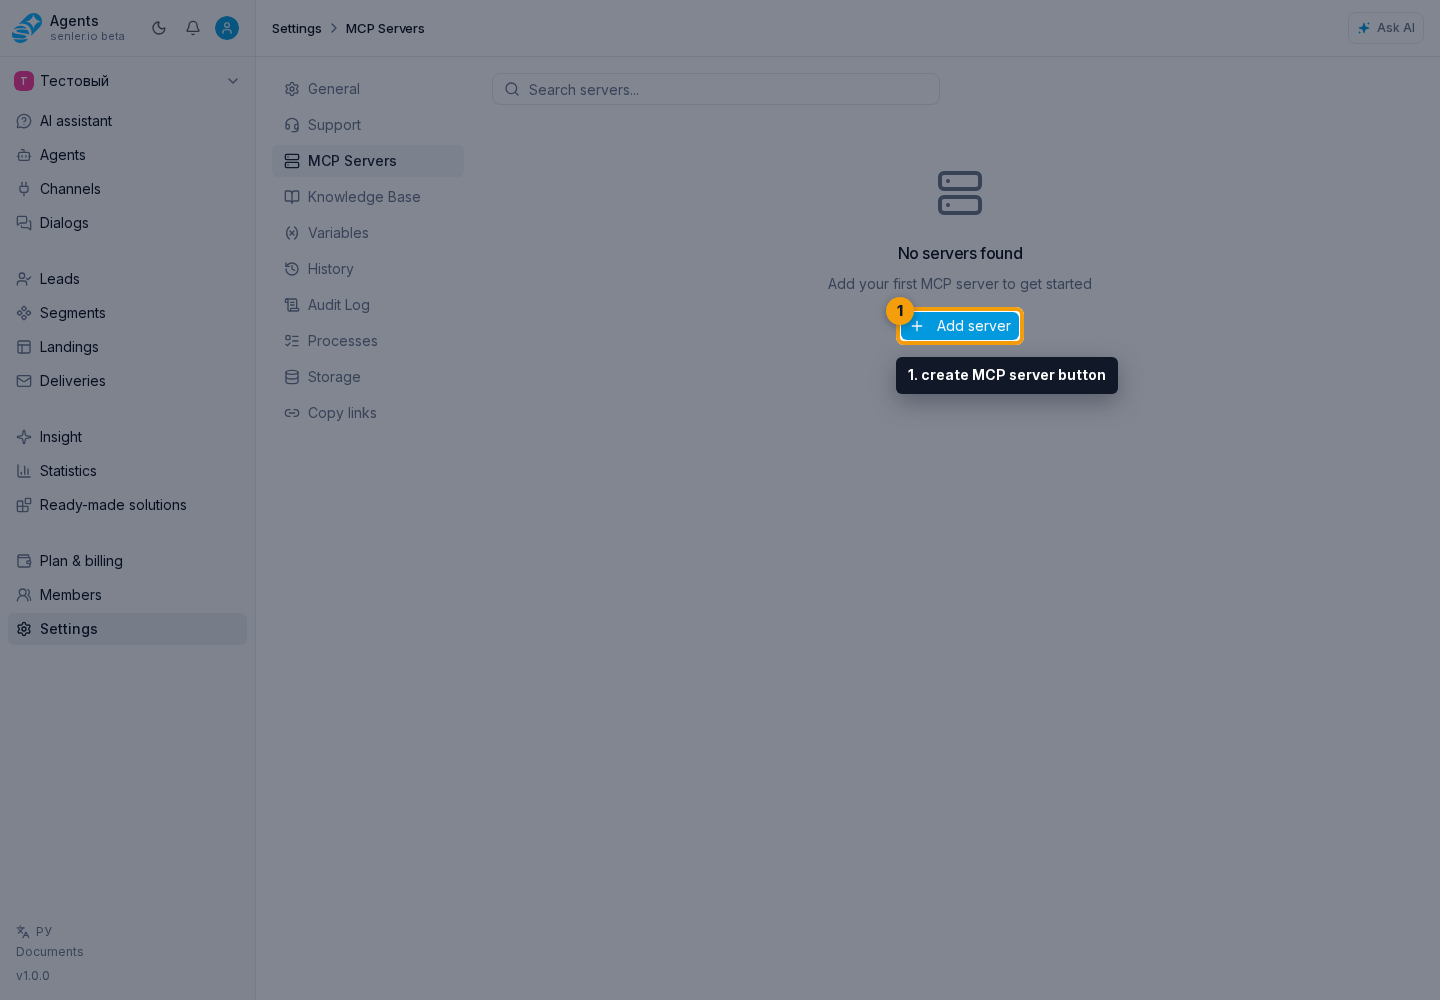
In MCP servers, click Add MCP server.
The first step displays search, ready-made templates, and Custom MCP server.
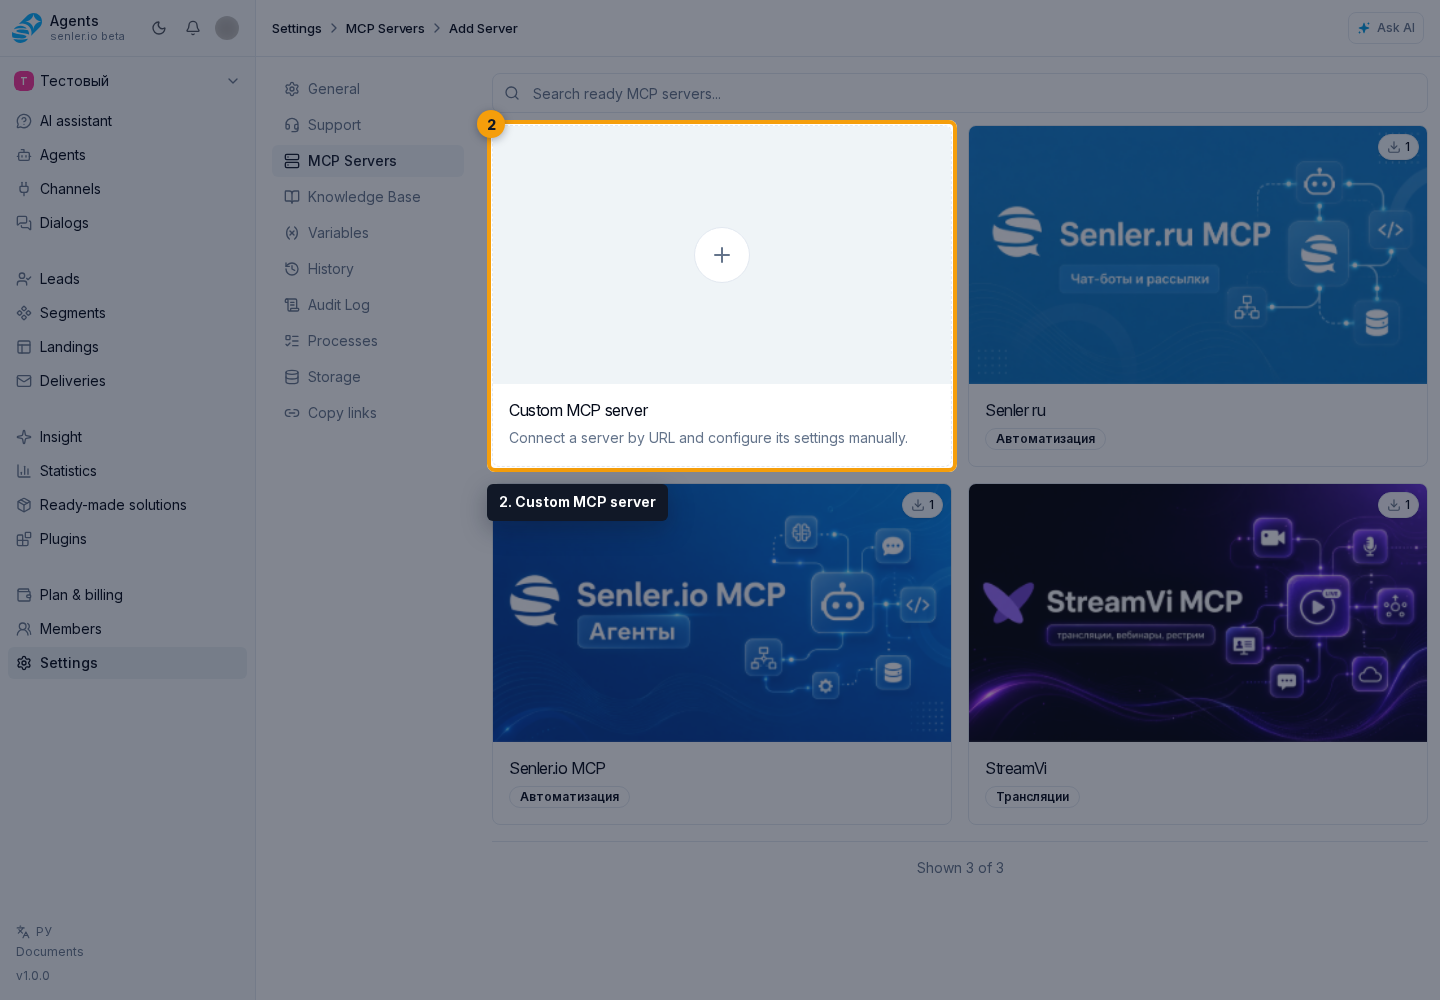
Custom MCP server
On the first save, the custom server form contains only:
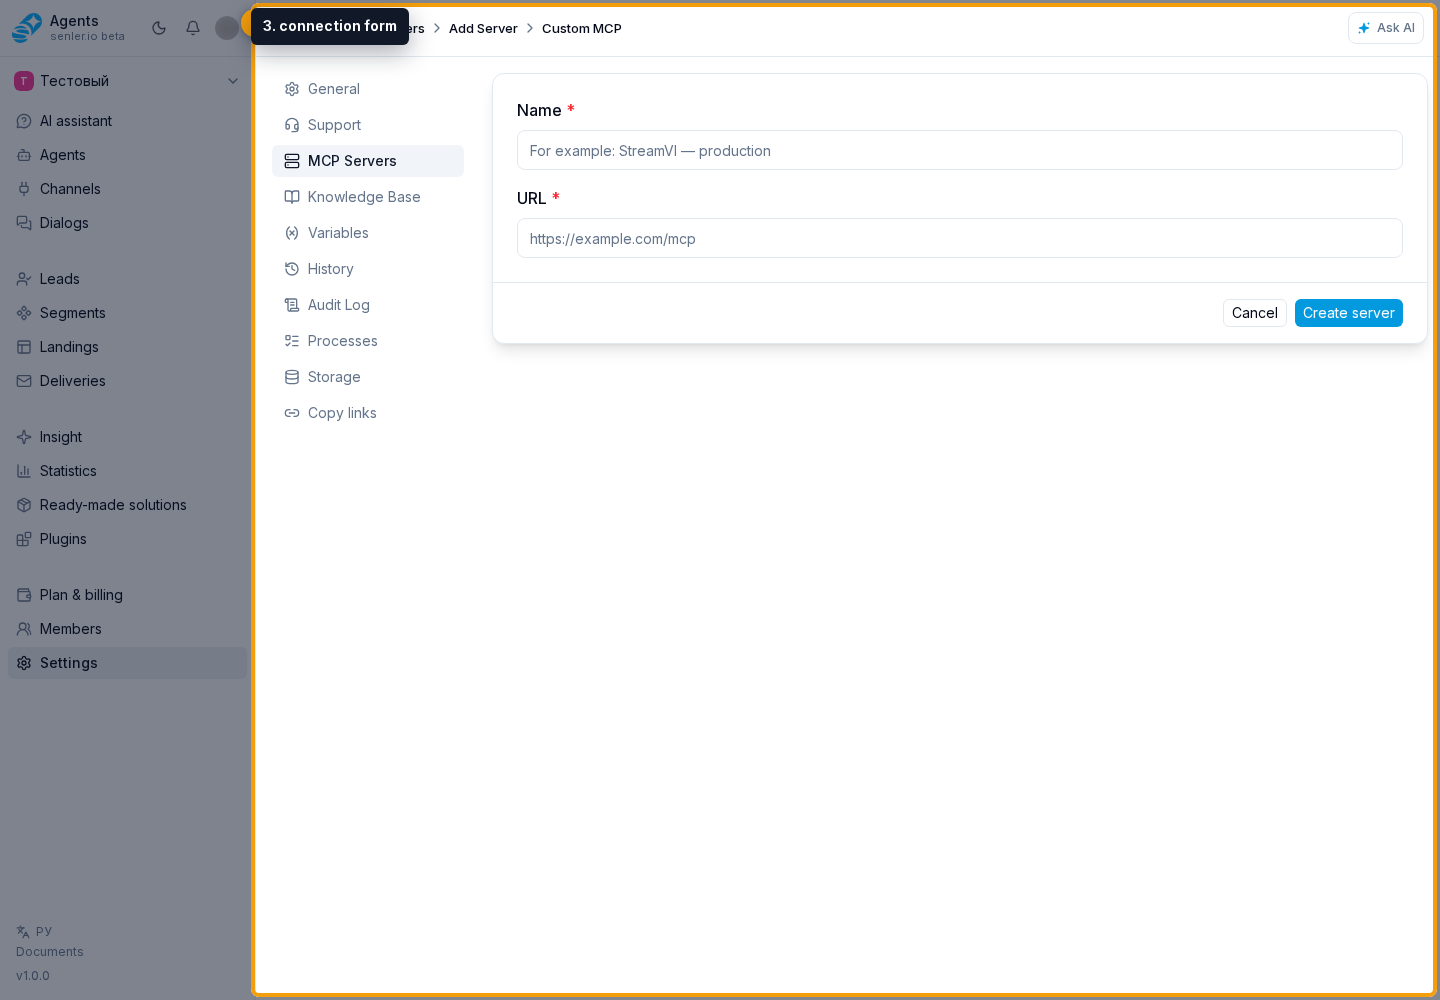
- a required name;
- a required URL starting with
http://orhttps://.
Click Create server. After creation, the cabinet automatically opens the edit page and checks whether the address supports MCP OAuth.
The description, tags, authorization modes, and method-loading settings for Senler appear only on the edit page. Cancel returns to the list without saving the current changes. This is the intended two-stage flow, not an incomplete form.
Ready-made server from a template
Select a template card. The form shows the server description and only the settings allowed by the template:
- a custom URL if the template has no fixed address;
- a project authorization method: none, manual token/headers, or OAuth;
- header fields with required, secret, hint, and prefix properties when defined by the template.
If a template supports only per-lead authorization, the wizard does not request a project token or OAuth connection.
What happens when a template is saved
- with no authorization, the server is created immediately;
- with manual authorization, the connection is created first and the entered credentials are then saved;
- with OAuth, a draft connection is created first and an external authorization window opens;
- if the user cancels OAuth, the draft created for that attempt is removed.
After successful installation, the server appears in the main list. Check its status, then select the connection in the agent settings.
Security
Enter tokens and secret header values only in the cabinet form. Do not put them in the name, description, tags, agent instructions, or support messages.