
MCP server authorization
Custom server authorization
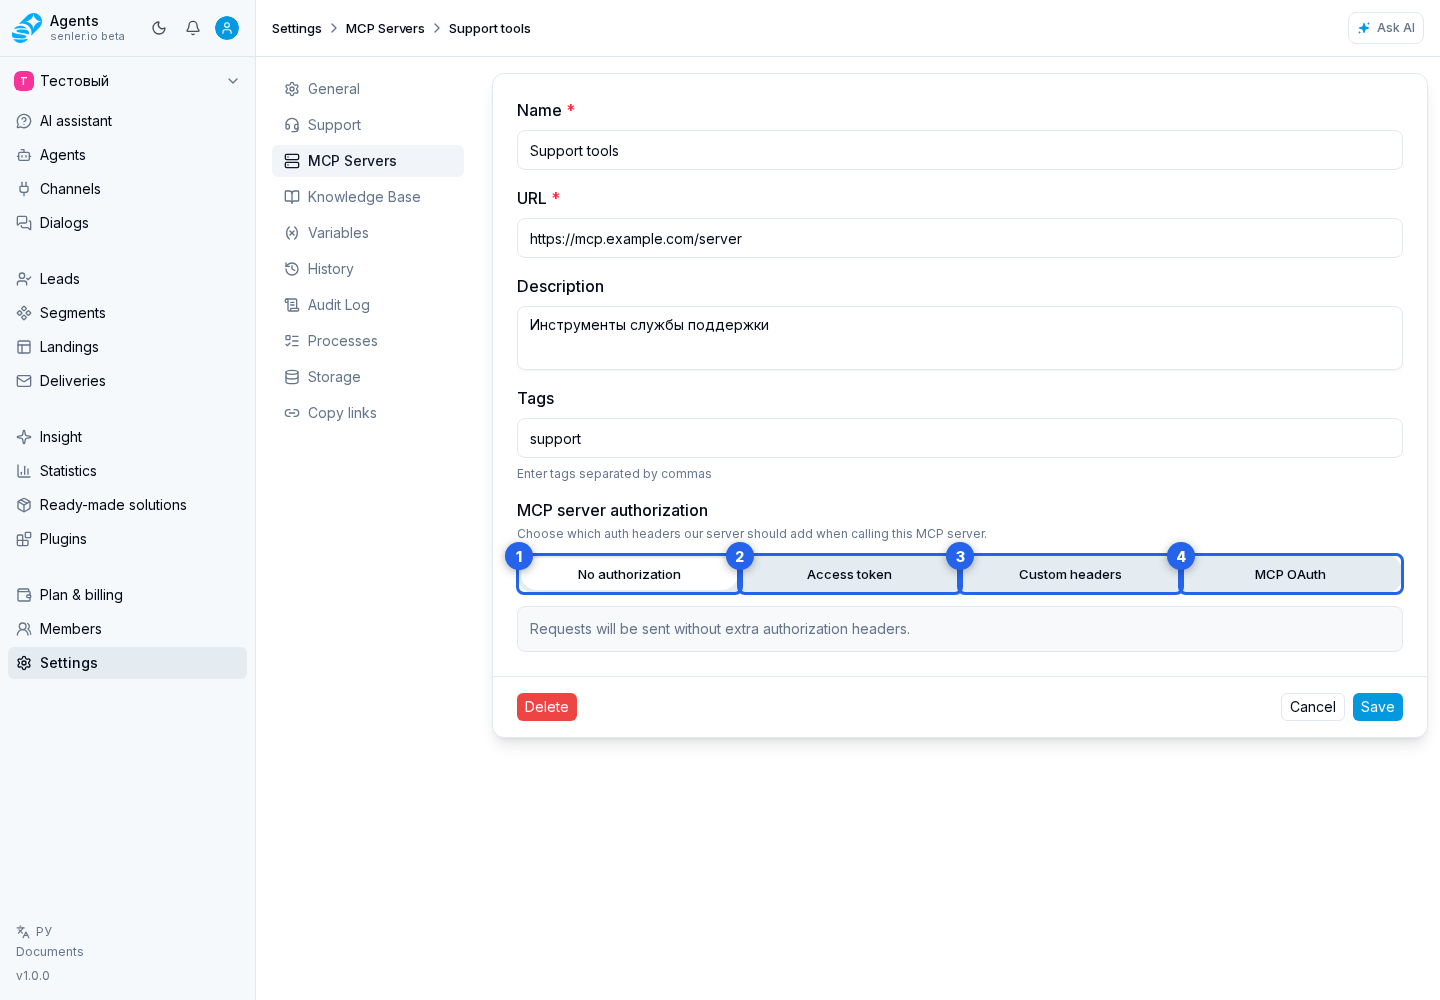
Authorization modes appear after a custom MCP server is saved for the first time. Its edit page has four tabs:
- No authorization;
- Access token;
- Custom headers;
- MCP OAuth.
No authorization
Use this mode when the server accepts requests without additional authorization headers. No secret is required.
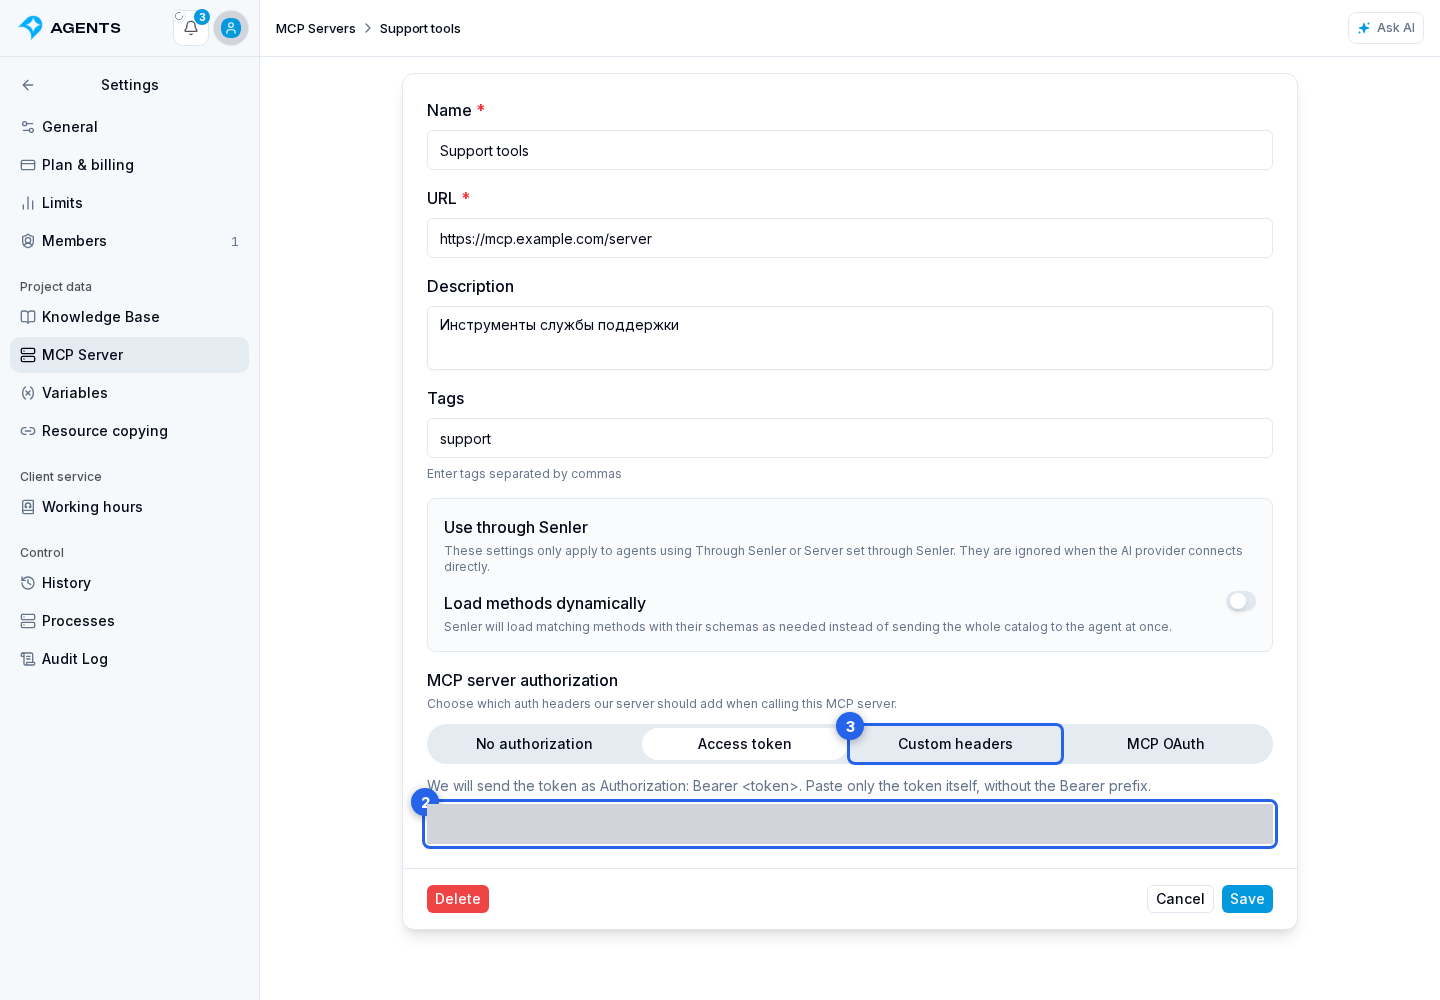
Access token
The cabinet creates the Authorization: Bearer <token> header. Enter only the value in the token field, without the word Bearer.
Custom headers
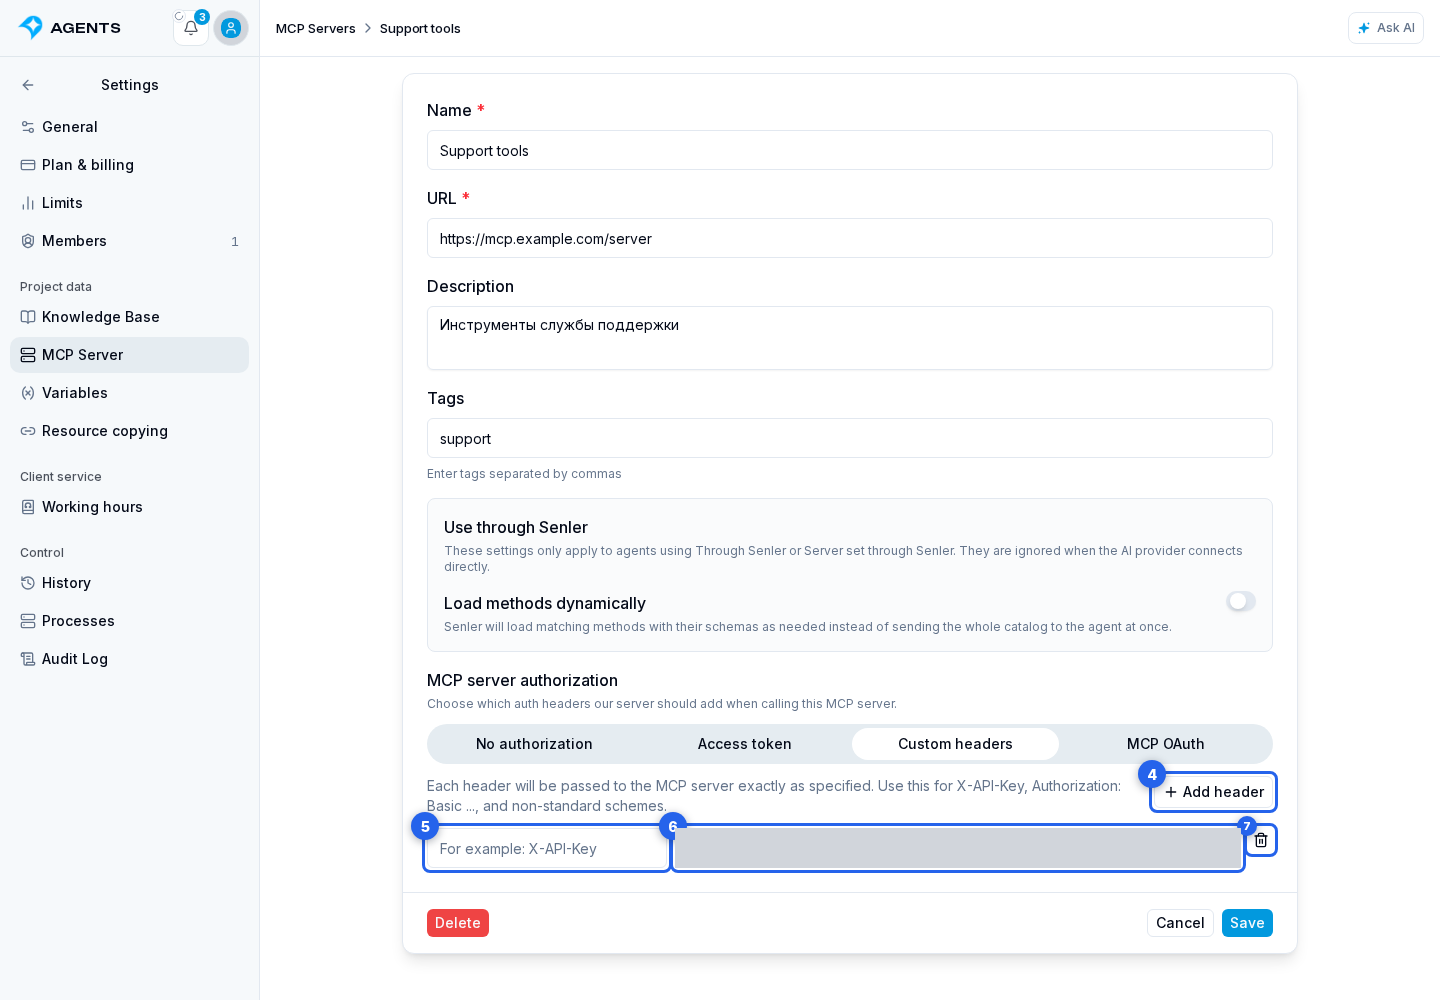
Use the Custom headers tab for name and secret-value pairs required by a nonstandard scheme.
Select Add header, then complete the name and value of every row. You can remove an unused row.
MCP OAuth
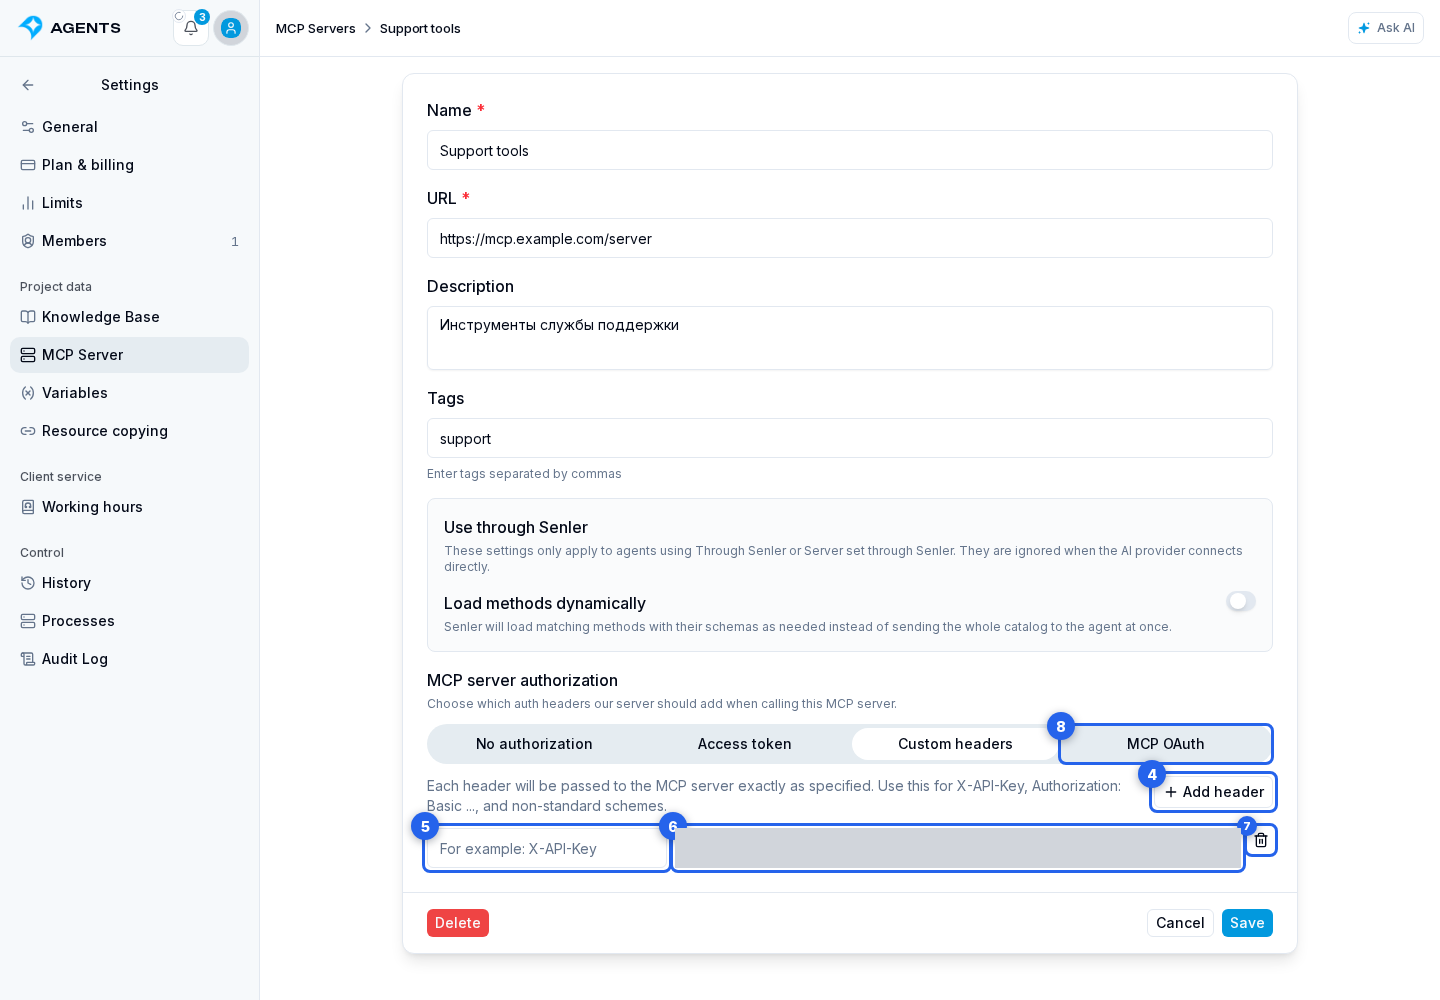
The MCP OAuth tab starts the remote MCP server's standard OAuth flow.
An existing saved secret is not displayed during editing. If the form says the secret is saved and hidden, leaving the field empty preserves it while the same authorization mode remains selected. Switching modes requires the data needed by the new mode.
With MCP OAuth selected, the save button may read Save and authorize. An external OAuth window opens after saving; the connection is complete only after a successful return from that window.
If the MCP server issued a refresh_token and access-token lifetime, Senler refreshes the project token shortly before it expires. If the server returns an authorization error earlier, Senler forcibly refreshes the token once and retries loading methods or calling the tool. When the server rejects the refresh token, the credentials receive an invalid status: complete MCP OAuth again on the connection page. You do not need to enter a new access token manually during a normal refresh.
Ready-made server authorization
A ready-made server shows only the methods allowed by its template. If it uses shared project credentials, open the Token or headers tab. The template displays either one token field or its set of header fields. A field hint may specify whether it is required and its prefix; the form applies the prefix according to the template rules.
Enter the manual credentials and click Save. If the template supports OAuth, switch the connection method by selecting the MCP OAuth tab.
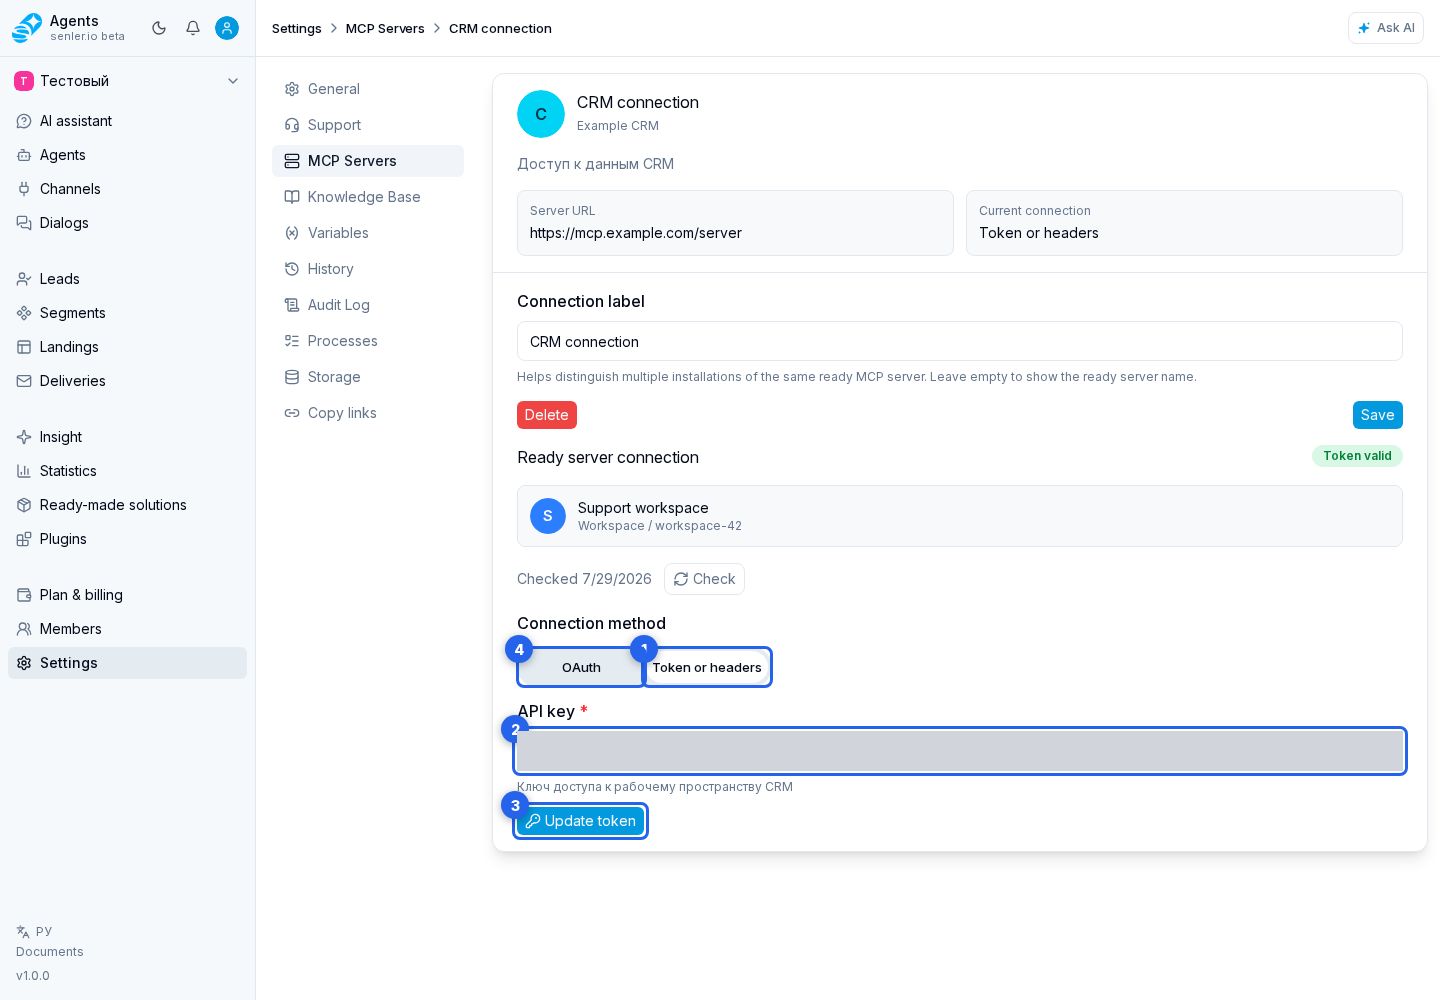
On the OAuth tab, click the connect button and complete the external sign-in.
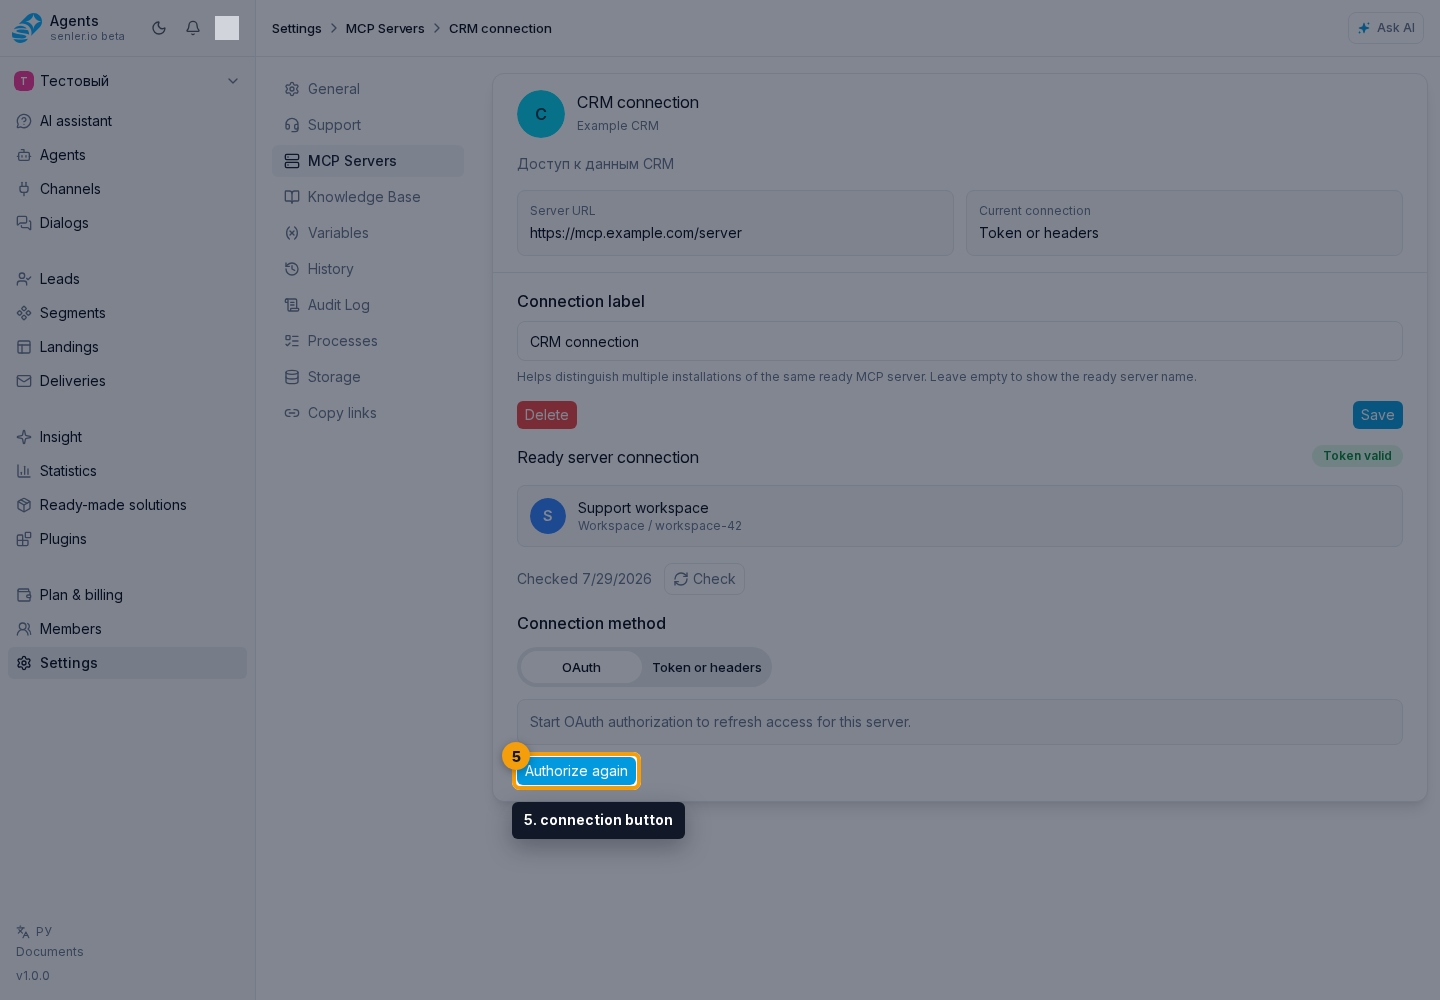
Connection credentials are entered and replaced only on this page or in the external OAuth window. After saving, authorization is applied to the MCP server methods automatically. Do not send the token in chat or agent instructions. To choose another account, complete OAuth again or replace the manual credentials here.
Validating project credentials
When a ready-made server already has project credentials, the card shows a status, the last validation time, and a validation button.
- Active means the latest validation accepted the credentials;
- Invalid token means validation failed;
- Unknown means there is no confirmed validation result;
- No credentials means manual data or OAuth has not been saved.
Validation is available only after project credentials exist.
Per-lead authorization
If a template uses user authorization instead of project authorization, the server has Per lead mode. There is no shared project token for such a connection: an external account is connected separately for a specific user when required by the tool.
Do not replace Per lead mode with a shared secret in the description or agent instructions. Secrets must use the authorization flow provided by the server.
Deleting a connection
Click Delete and confirm with the button in the confirmation dialog. After deletion, agents that selected this connection cannot use its tools until another connection is selected.
Check project agent settings before deletion.