
Account notifications
Notifications are configured in two stages: first, the account connects the required delivery methods; then channels and events are selected for each project.
How the page is organized
Select the profile icon and choose Notifications. The notifications page has two main blocks: Account notification channels and Project notifications.
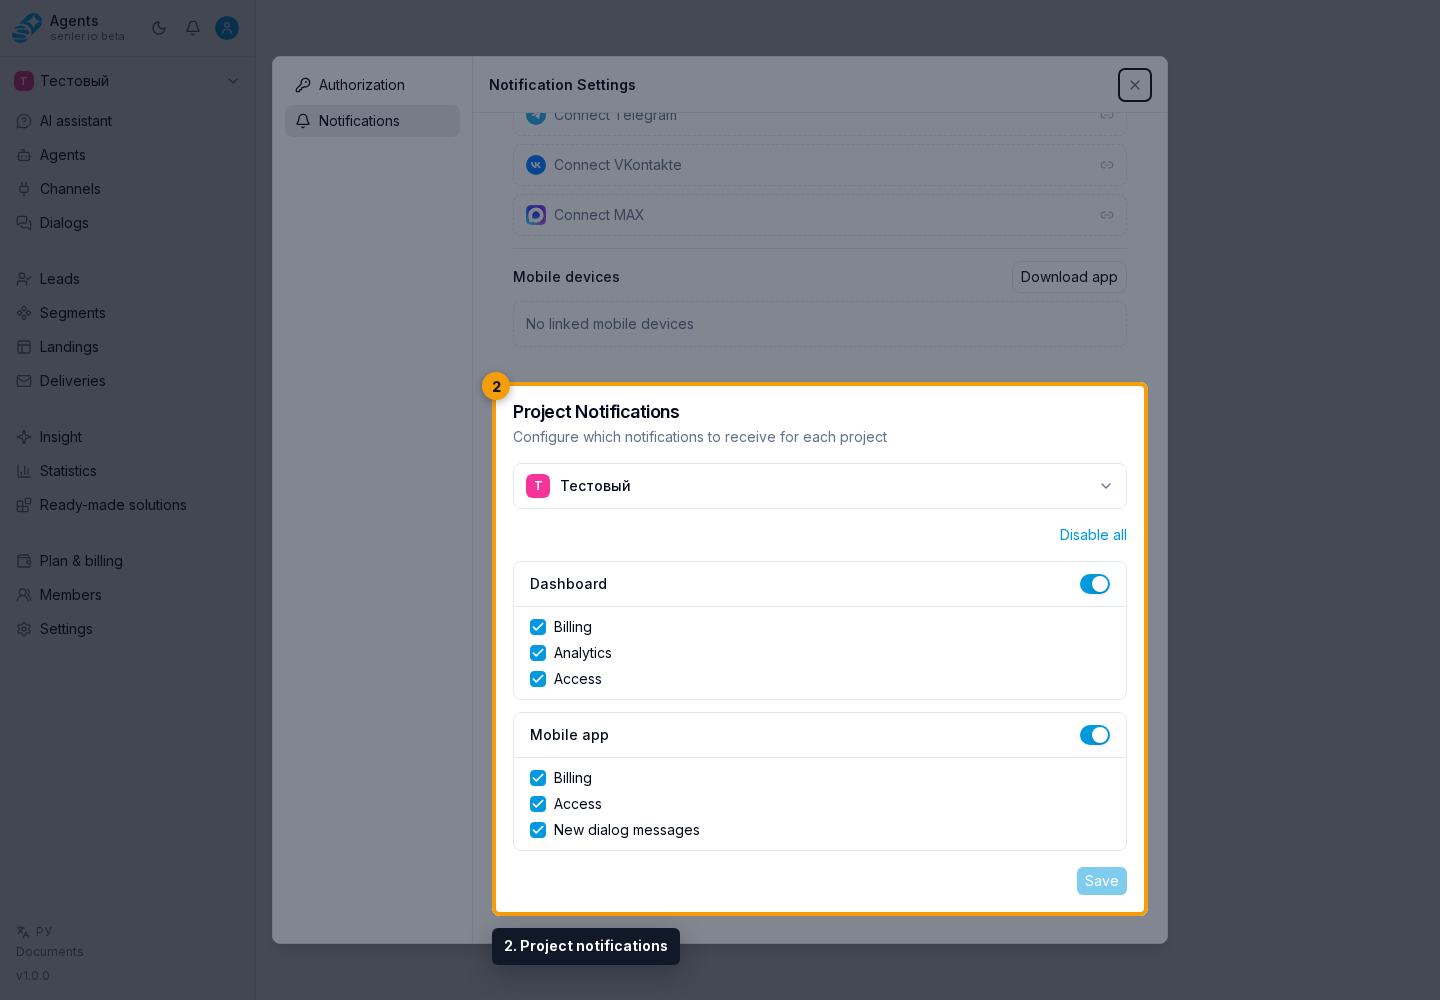
Delivery channels
| Channel | What it is used for |
|---|---|
| Cabinet | Notifications inside Senler AI and the list under the bell icon. |
| Telegram, VK, and MAX | Delivery to the selected messenger after the bot is connected and confirmed. |
| Mobile app | Push notifications on linked devices, including new dialog messages. |
Connection always starts in the Account notification channels block at the top:
| Messenger | Connect | While confirmation is pending | After connection |
|---|---|---|---|
| Telegram | Select the connection row | Open the bot again or cancel | Disconnect |
| VK | Select the connection row | Open the bot again or cancel | Disconnect |
| MAX | Select the connection row | Open the bot again or cancel | Disconnect |
After selecting the row, complete confirmation using the link that opens. Until confirmation is complete, the channel may show Awaiting confirmation or Waiting for subscription.
VK may additionally request permission for community messages and a linked VK account.
A messenger row appears in the Project notifications block below only after that messenger has been confirmed in the top block. Connect the account channel first, then configure its project events.
Configuring notifications for a project
- In Project notifications, open the project selector.
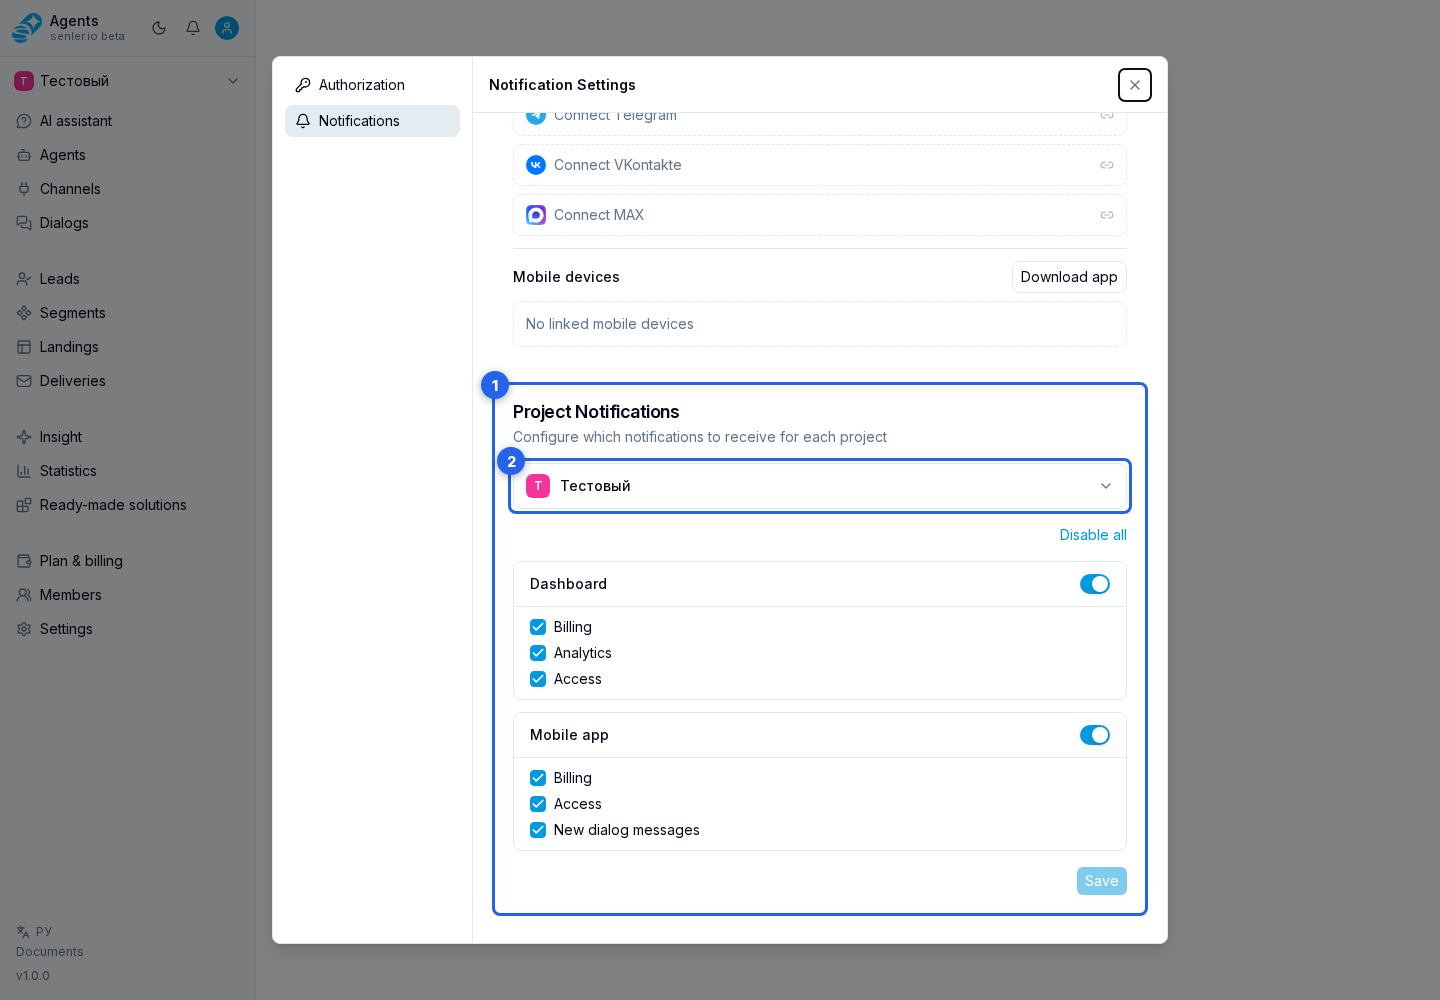
- When needed, use search and select the required project.
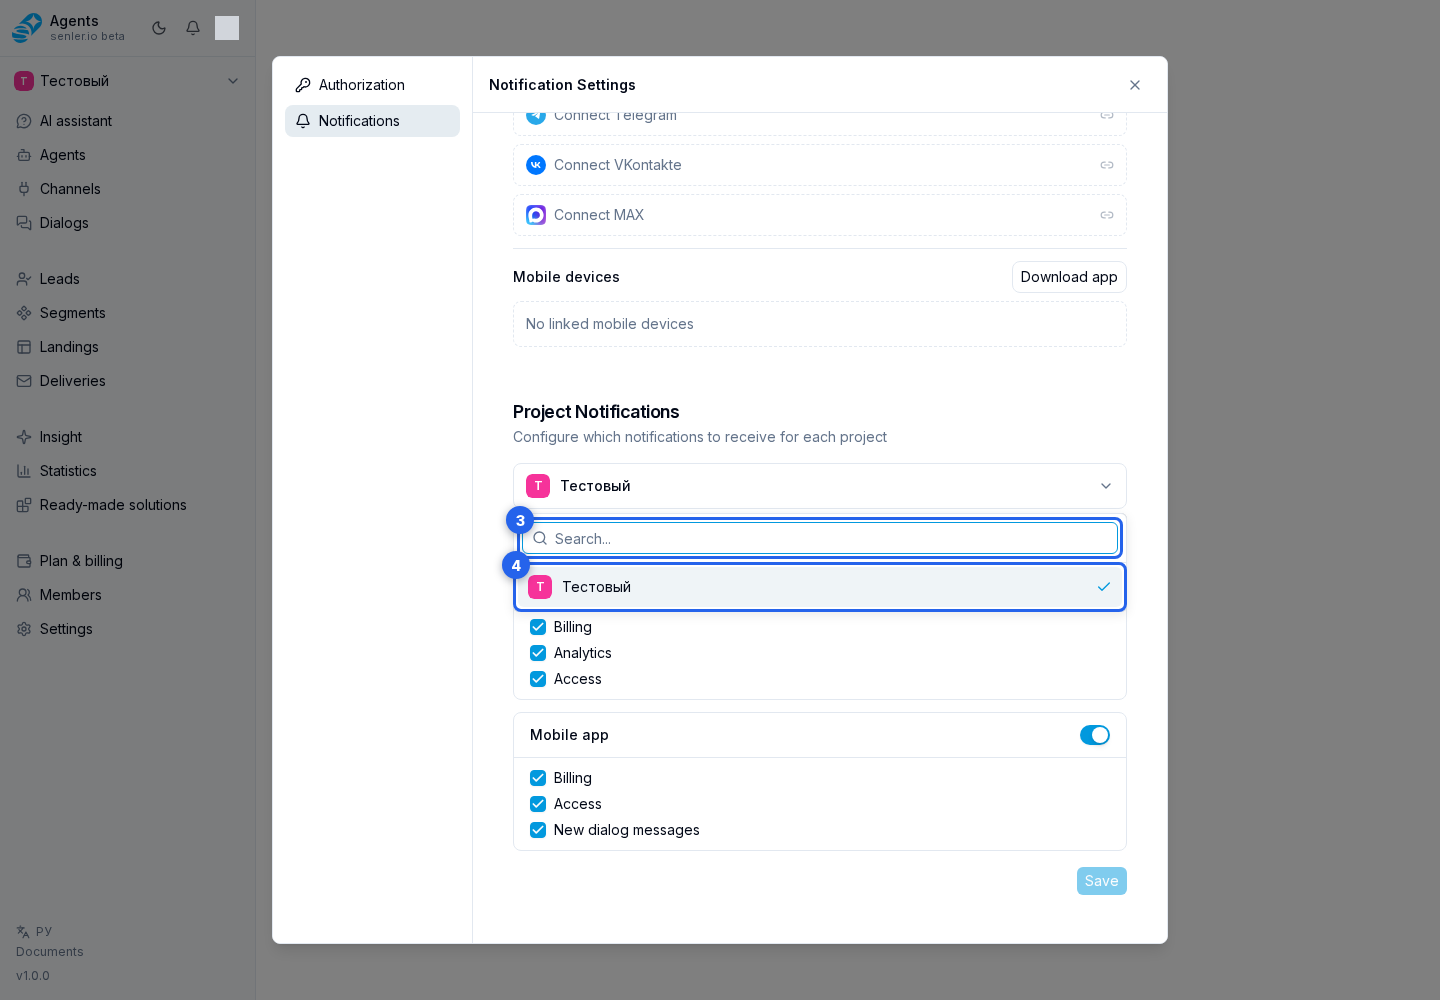
- Use enable or disable everything, or configure channels individually.
- Keep only the required categories and select Save.
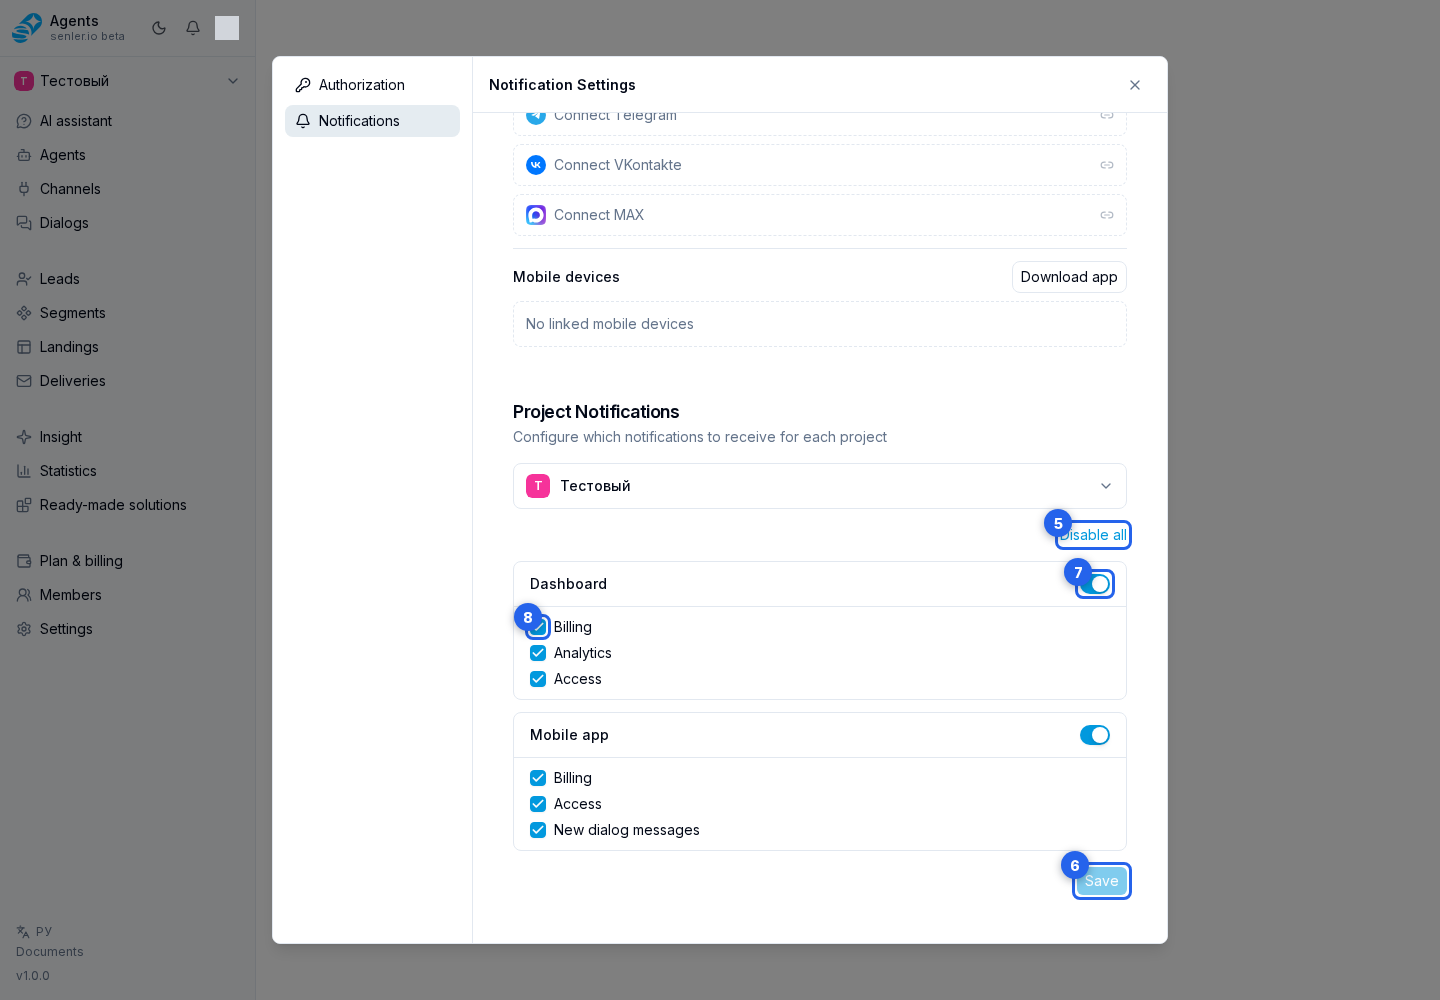
Each project's settings are independent. Changes in one project do not affect the others.
Notification categories
| Channel | Available categories |
|---|---|
| Cabinet | Billing, Analytics, Access |
| Telegram | Billing, Analytics, Access |
| VK | Billing, Analytics, Access |
| MAX | Billing, Analytics, Access |
| Mobile app | Billing, Access, New dialog messages |
The channel switch enables or disables all of its notifications, while the checkboxes below retain only selected events. To receive push notifications for new messages, enable Mobile app and New dialog messages.
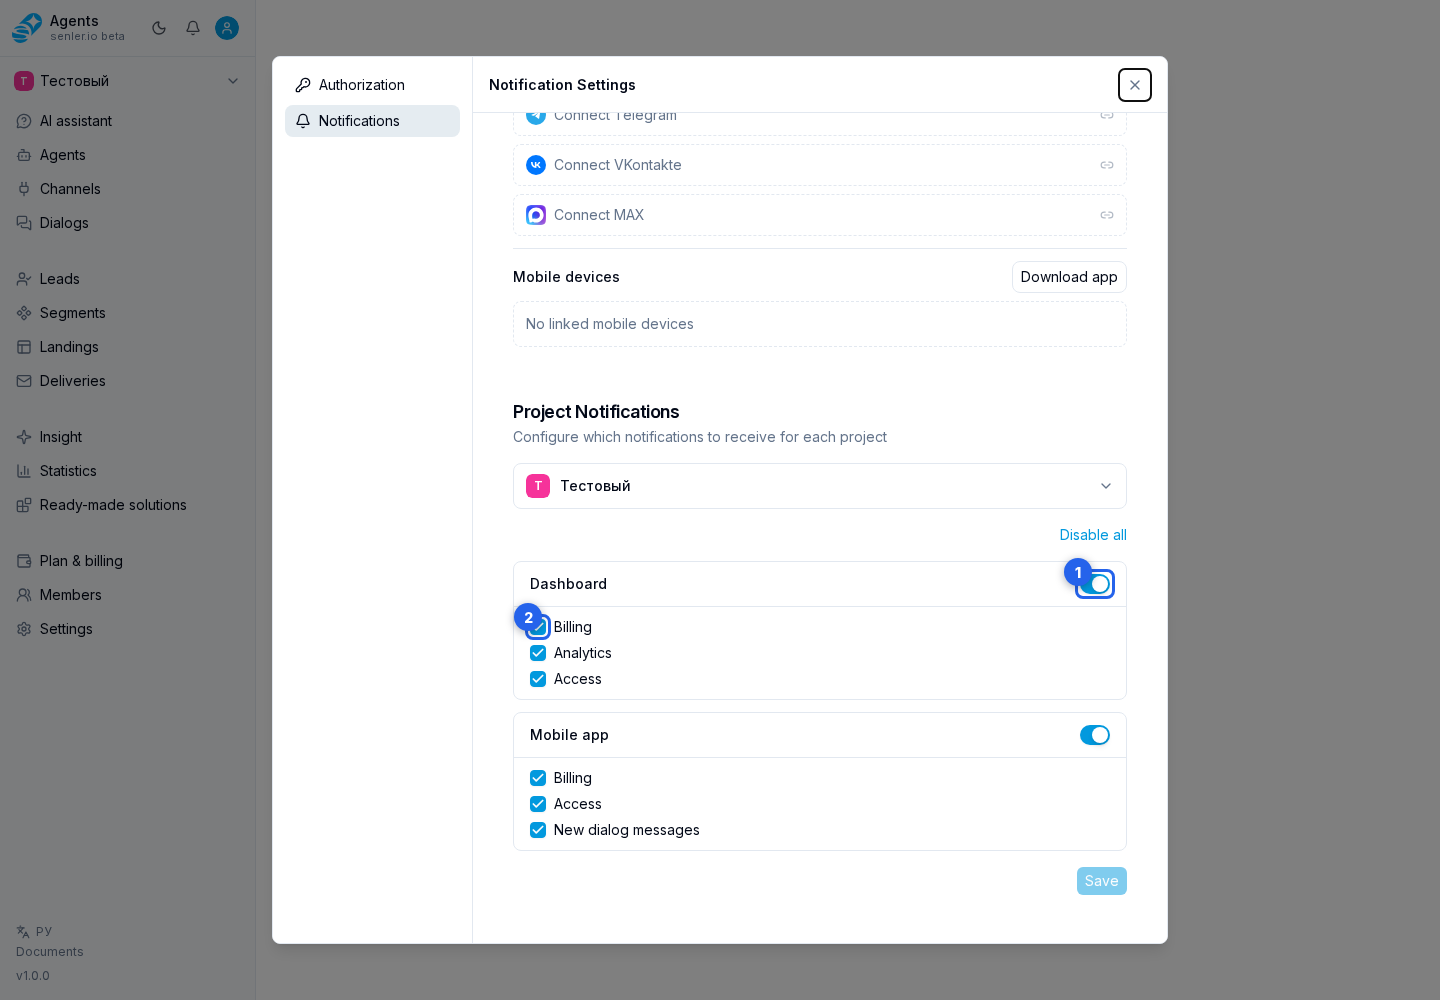
Mobile app
The mobile devices section shows linked devices and their latest activity. You can remove a device you no longer use.
On the notifications page, select Download app. In the dialog that opens, choose the Android version or the iPhone version in TestFlight. If the current iPhone build number is temporarily unavailable, the TestFlight link remains available.
A new-message push shows the latest message text or a clear attachment type, such as a photo, file, voice message, or poll. Selecting it opens the corresponding project and dialog. After signing out, the device stops receiving this account's pushes until the next sign-in and notification permission is granted again.
Bell and on-screen notifications
The notification bell contains events from every project available to the account. You can open a specific notification, mark everything as read, or load older items.
Pop-up notifications belong to the open project. They may have an action button and can be closed with the dismiss action.
Switching projects before saving
The cabinet shows an unsaved changes warning. You can stay and save the settings, or switch projects without saving.
If the settings were edited in another tab at the same time, refresh the data, review the current state, and repeat your changes.
When notifications do not arrive
- Confirm that the required channel is connected and bot confirmation is complete.
- Select the correct project and confirm that the channel is enabled for it.
- Review the selected categories. Dialog message pushes require the Mobile app category New dialog messages.
- For a messenger, check the bot subscription; for push, check notification permission on the device and whether the device appears in the list.
- If the bell does not update, check the internet connection and browser extensions that may block site connections.