
Resource Copying
What a resource package is
A resource package is a set of project items calculated by the system for copying or sharing by link. Its root resource can be:
- an automation;
- an agent;
- a delivery;
- a segment or segment consent document;
- a knowledge-base folder, file, or table;
- a standalone landing;
- a custom metric;
- a project variable;
- a lead variable definition;
- a dialog variable definition.
The exact contents depend on the root resource, related items, selected options, and user permissions. Before copying or creating a link, expand "Package items": it shows the actual contents of that package.
View access to the source resource is enough to create a package. The target project list contains only projects where you can manage every type of item in the package. For example, a package containing an agent and knowledge-base documents requires both agent management and knowledge-base management access in the target project.
Additional package settings
When copying an automation, the Linked automation resources setting appears. It includes linked segments and variable definitions. For a copy in the current project, you can turn it off so the copy uses resources that already exist in that project. When copying to another project, linked resources are required, so the setting stays enabled and cannot be changed.
When you create a link for an automation, linked segments and variable definitions are added automatically; you do not need to enable them separately.
When copying an agent, the interface may offer:
- including related knowledge-base sources;
- adding selected project variables and lead and dialog variable definitions.
The agent's own capability settings are transferred with it. This includes whether voice cloning is enabled and the model selected for it.
If the package contains a project variable, a separate option can include its value. The value is excluded by default. Before enabling it, verify that it is not a secret or a setting that must not be transferred.
When copying into the same project, the list of extra related variables is not shown. Each option also depends on knowledge-base and variable permissions.
Build A Package From Several Resources
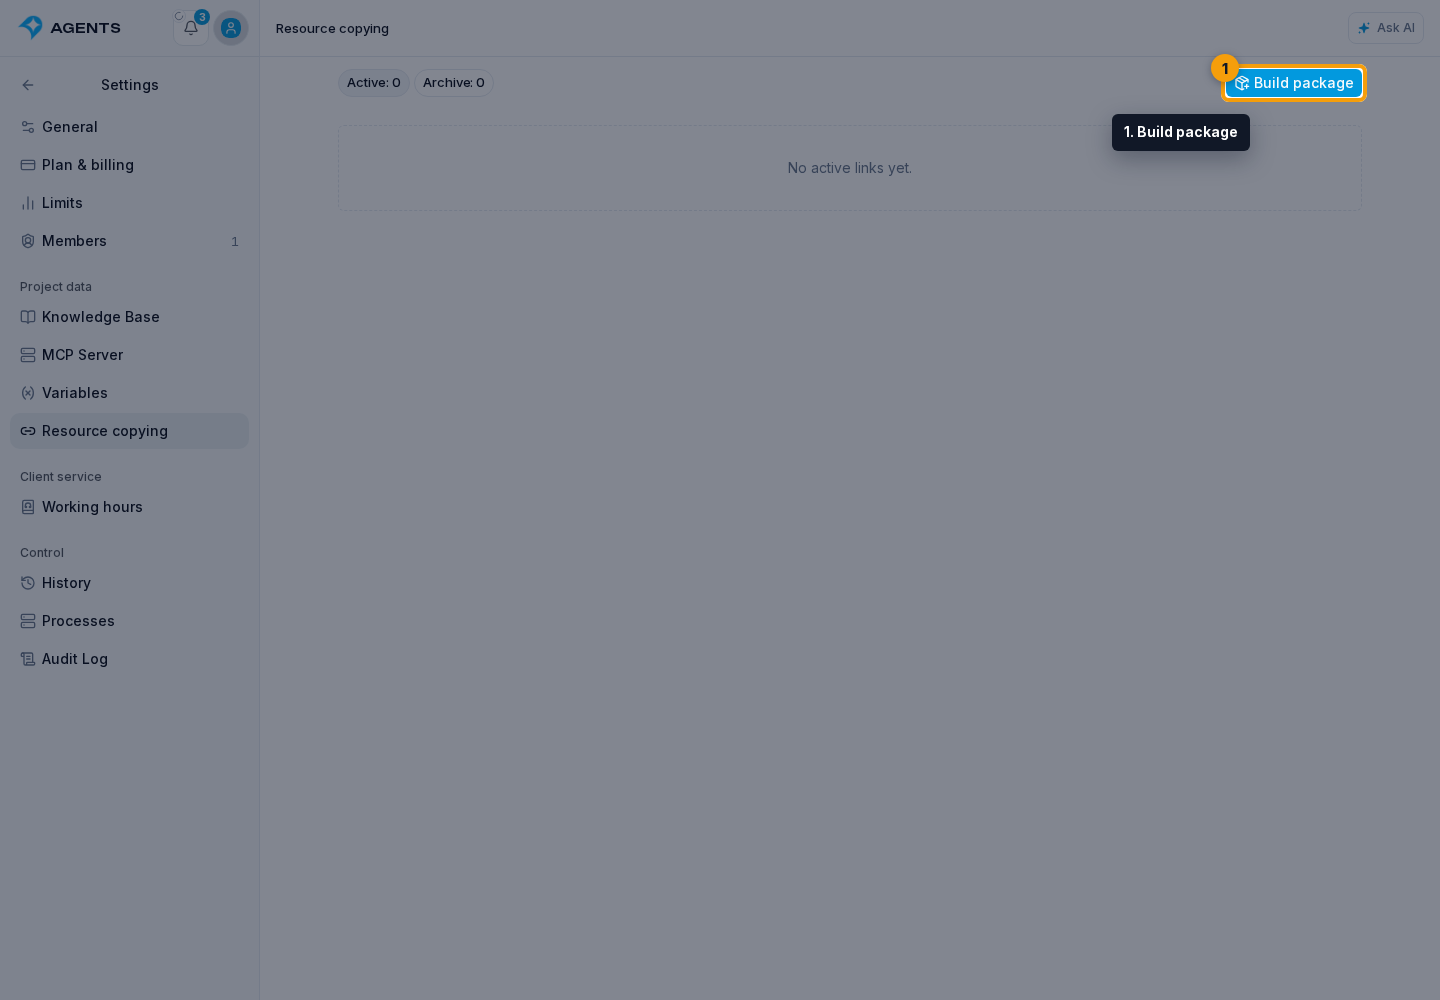
To transfer several independent items at once, click the Settings gear to the right of the project name. In Project data, open Resource copying and click Build package.
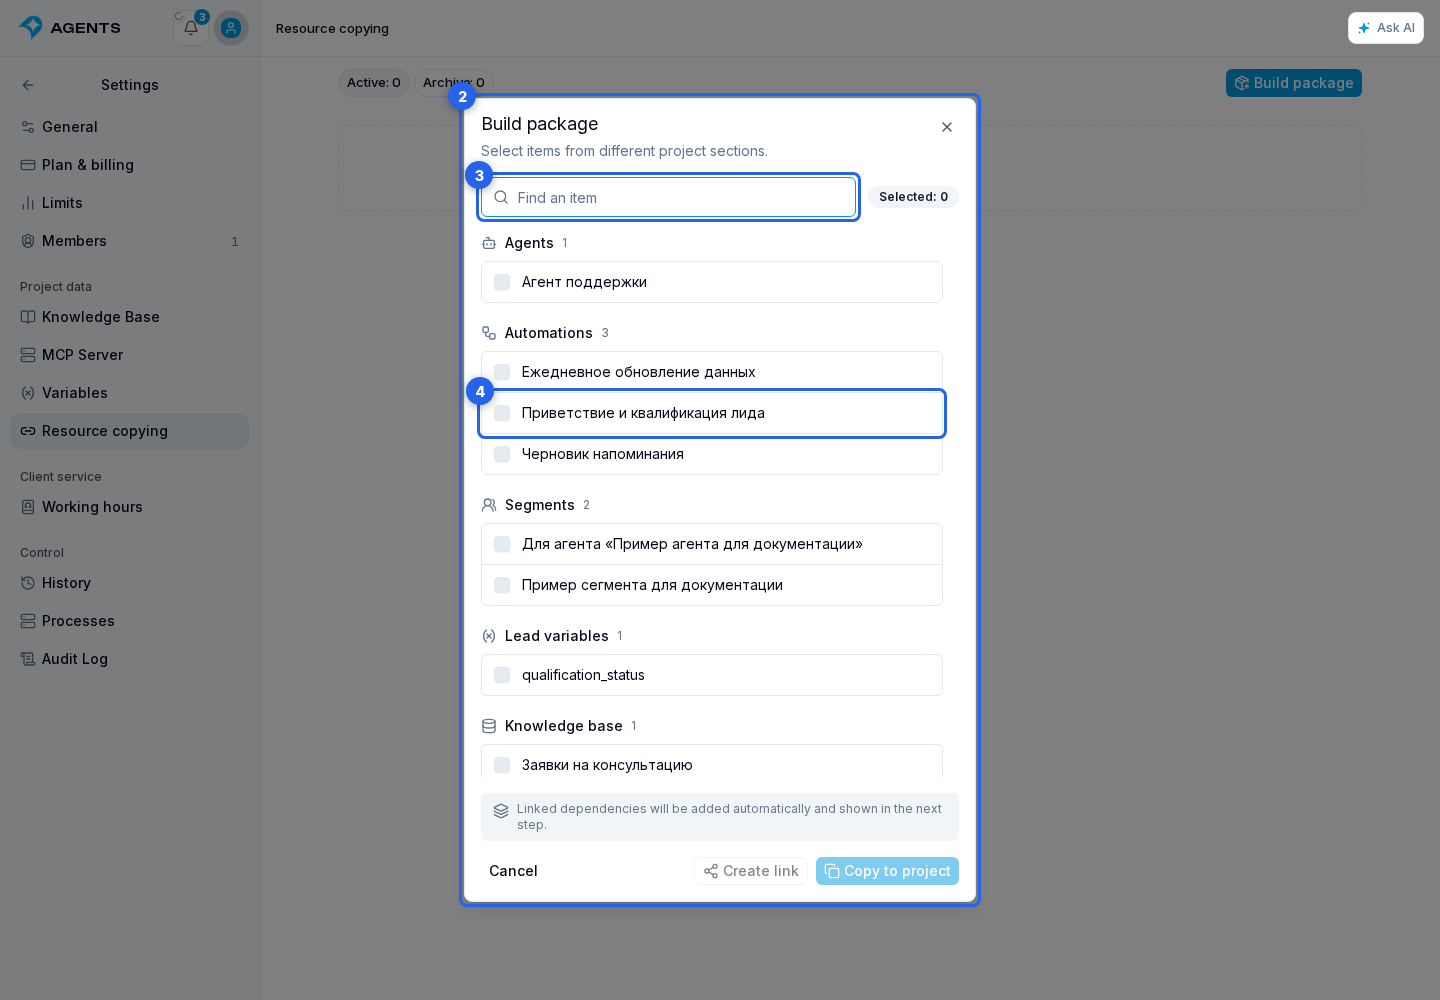
The builder window groups resources by section: agents, automations, deliveries, segments, consent documents, landings, custom metrics, project variables, lead and dialog variable definitions, and the knowledge base. Only sections and items you can view are shown. Landings contain standalone pages, while metrics contain custom, non-built-in metrics.
- Find the required items with the name or ID search.
- Select the package items. The first selected item is marked as the root. It determines the default package name and the source section recorded for the link. If you clear its selection, the next selected item becomes the root.
- Click Copy to project or Create link.
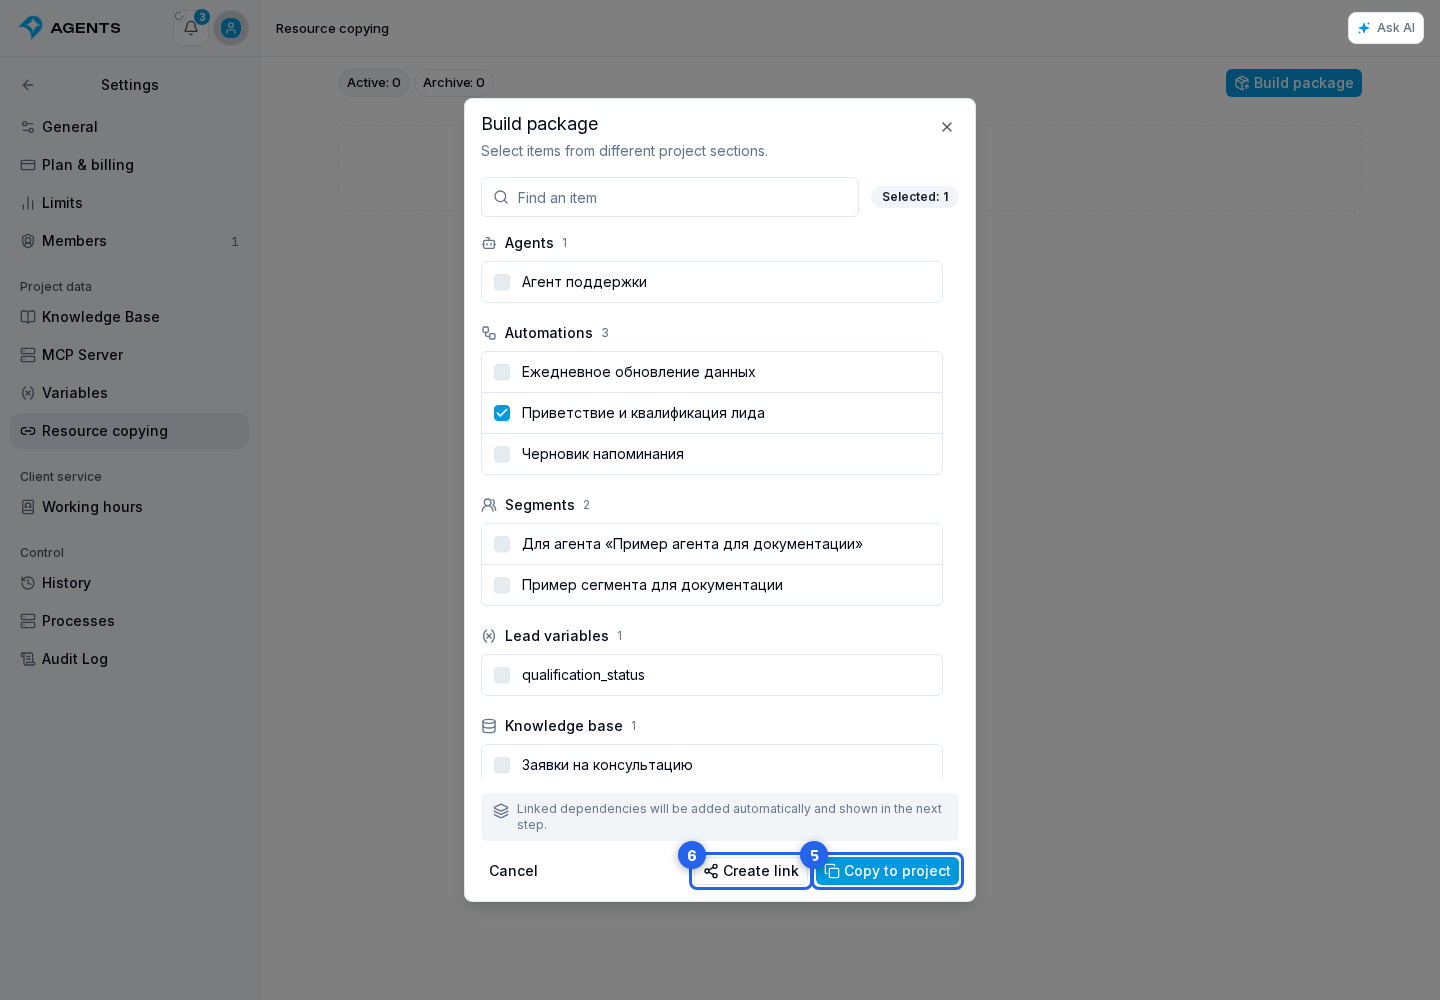
- Review the calculated contents in the next window. Linked dependencies of selected items are added automatically.
If a package contains an automation, the titles, descriptions, and positions of its visual step groups are transferred with it. Groups are not separate resources and cannot be selected separately in the package.
Copying into a project
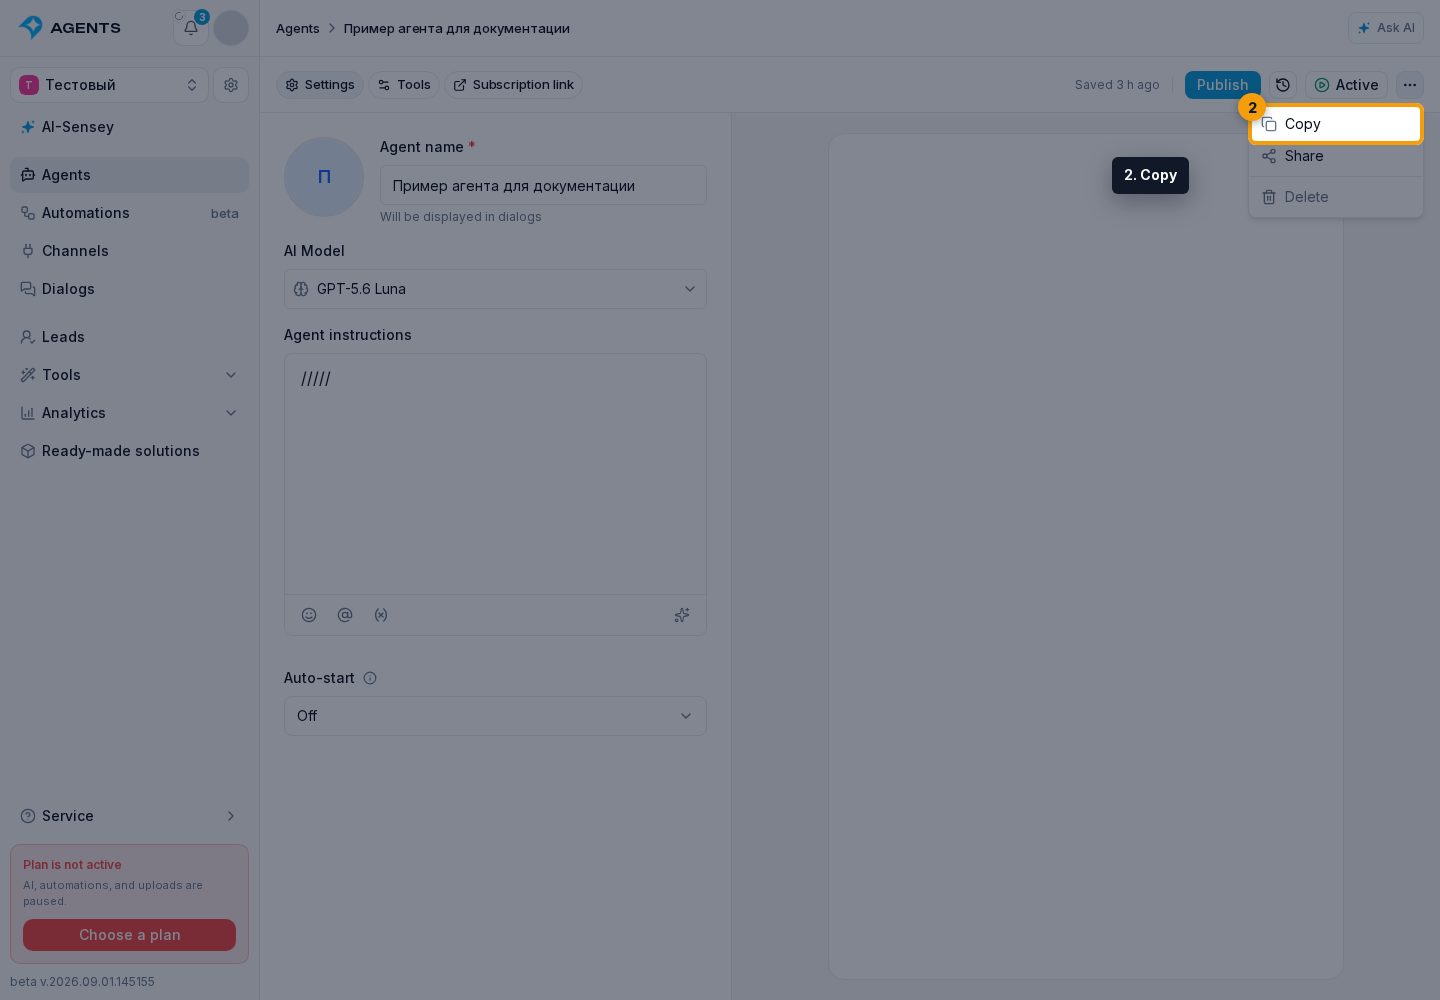
Open the relevant resource and its actions menu.
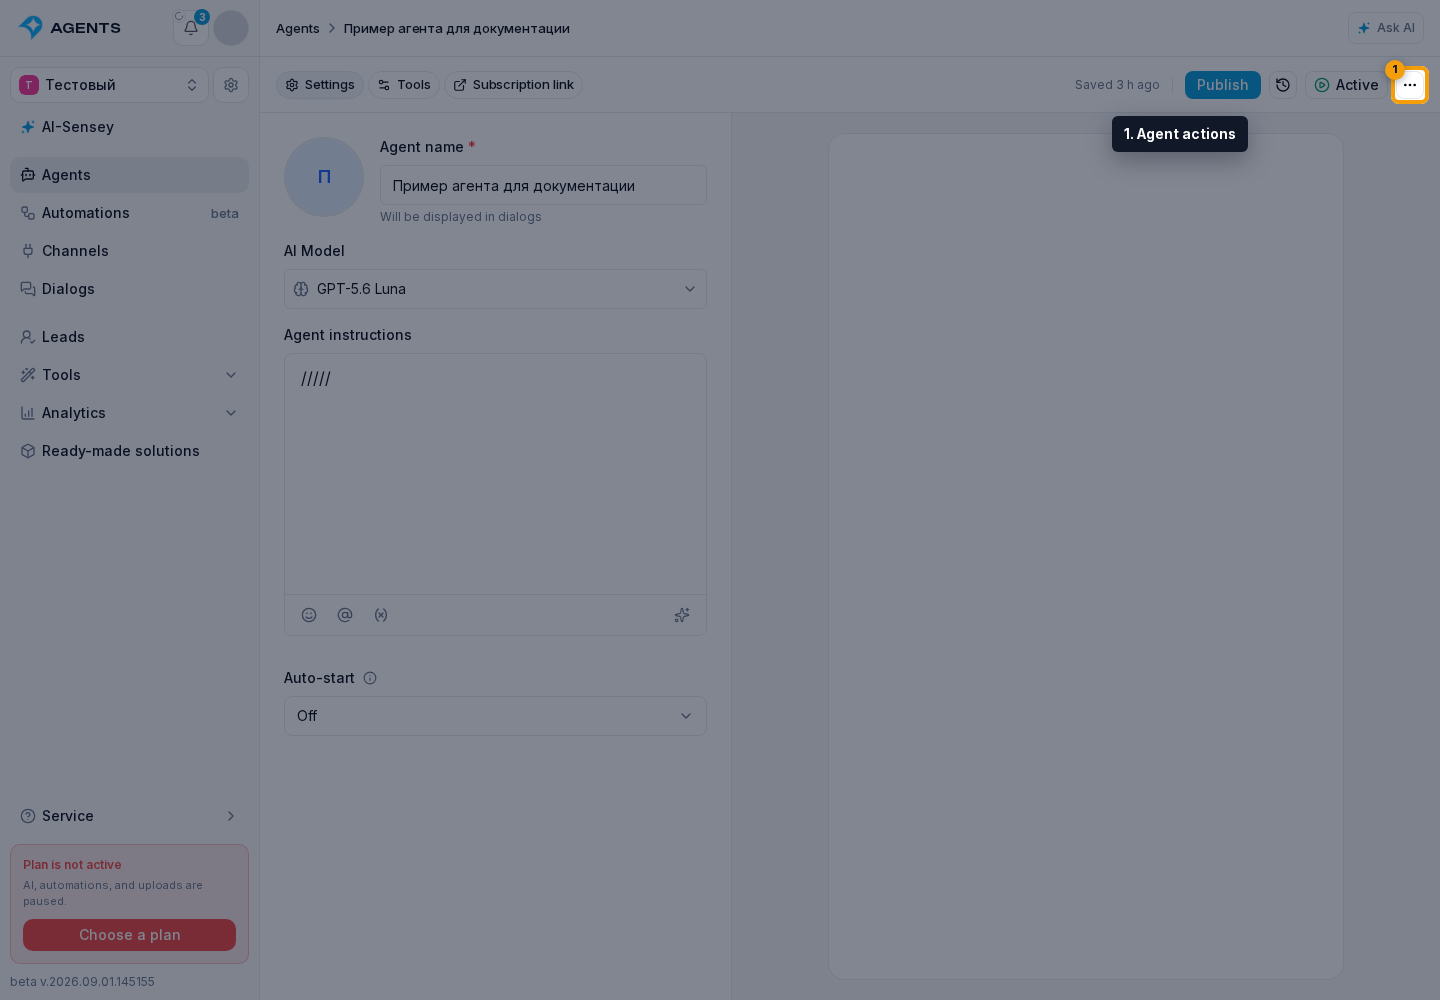
Click Copy.
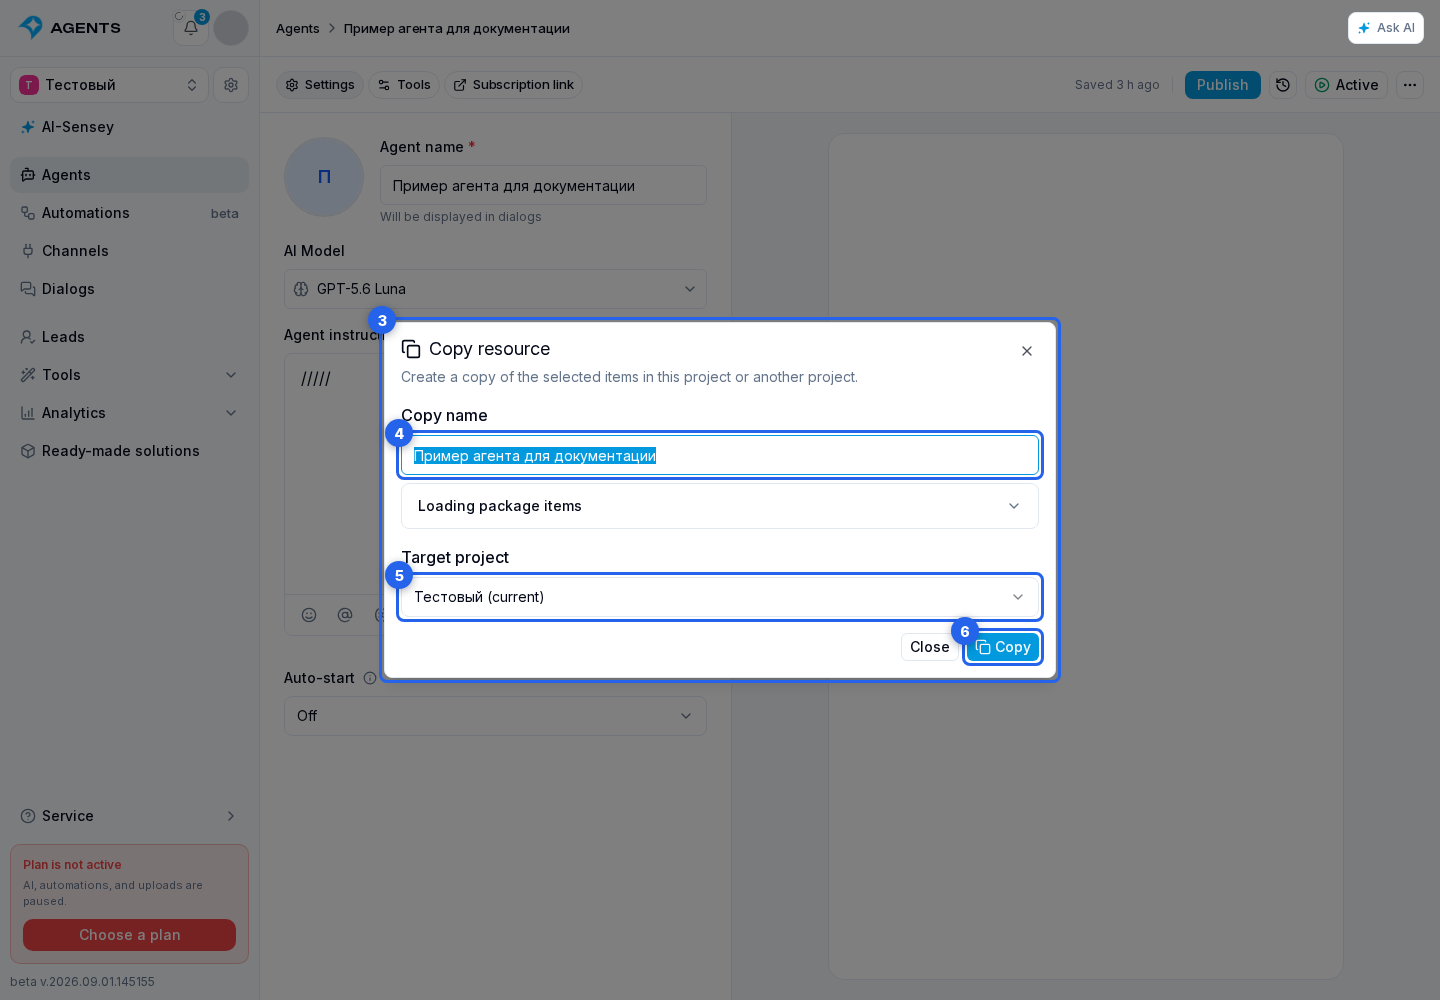
In the package dialog:
- enter the copy name;
- select the target project;
- configure available related resources and expand package contents if needed;
- click the copy button.
The cabinet creates the package, starts an import process in the selected project, and opens a progress dialog. The result separates created, existing, skipped, setup-required, and failed items.
Creating a link
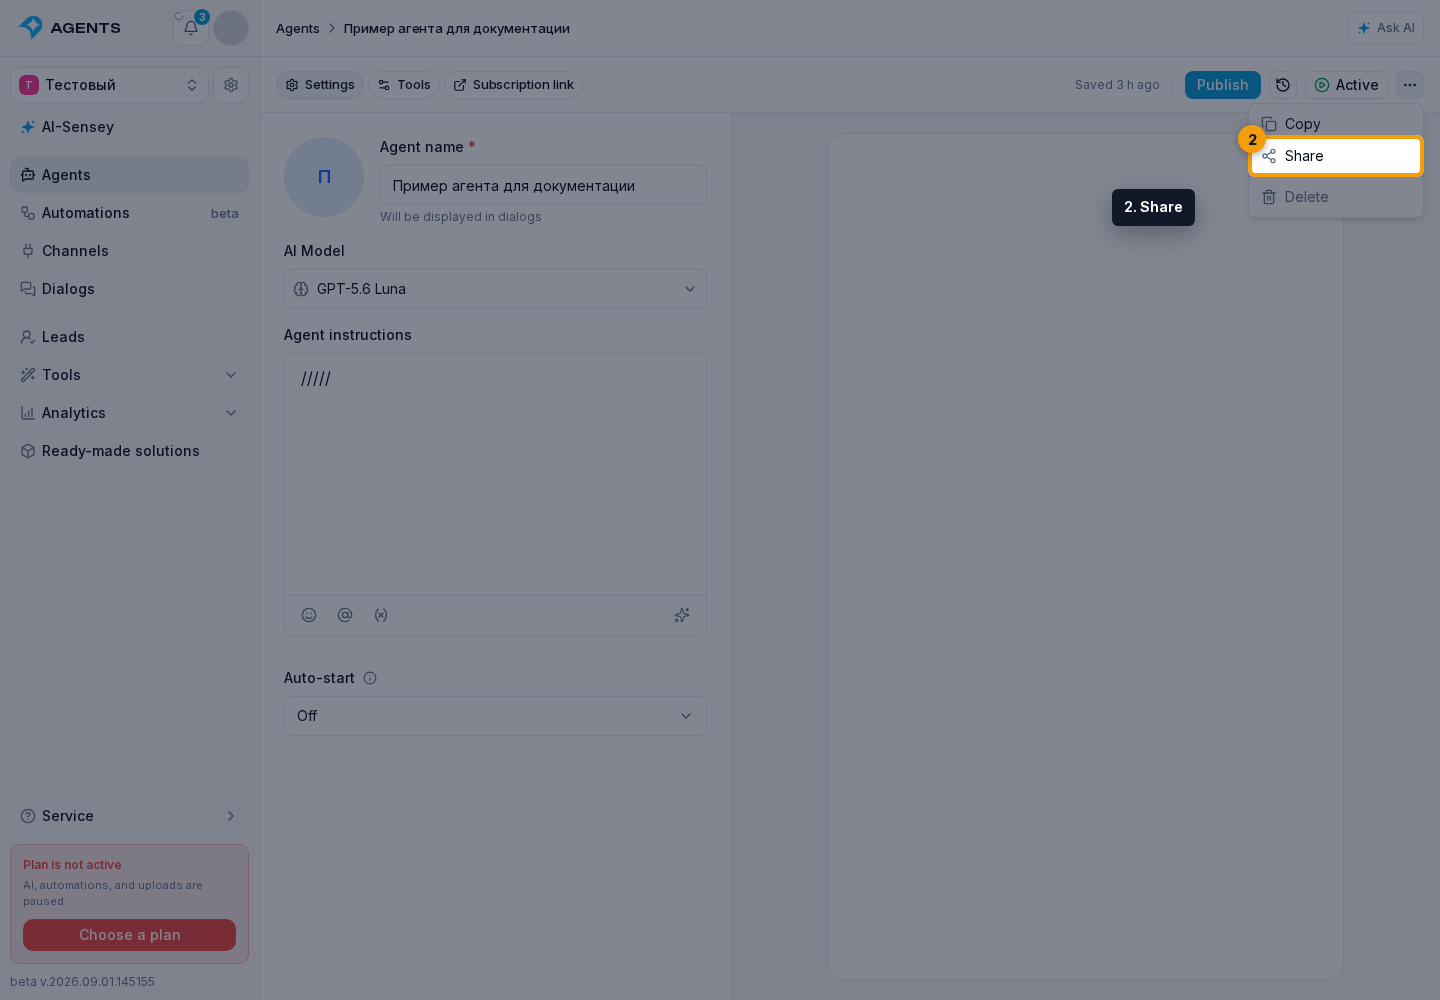
Open the resource menu and select Share.
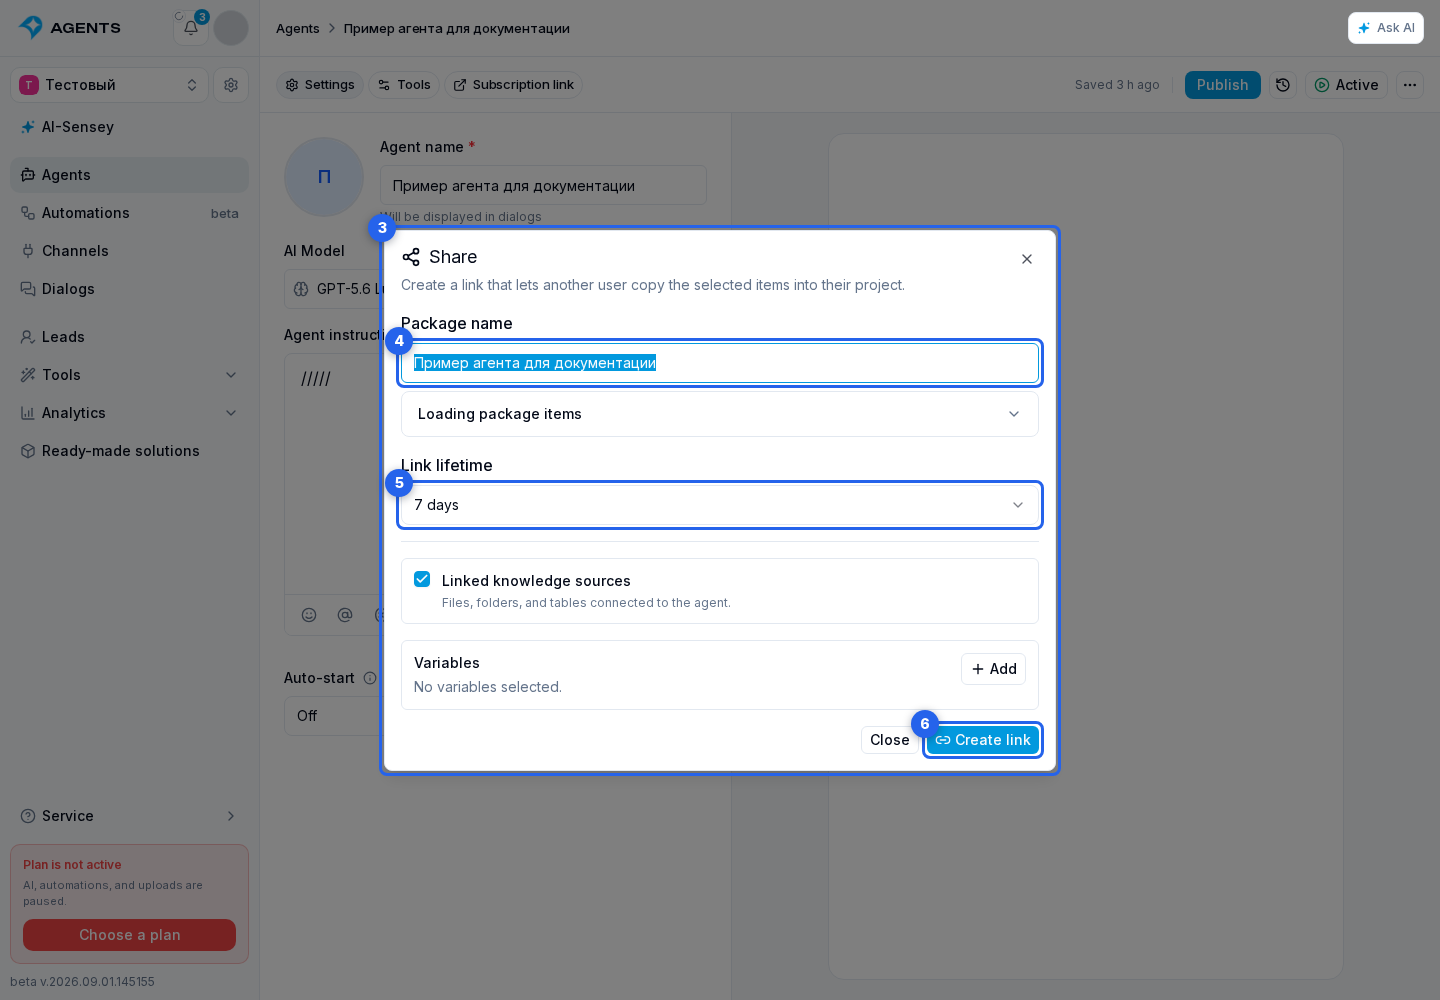
In the package dialog:
- enter the package name;
- select the expiration: 1 day, 7 days, 1 month, 1 year, or never;
- configure related resources and check the contents;
- click Create link.
After creation, the link field is read-only. Copy it with the adjacent button. The link grants package preview and import access, so share it only with the intended recipient.
Managing links
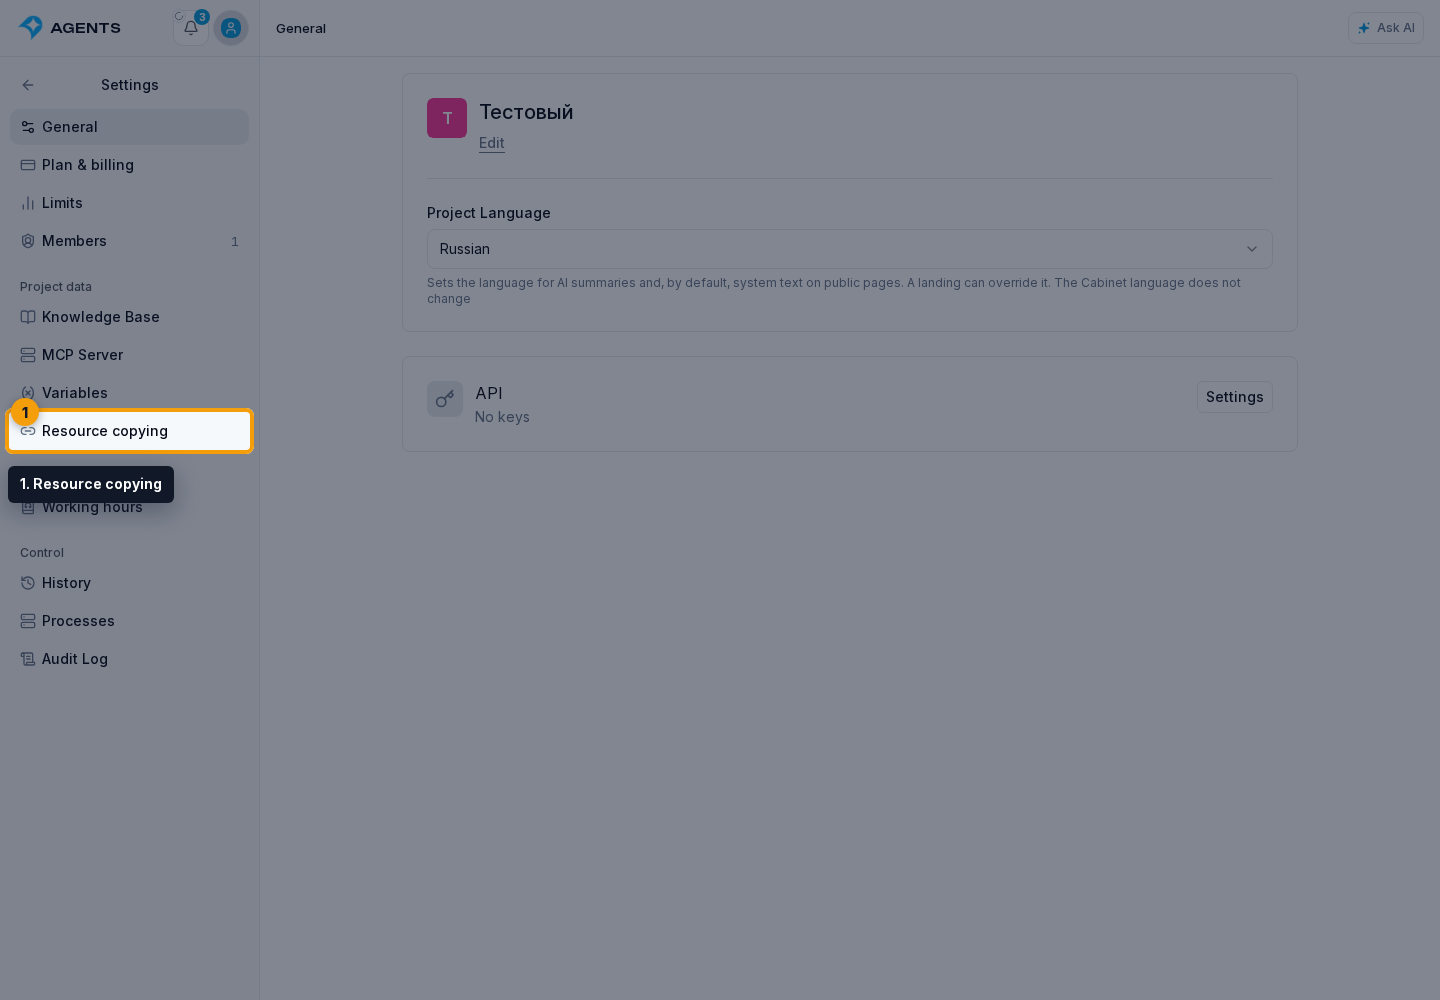
Click the Settings gear to the right of the project name and select Resource copying under Project data.
The Resource copying page contains the created link list. Tabs separate active links from the archive. Build package is in the same row above the list, to the right of the tabs.
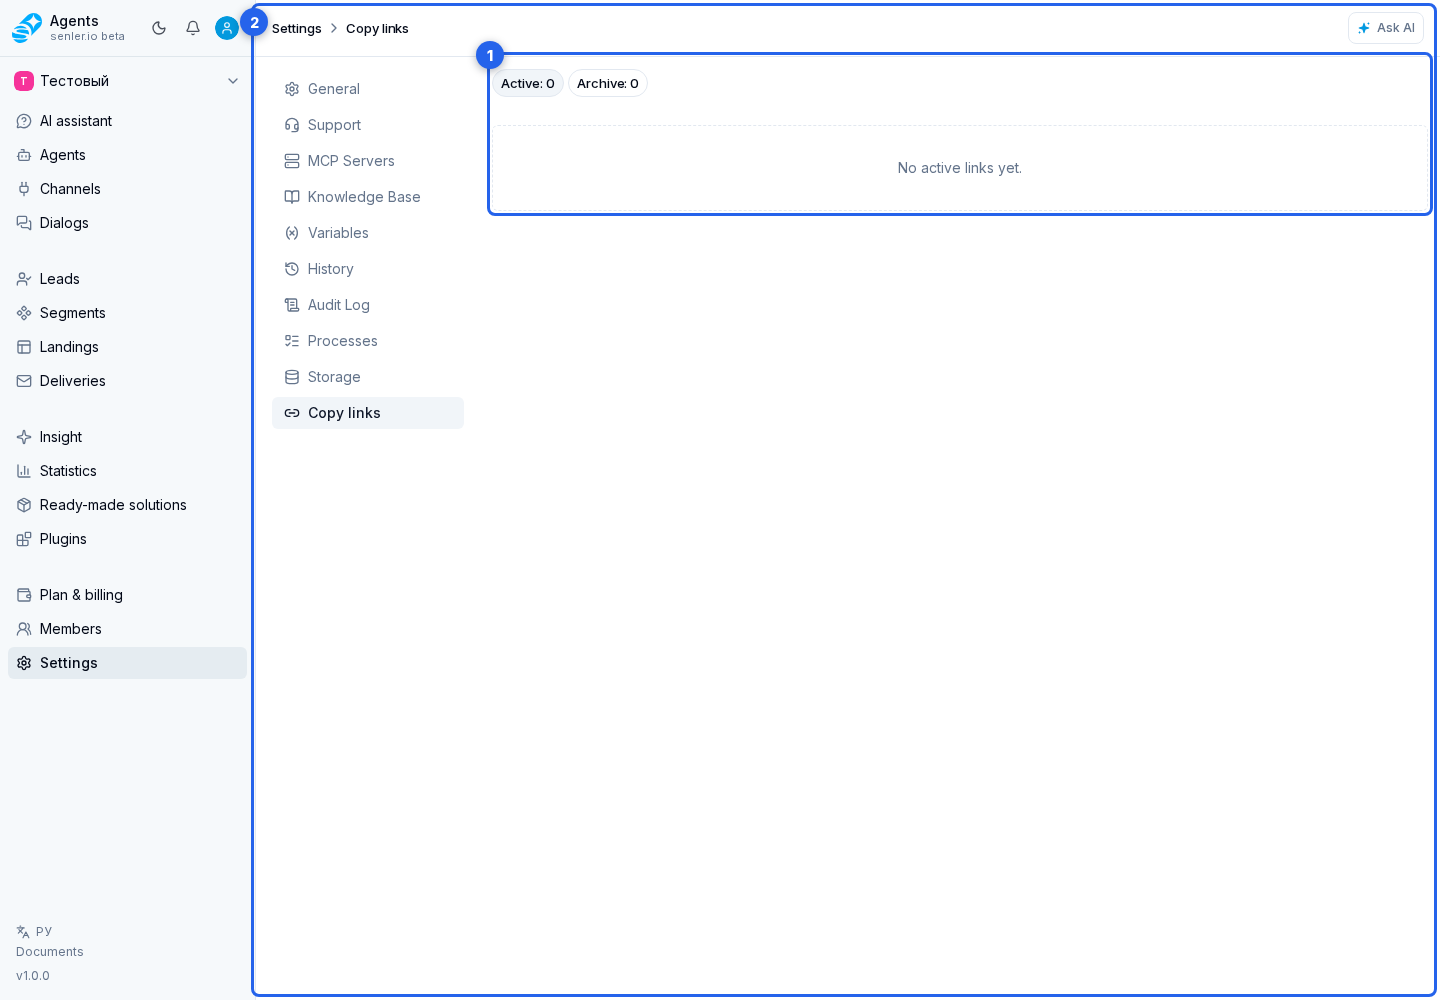
The table shows the package name, item count, source section, and access expiration. The source section can be automations, agents, deliveries, segments, knowledge base, landings, metrics, project, lead, or dialog variables.
Click a row to open its card. You can:
- change the name;
- keep the current expiration or set 1 day, 7 days, 1 month, 1 year, or never;
- expand package contents;
- copy the address of an active link;
- revoke access with confirmation.
Manually revoked and expired links move to the archive. An archived card can be viewed, but it cannot be edited or used to copy an active address.
Importing from a link
The recipient opens the import page. The cabinet loads the package name and contents and lists only eligible target projects—projects where the recipient can manage every package resource type.
- Expand Package items.
- Select the target project.
- Select Review and copy. The cabinet first builds the plan and opens it in a separate dialog; copying has not started yet. Build plan inside the expanded package contents opens the same dialog in advance.
- Review every plan row and the repeated-copy warning, then select Copy to project.
Each plan row has an action and an explanation of what will happen to the resource:
- Create makes a new independent copy of the named resource;
- Use existing links the package to a resource already present in the target project;
- Configure after copying creates the resource but requires a follow-up in the cabinet, such as selecting a keyword channel, message recipient, or agent channels again;
- Conflict identifies an incompatible match, such as a different variable type or schema;
- Skip leaves the resource uncopied.
Every confirmation creates new independent copies for items marked Create, even when the same link has already been imported into that project. Review the plan before repeating the action: a previous import does not automatically turn new items into updates of the earlier copies.
After import starts, a background process dialog opens. The result separately counts created, existing, skipped, setup-required, and failed items; setup-required and failed items include per-resource messages.
If import does not start
Check that:
- the address contains the full
tokenparameter; - the link is active and has not expired;
- there is at least one target project where the user can manage every package resource type;
- a target project is selected;
- the message in the error block above the form: the UI displays plan and import errors there.
If the process has already started, its state and ID are available in the progress dialog and in Processes.
Lead and dialog variables are transferred as definitions, without individual customer or conversation values. When these fields are included in an agent package, the agent's access settings for the transferred fields are preserved too. Working with dialog variables in the destination project requires the corresponding permissions.