
Support
How to open Support settings
Select the Settings gear button to the right of the project name, then select Working hours in the Client service group.
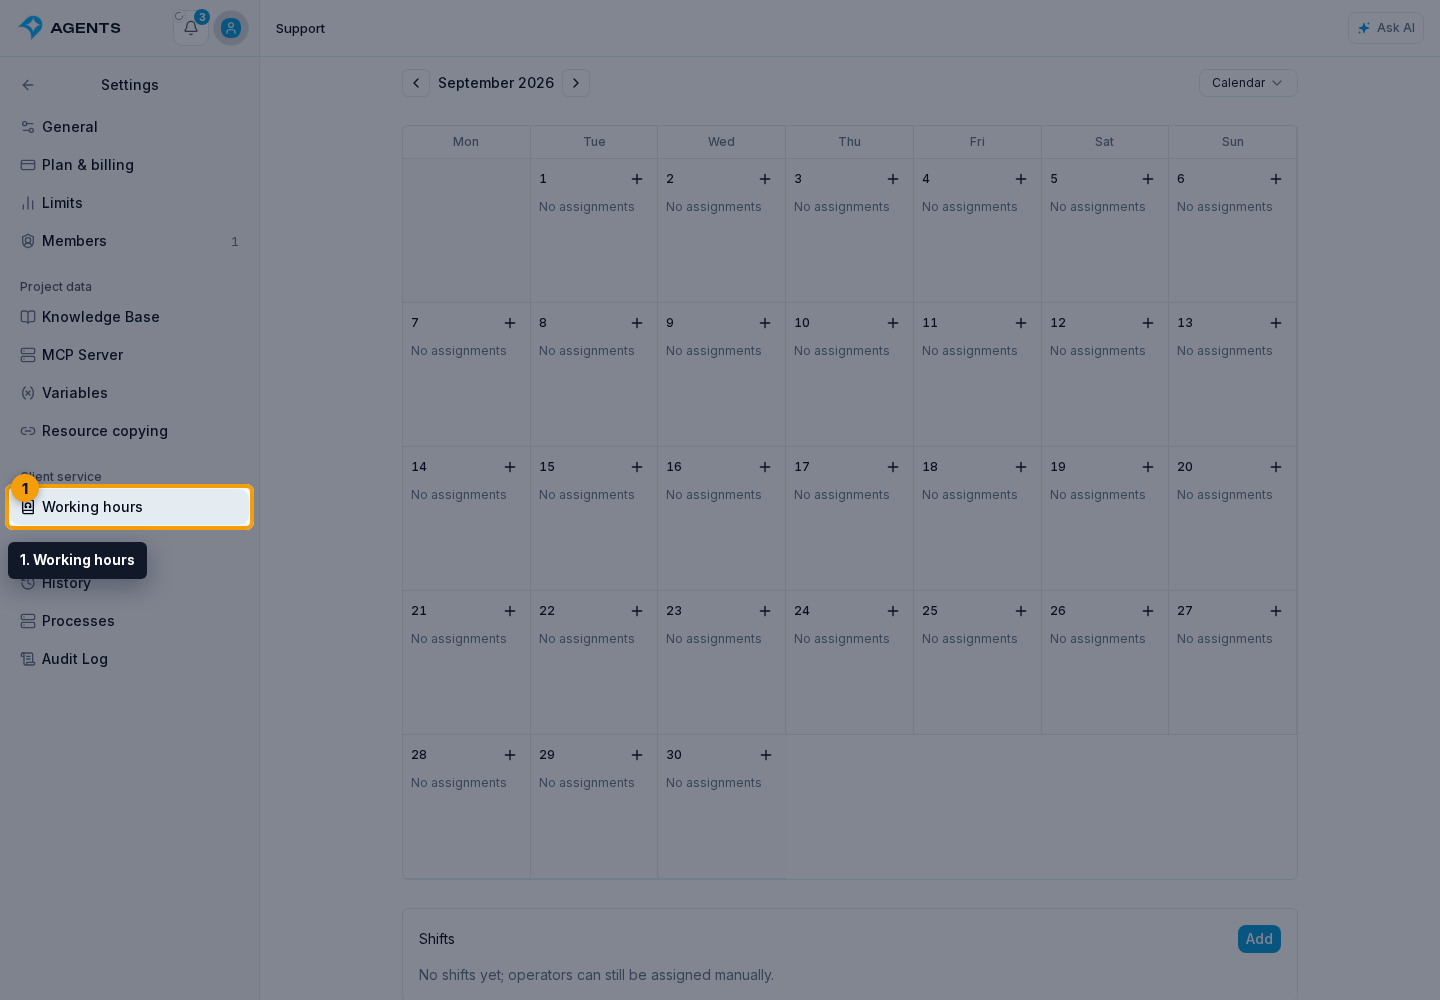
The Support page contains:
- the support schedule — shifts and operator assignments;
- the operator response SLA — mode and waiting-time thresholds by dialog priority.
A shift is a saved work-time template. An assignment connects an operator, a specific date, and a time interval; it can use a shift template or a manually entered interval.
Schedule settings
In the timezone field, select the region in which shifts are created and displayed. The timezone is saved with the schedule settings.
The Use schedule in response statistics switch controls whether first and average response times count only support working intervals. Changing the switch or timezone is saved immediately.
Calendar and compact views
The schedule view list offers Calendar and Compact. The selection is remembered in the current browser.
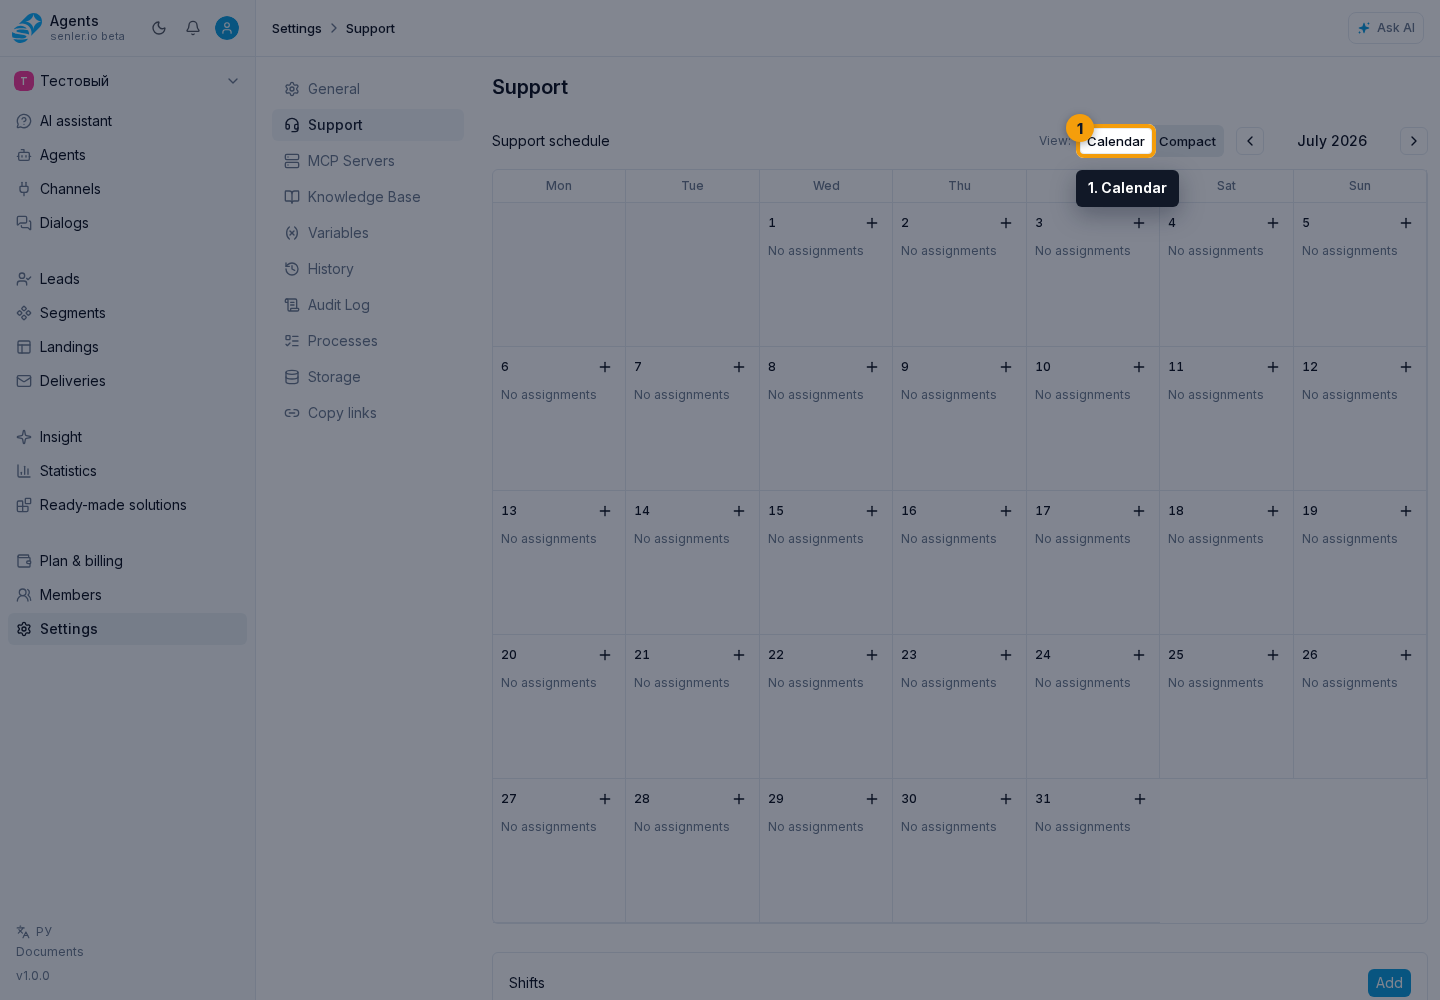
In the calendar, assignments are grouped inside days; the back arrow and forward arrow change the month. Click an assignment card to edit it.
The compact view displays operators in rows, dates in columns, and totals for shifts and hours. The filled-cell menu can edit the assignment or add another one on the same date; an empty cell offers an add action.
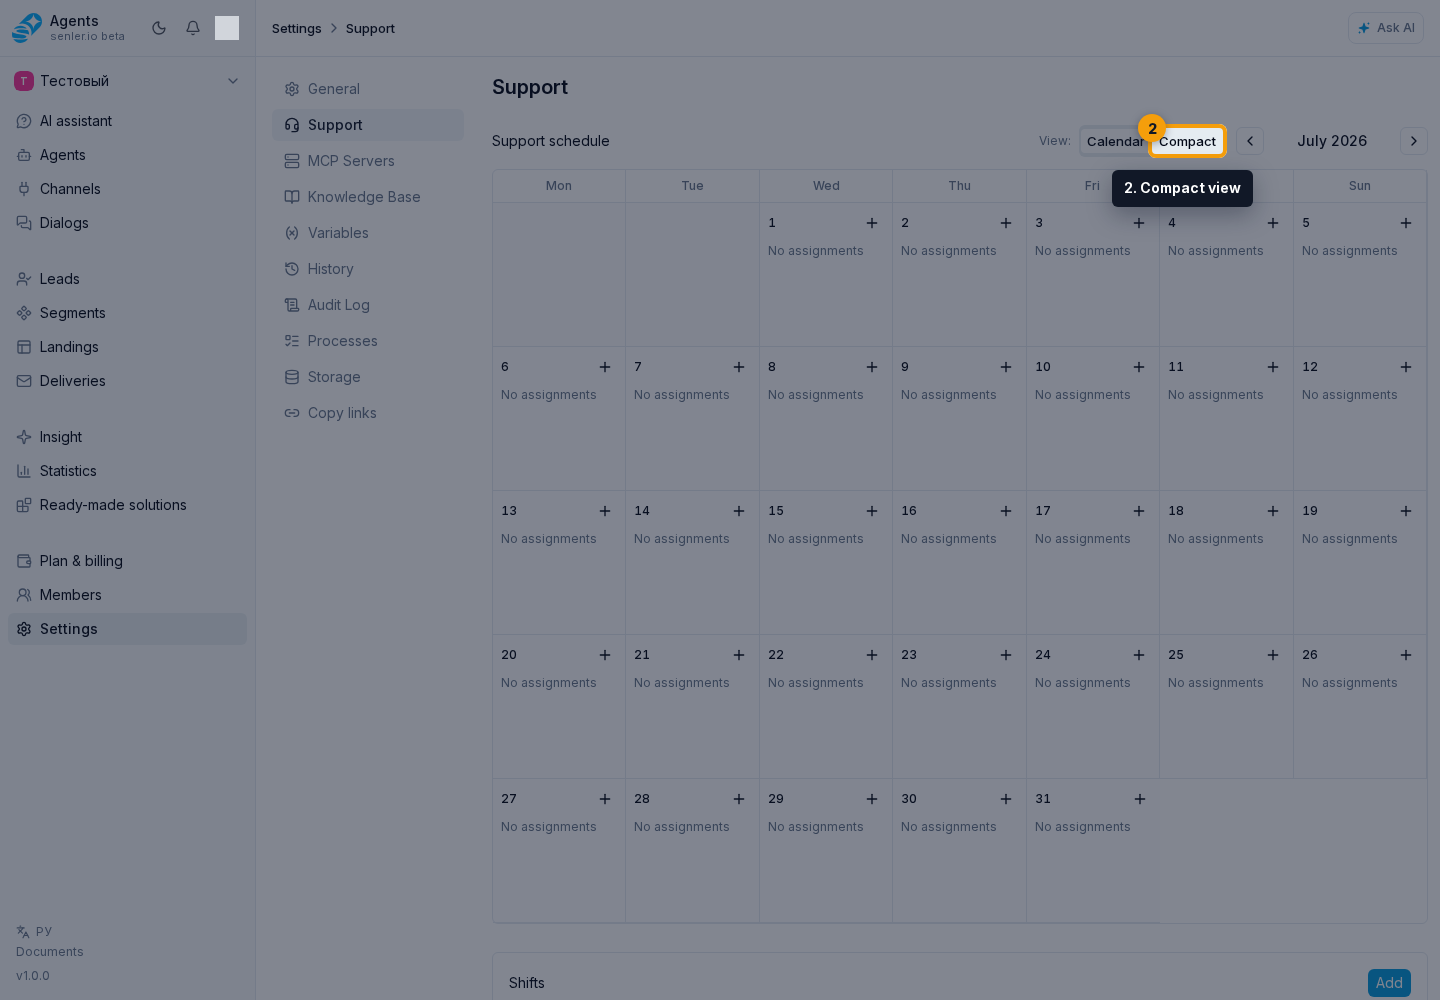
For repeated assignments, select quick assignment for the required shift, then select operator and date cells. Selecting a cell adds that shift, while selecting it again removes the shift. The shift stays selected until you leave quick mode; the help button summarizes the flow.
The compact schedule can be printed, downloaded as PNG, or copied as an image. Copying depends on browser support; if it fails, download the PNG.
How to create a shift
In the Shifts block, click Add.
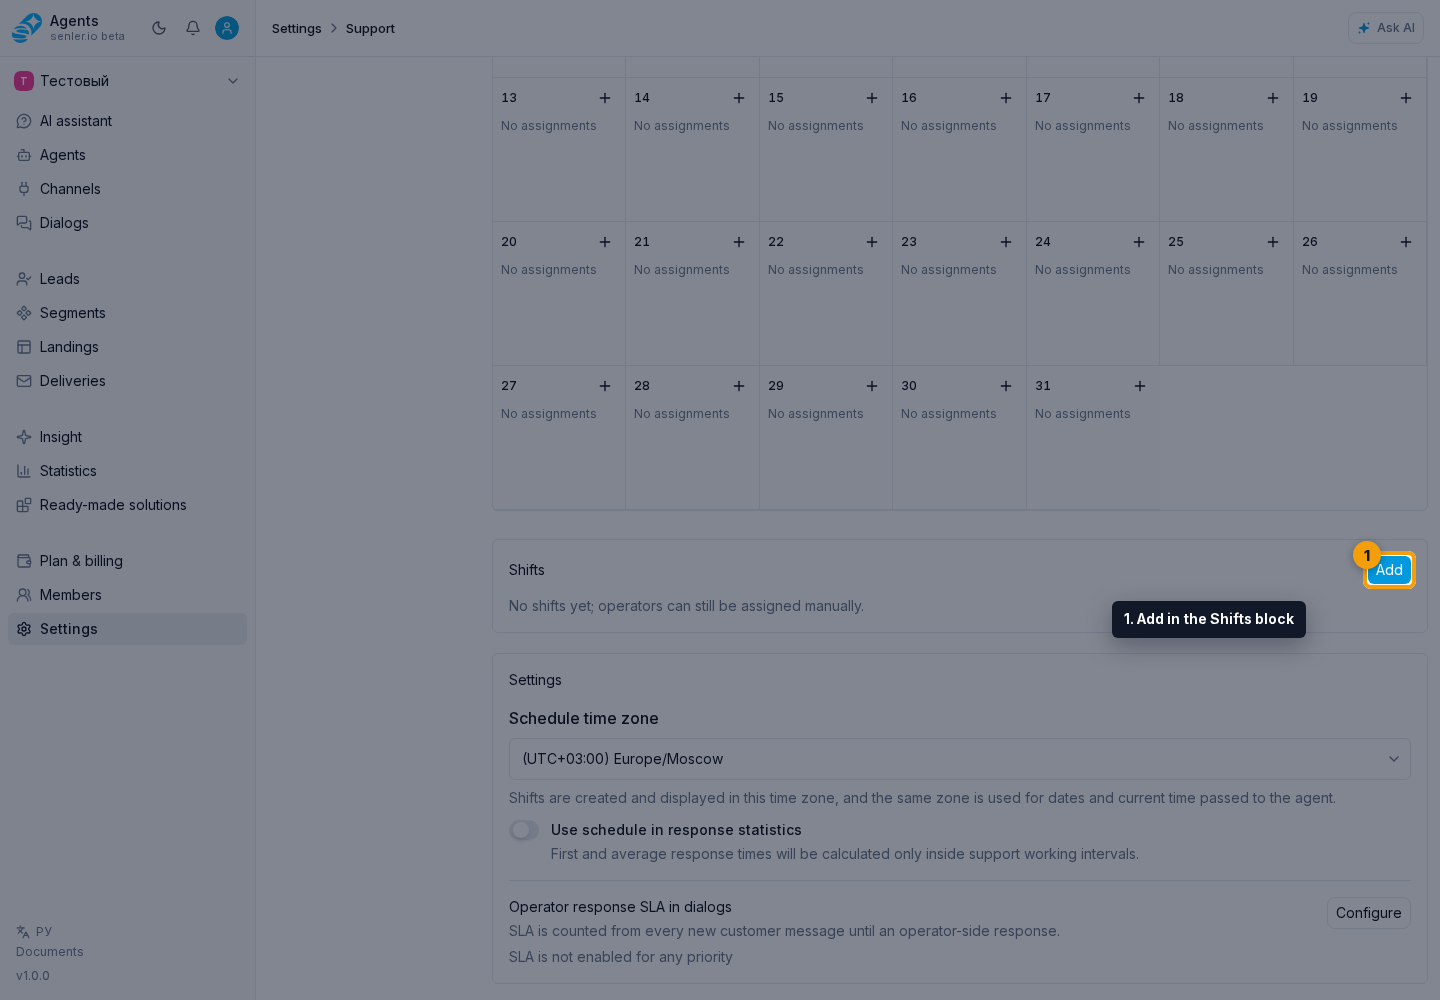
Enter the name, start, and end. For an overnight shift, enable Ends next day, then click Save.
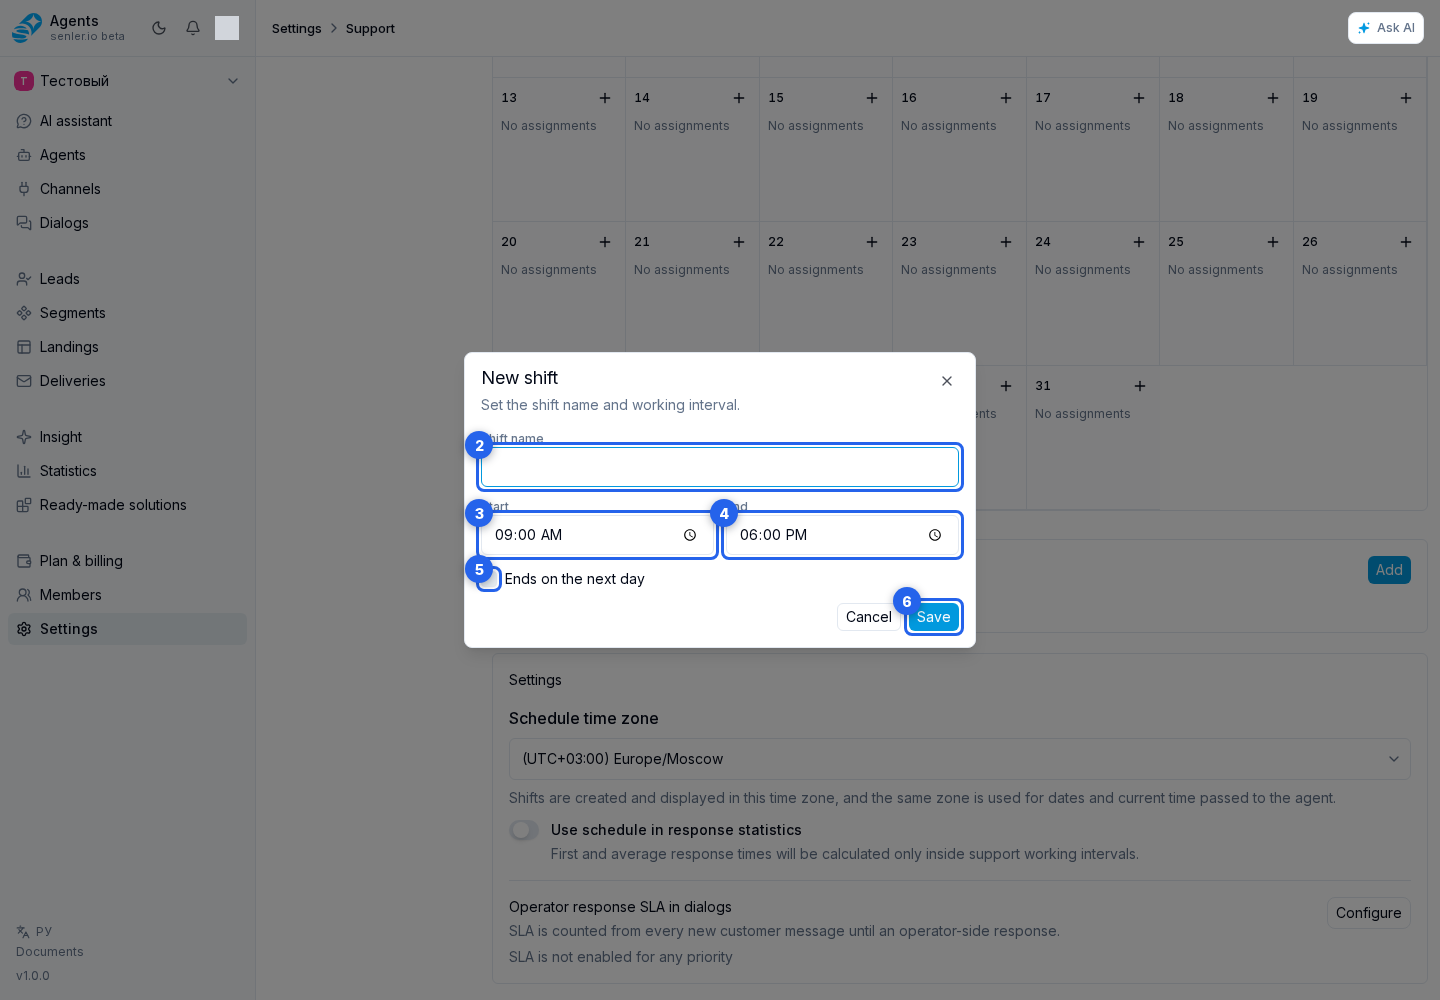
Creating a shift does not assign an operator. Add an assignment in the calendar or compact table afterward.
How to assign an operator
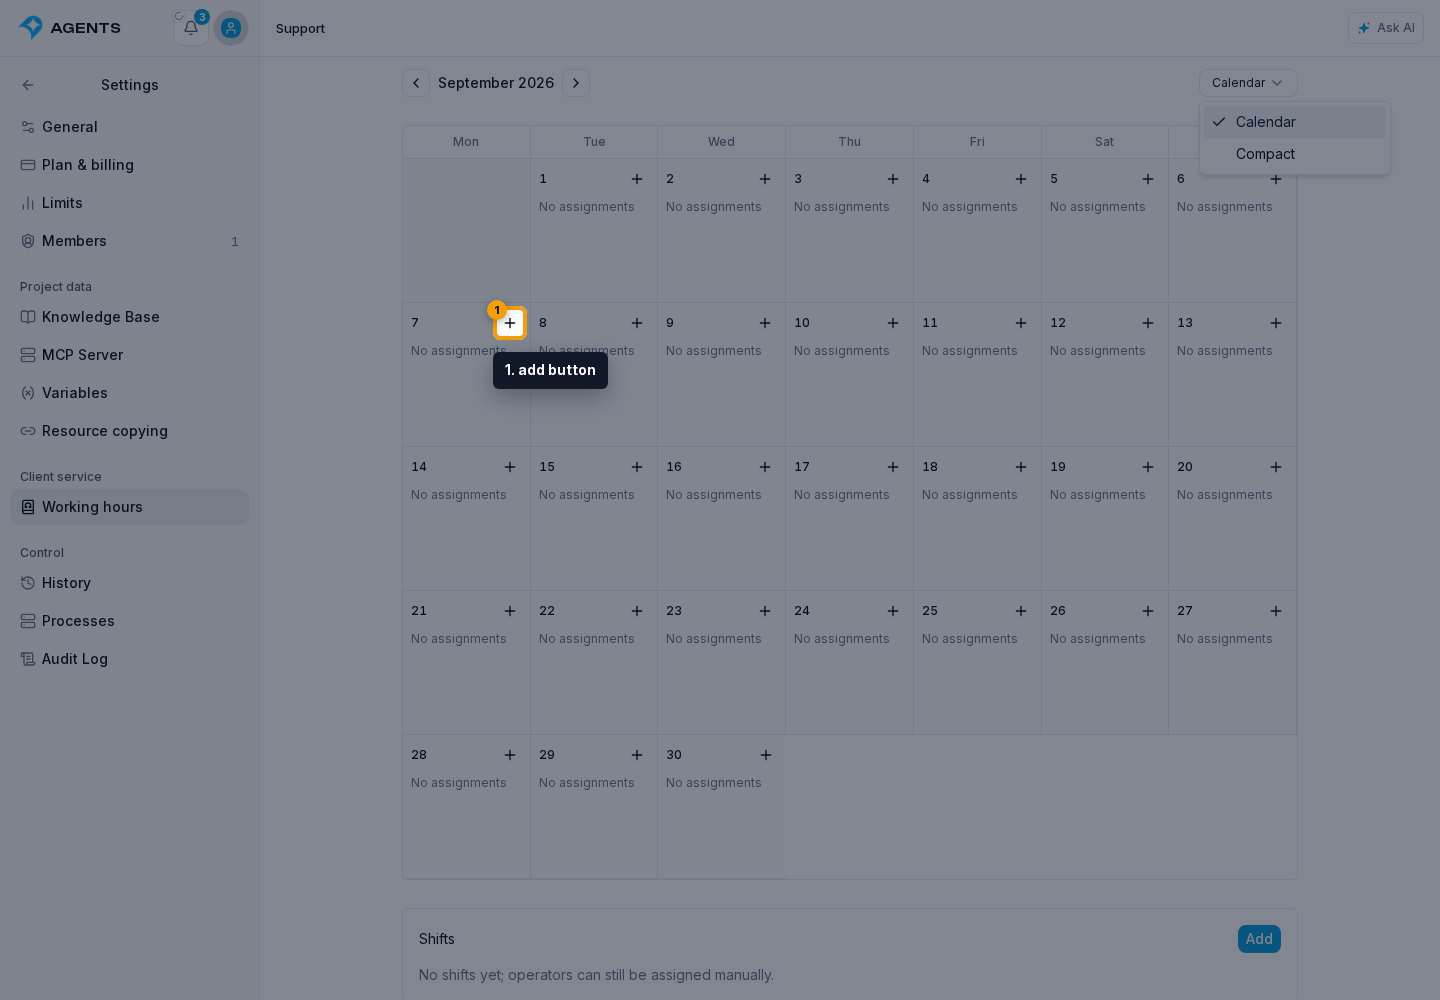
Click the add button on the relevant day.
In the form:
- Select the date and operator.
- Select a shift. If No shift is selected, enter the start and end manually.
- Enable the next-day option for an overnight interval. Add a note if needed.
- Click Save.
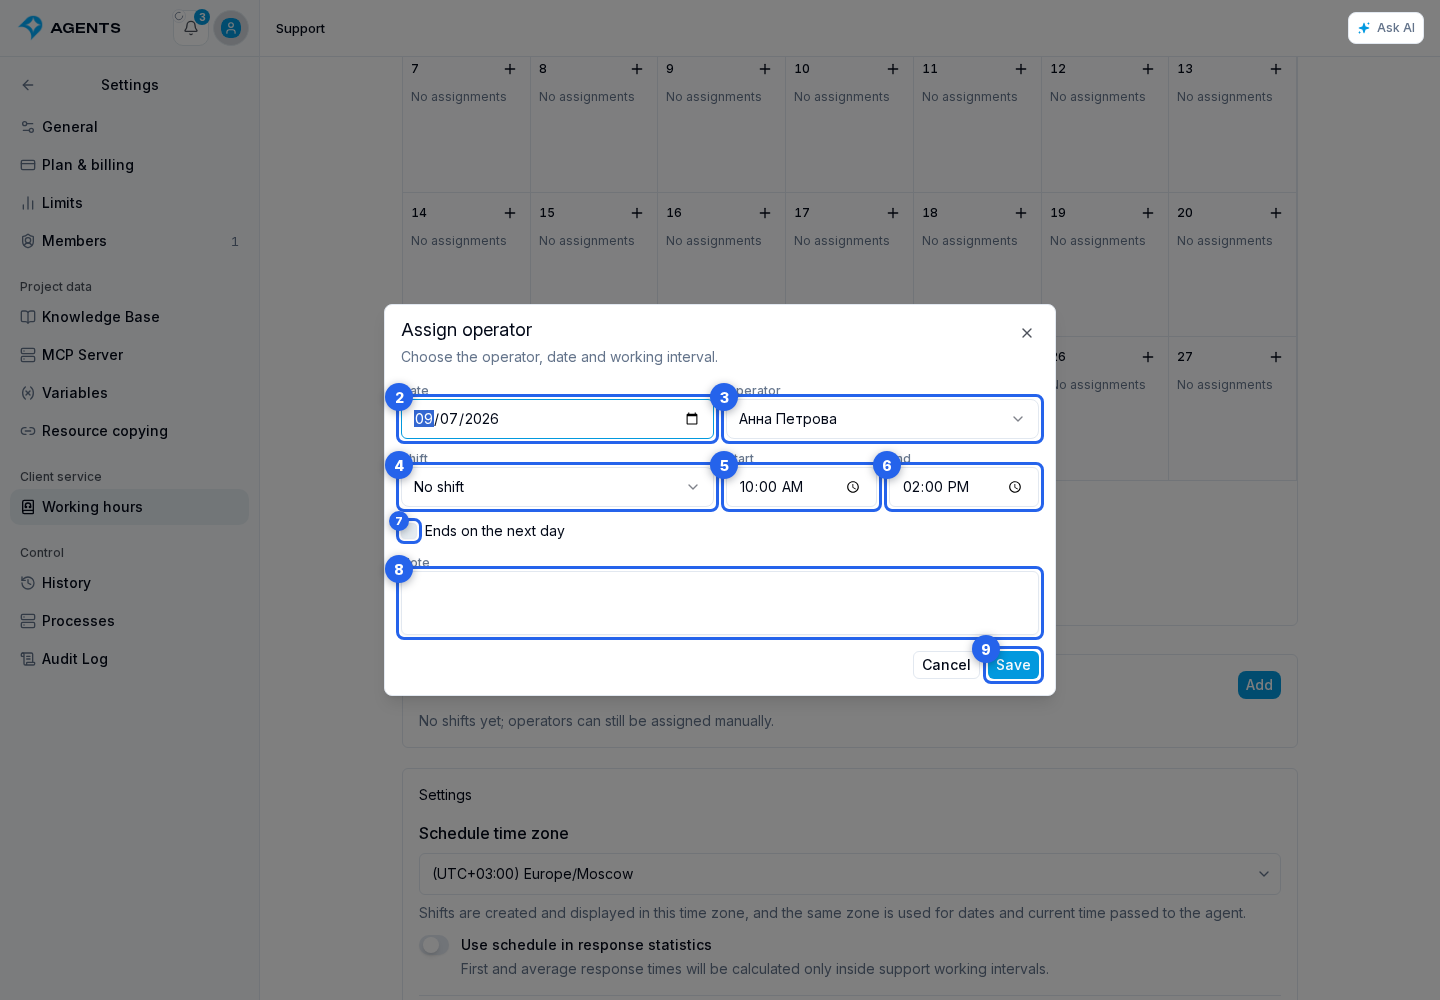
Only members marked as support operators are listed. If the list is empty, click Go to members: the Members section opens. Open a member and enable that flag.
Editing and deletion
An assignment card opens its form. The Delete button opens an assignment confirmation dialog, and confirming deletion removes the assignment from the schedule.
A shift is edited from the Shifts block. Its Delete button opens a shift confirmation dialog; confirmation deletes the template, and it is no longer offered for new assignments.
If the API reports an overlap, the selected operator already has an assignment in that interval. Change the time, select another operator, or edit the existing assignment.
How to configure SLA
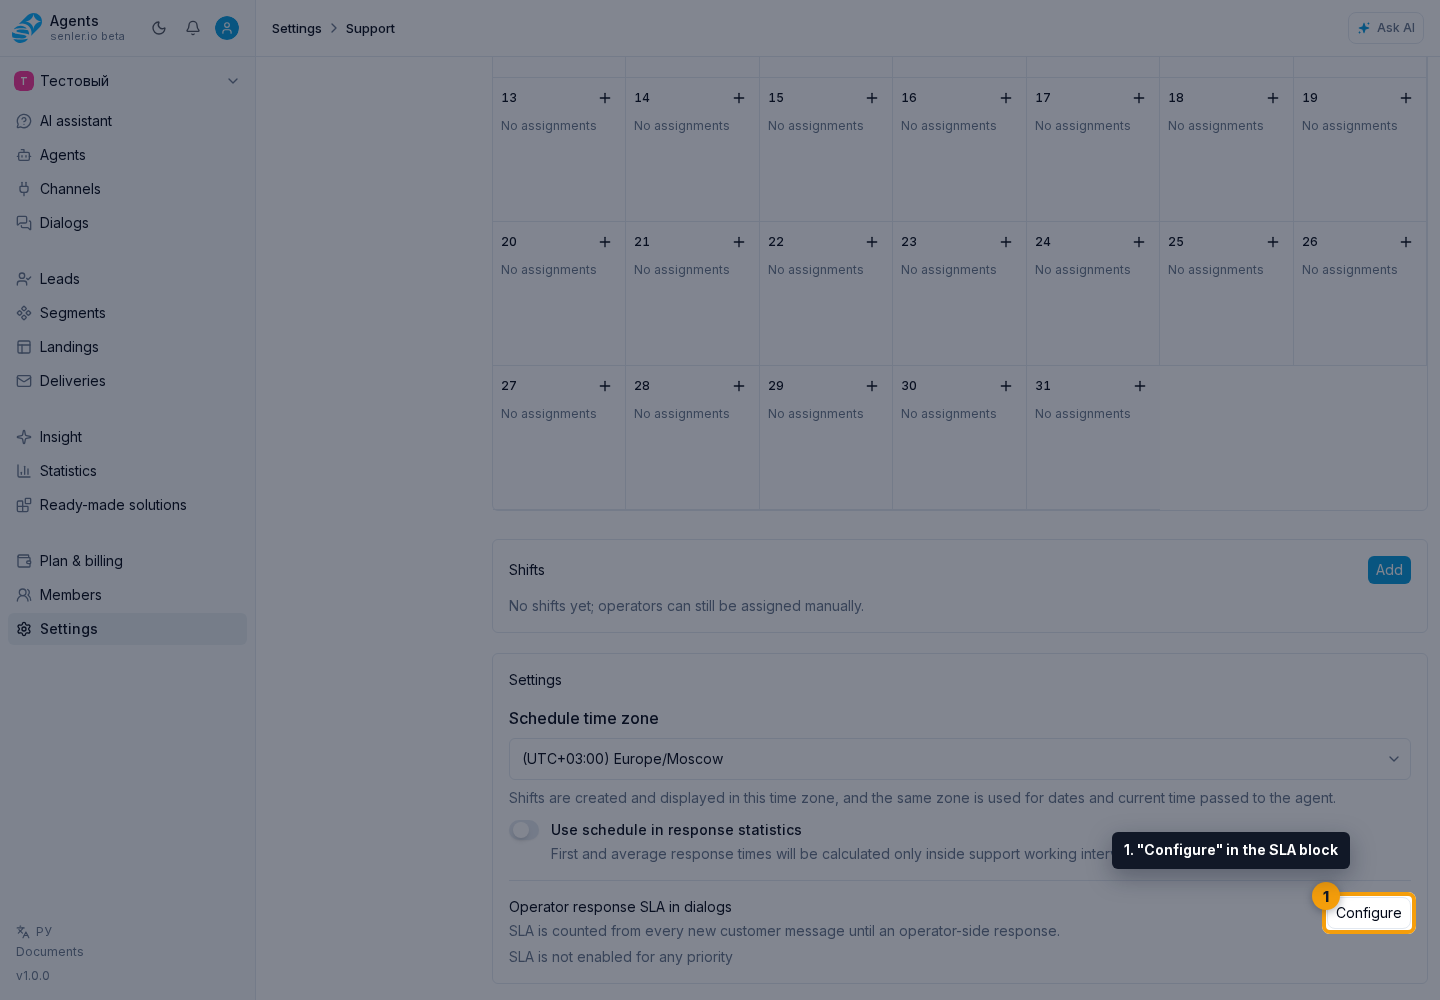
Click Configure in the SLA block.
In the form:
- Select First response only or Every client question.
- Enable the relevant rows for urgent, high, medium, low, and no-priority dialogs.
- Enter the warning minutes and breach minutes. Each value must be from 1 to 10,080 minutes, and the warning must occur before the breach.
- Click Save.
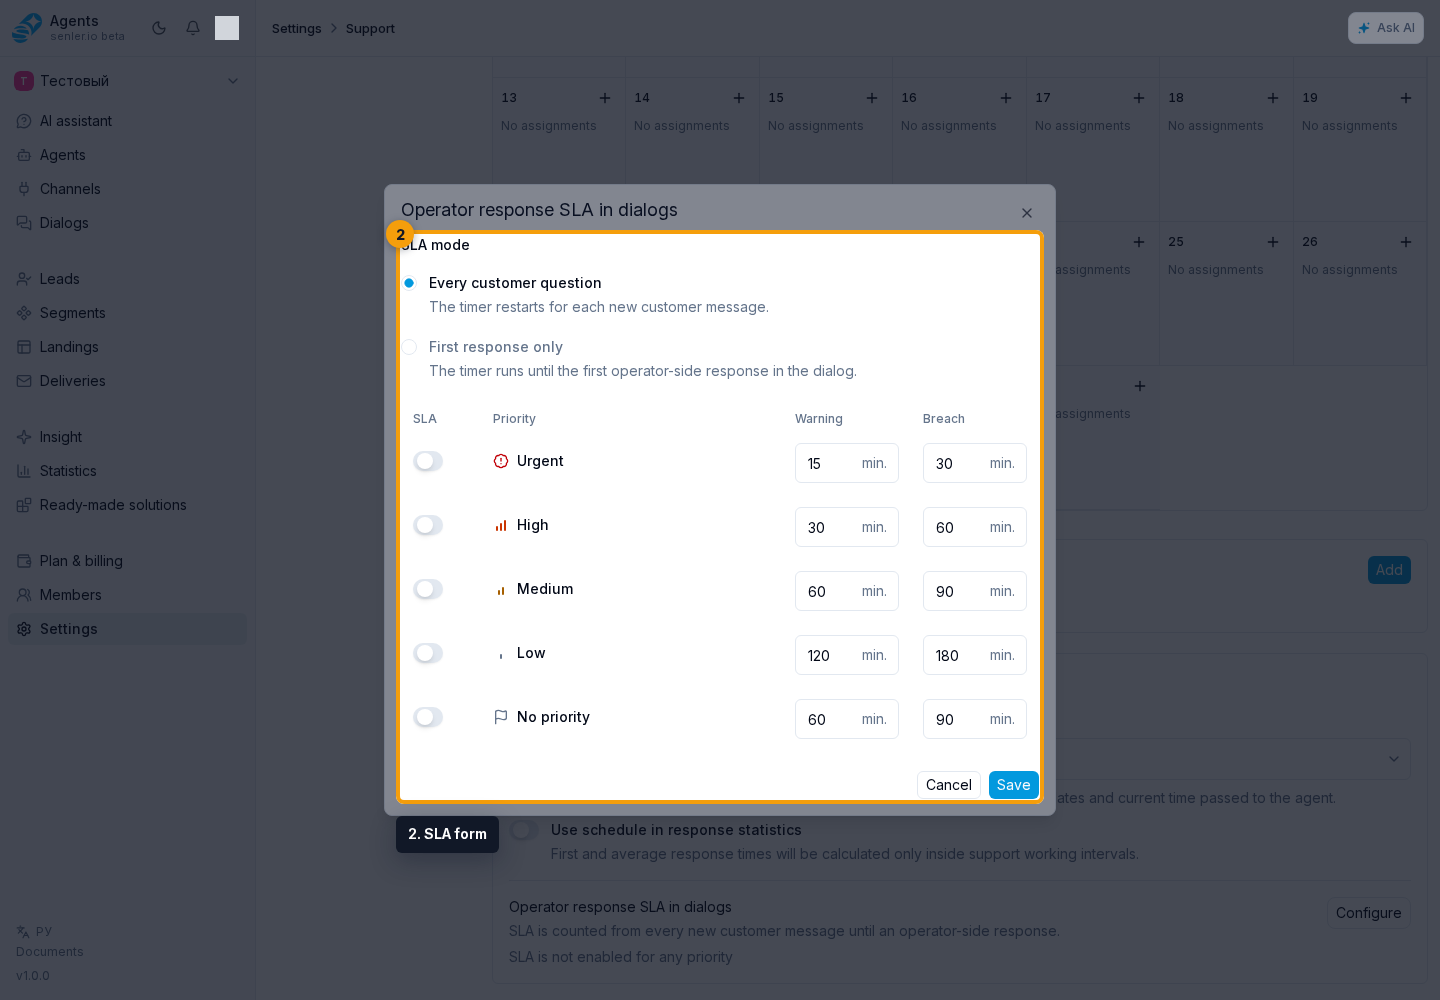
In First response only mode, SLA applies from the client's first message to the operator side's first response. In Every client question mode, SLA starts for every new client message.
If a setting is unavailable
- if the page is absent, check the member's schedule access;
- if fields are read-only, the member lacks schedule or SLA management permission;
- if there are no operators, configure a project member;
- if a time cannot be saved, check the start, end, and next-day flag;
- if SLA thresholds cannot be saved, check the range and the warning/breach order.