Widget MCP
Give visitors access to widget agents from an external AI client through MCP.
Main section: Widget.
Use via MCP
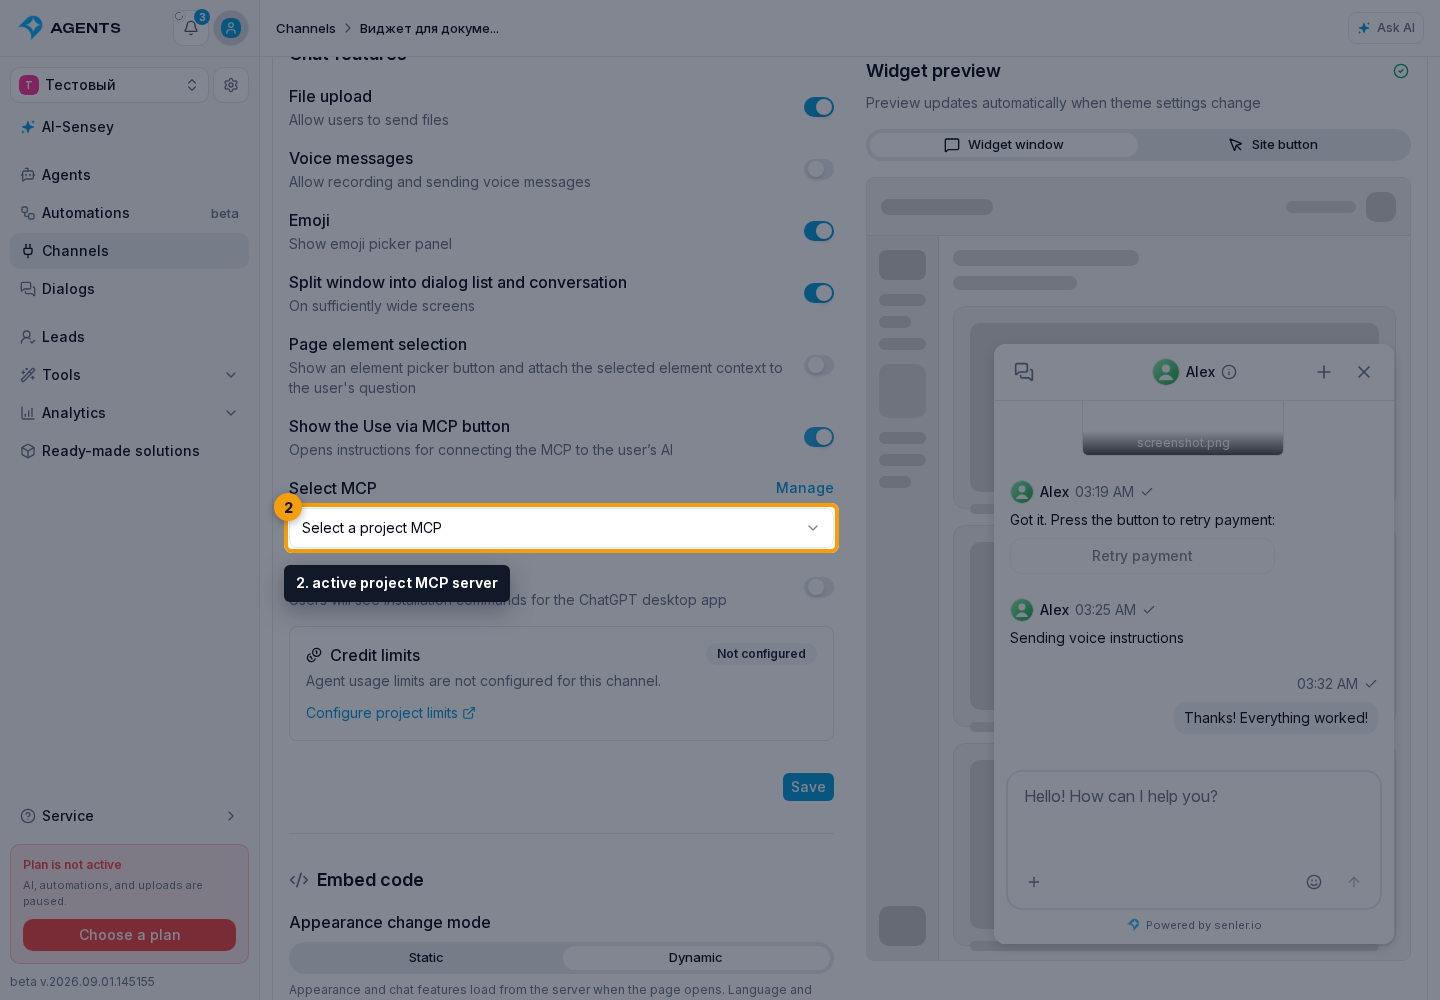
Enable Show the Use via MCP button and select an active project MCP server. Manage opens the project's MCP server settings. The feature cannot be saved while enabled without an active selected server.
The server dropdown includes search and page navigation. Inactive servers are visible but cannot be selected.
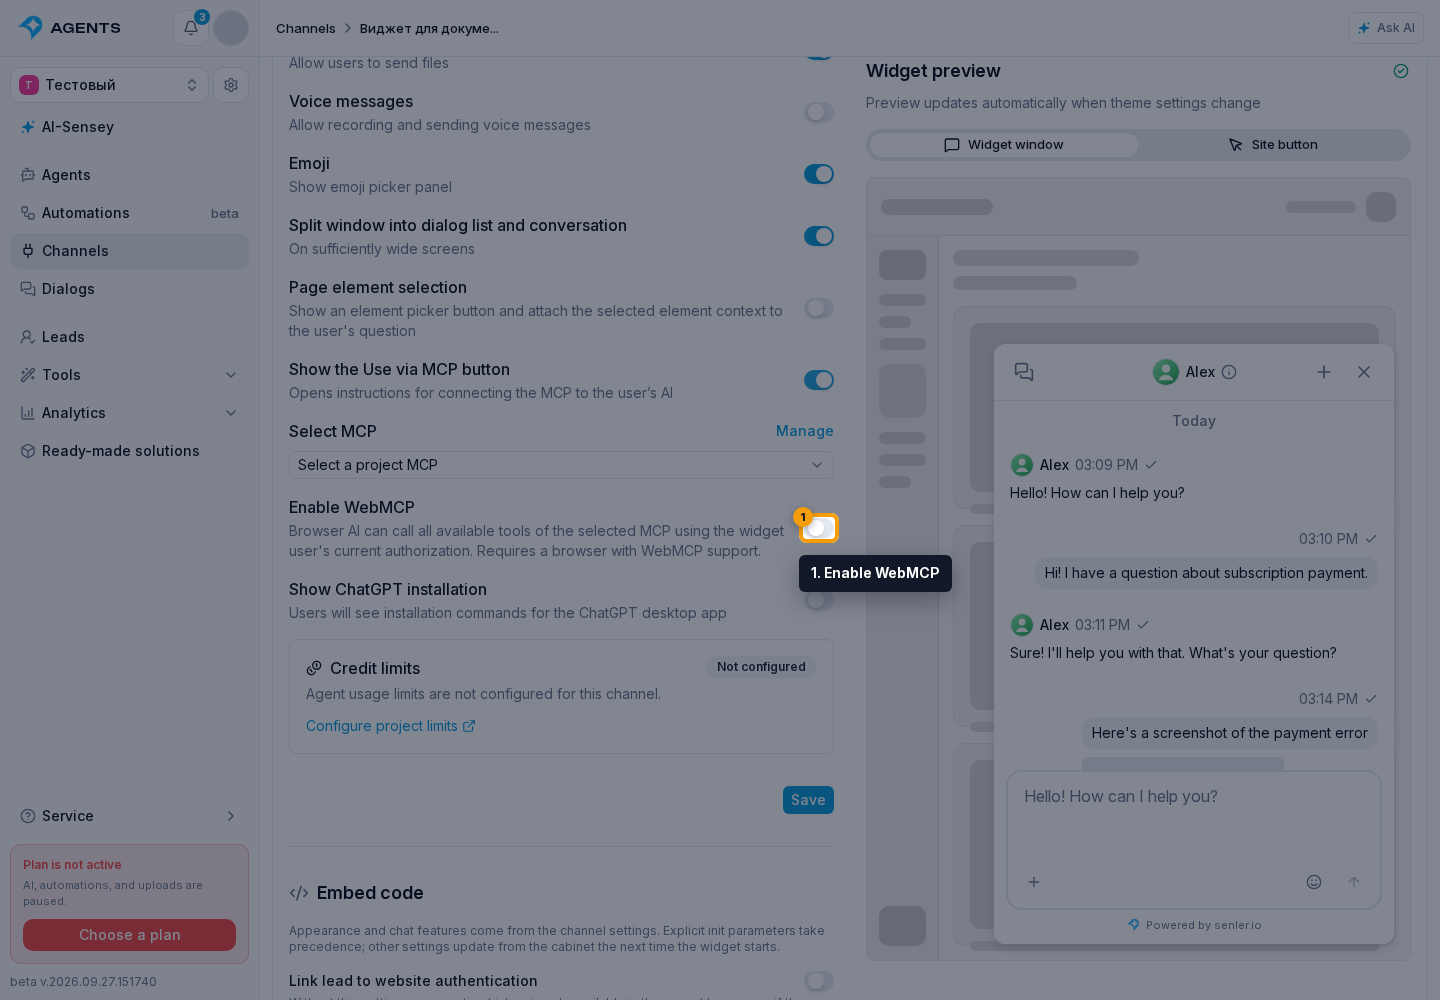
The Enable WebMCP switch lets browser AI access the selected MCP server's tools using the widget user's current authorization. This requires a browser with WebMCP support.
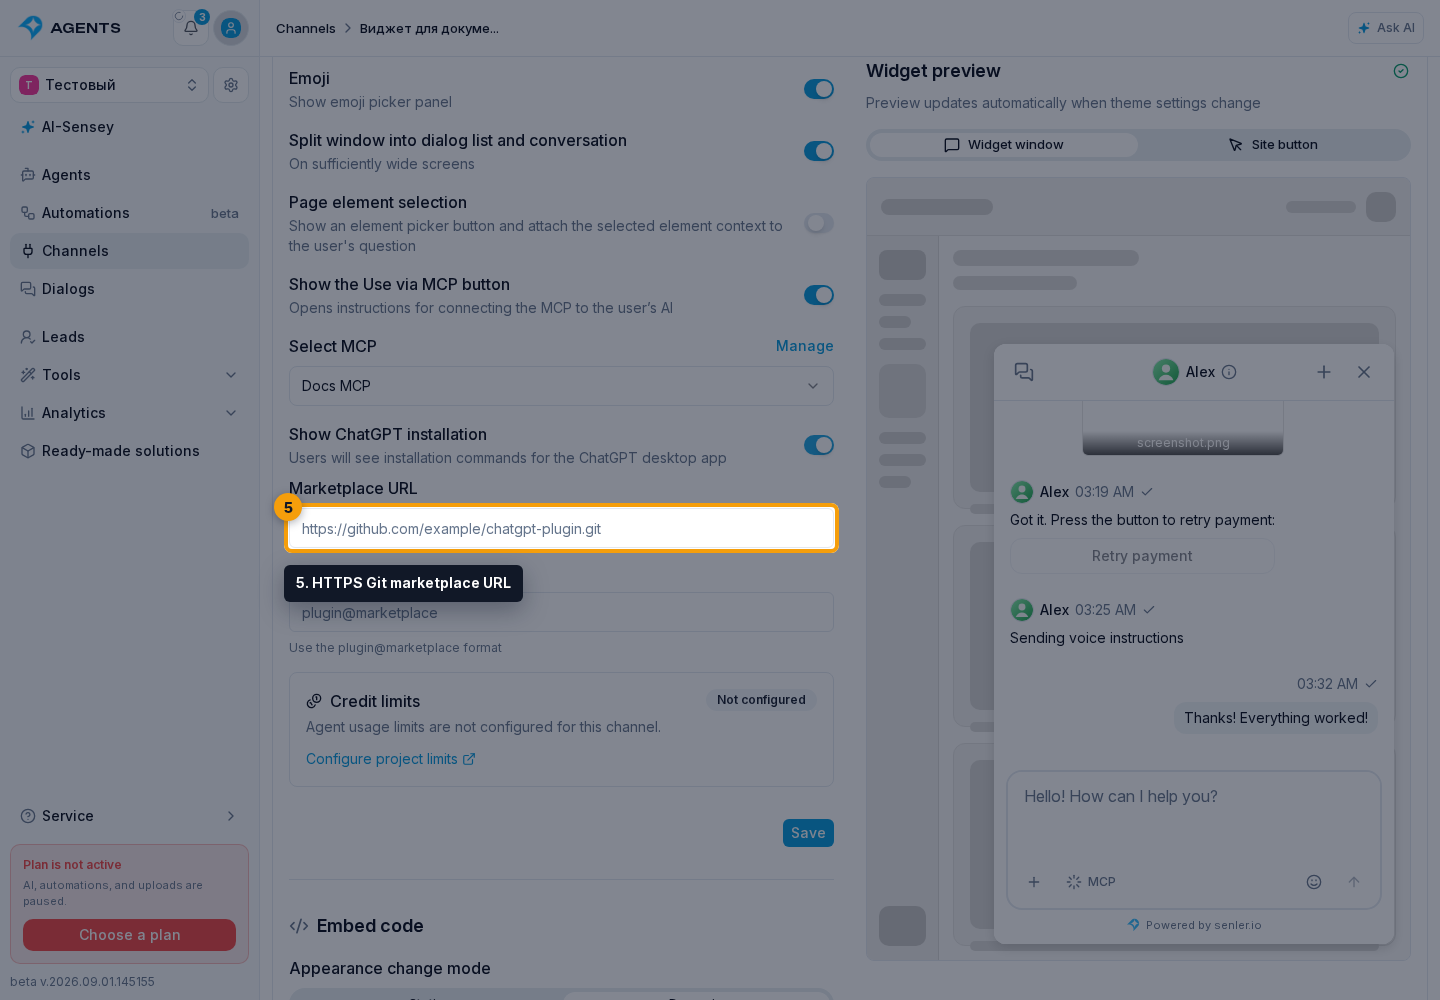
To show ready-to-run commands for the ChatGPT app and Codex CLI, enable Show ChatGPT installation, enter an HTTPS Git marketplace URL without query parameters, and enter the plugin ID in plugin@marketplace format. The ChatGPT tab appears only when both the URL and ID are present and valid; the other connection methods remain available independently.
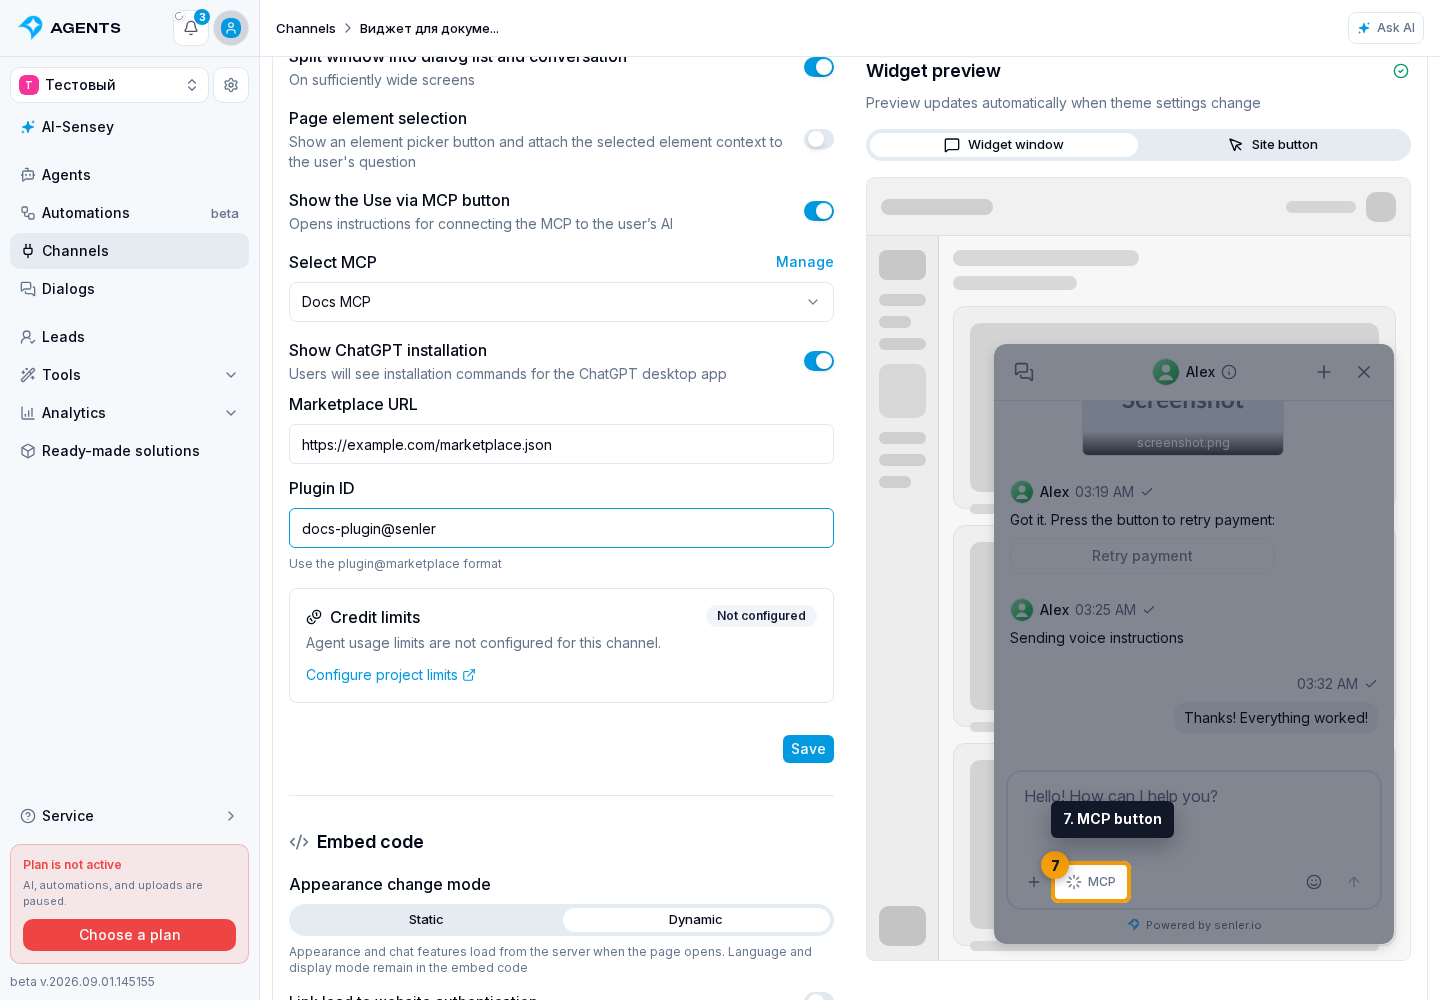
After saving, an MCP button appears in the toolbar below the message field. It opens the selected server URL and instructions for different AI clients. The button is next to the chat actions rather than in the widget header.
Connection Methods
- Universal: copy the MCP URL and add it as a remote MCP server in a compatible AI client;
- ChatGPT: copy the two installation commands, run them in a terminal, and open a new Codex task in the ChatGPT app or CLI;
- Claude: copy the MCP URL, then add a custom connector under Customize → Connectors. Open Claude takes you directly to Connectors. On Team and Enterprise plans, an organization owner adds the server first;
- VS Code: copy the MCP URL, run
MCP: Add Server, select a remote HTTP server, and choose the Global or Workspace scope; - Cursor: select Add to Cursor. The selected MCP server's URL and name are passed to the installation. If Cursor does not open, copy the URL and add the server manually through MCP settings.
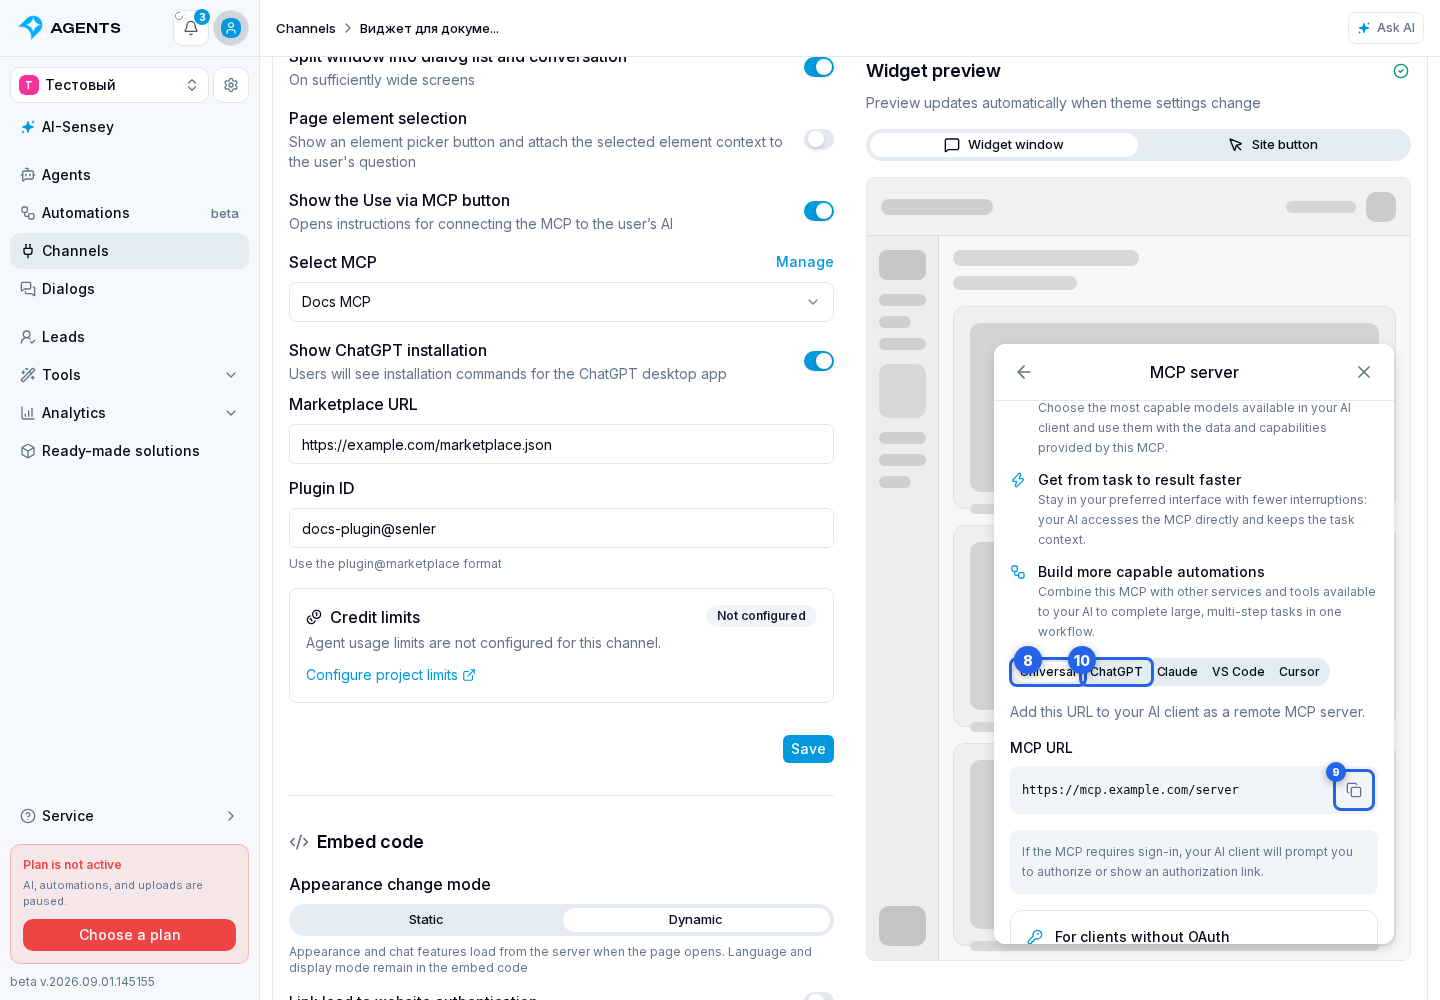
On first connection, the AI client prompts for authorization or shows an authorization link when the server requires sign-in.
Authorization
A normal connection uses OAuth: the AI client or the Senler connection page handles sign-in, account selection, and connection changes. The agent does not receive separate tools for entering a token, disconnecting an account, or switching projects. To choose another account, open connection management in the AI client and complete authorization again.
Access Key For A Client Without OAuth
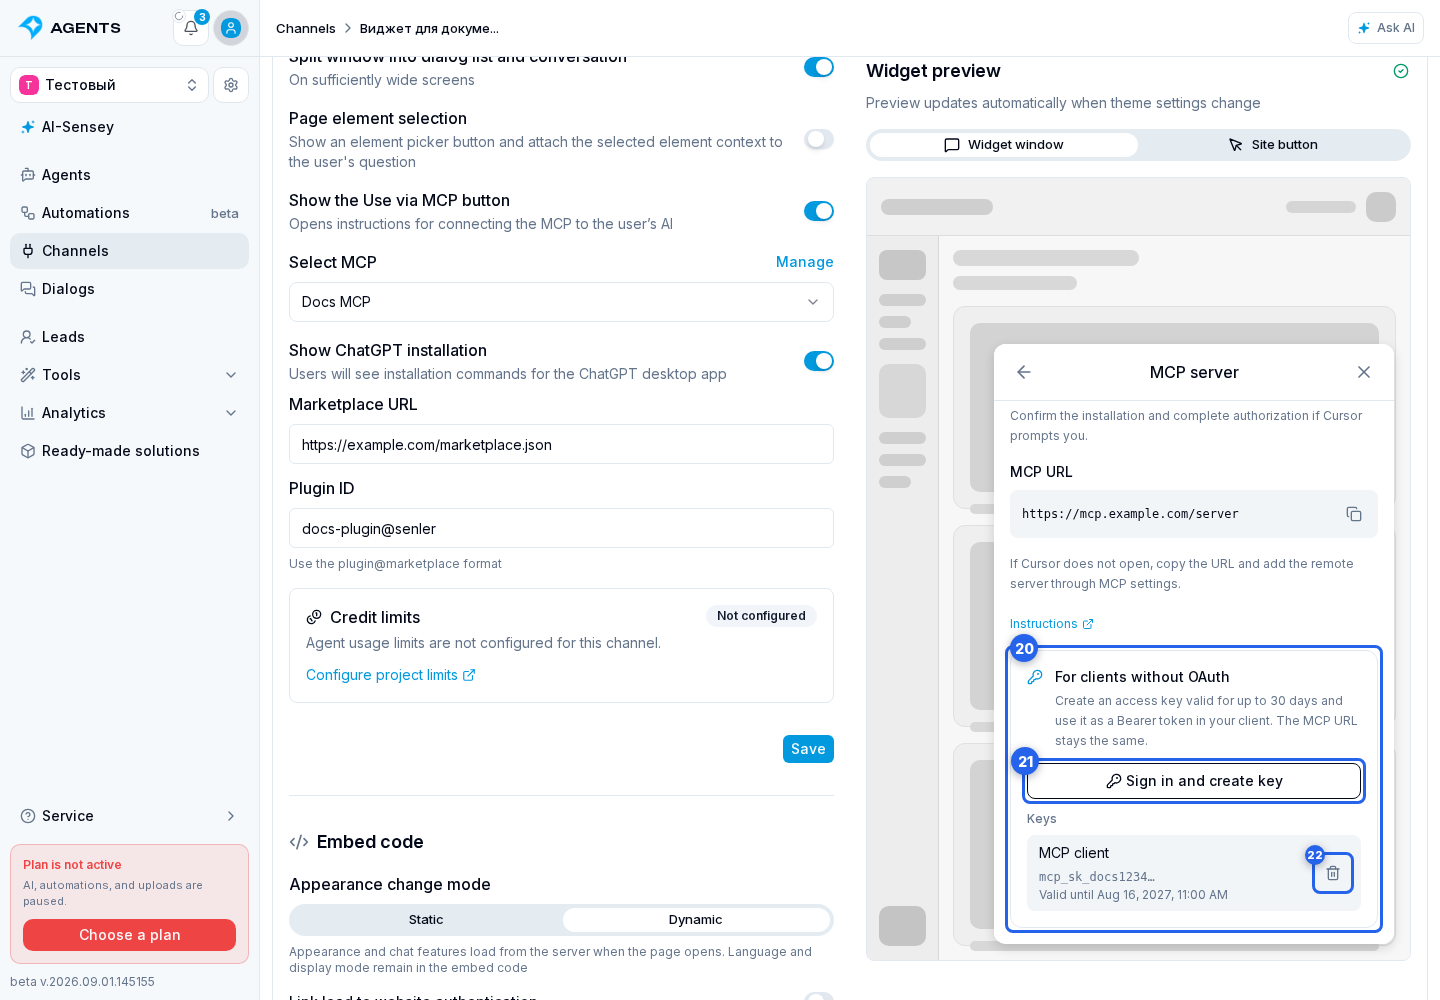
If the AI client can send a Bearer token but cannot complete OAuth, use the For clients without OAuth section. This method is available for a selected managed Senler MCP server; for an arbitrary MCP URL, use that server's own authorization method.
- Select Sign in and create key.
- Sign in to the connected service in the pop-up window and complete authorization.
- Copy the created key immediately: its full value is shown only once.
- Keep the same MCP URL and pass the key from the AI client as
Authorization: Bearer <key>.
Active keys belong to the current widget visitor and the selected MCP server. If a key is no longer needed or may have been exposed, select Revoke key next to it. A revoked key can no longer connect; to use another account, create a new key after authorizing that account.