
HTTP tools
Define a tool HTTP request, parameters, and result in the plugin builder.
Select Builder in the application Agent tools section.
HTTP tool builder
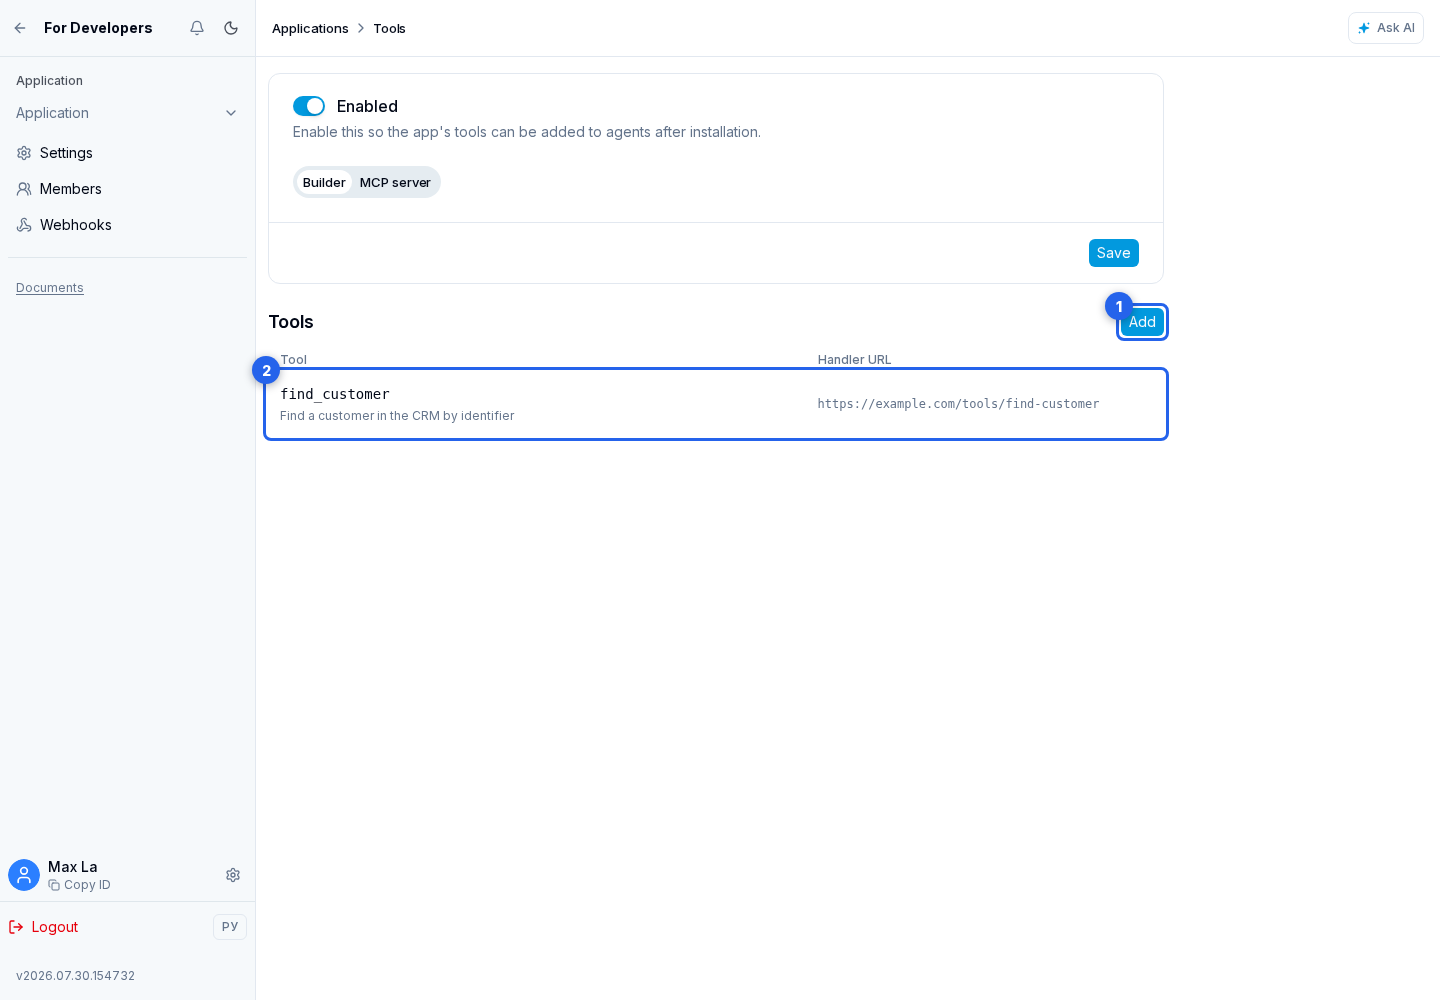
Select Add. In the tool form, first complete the user-facing presentation:
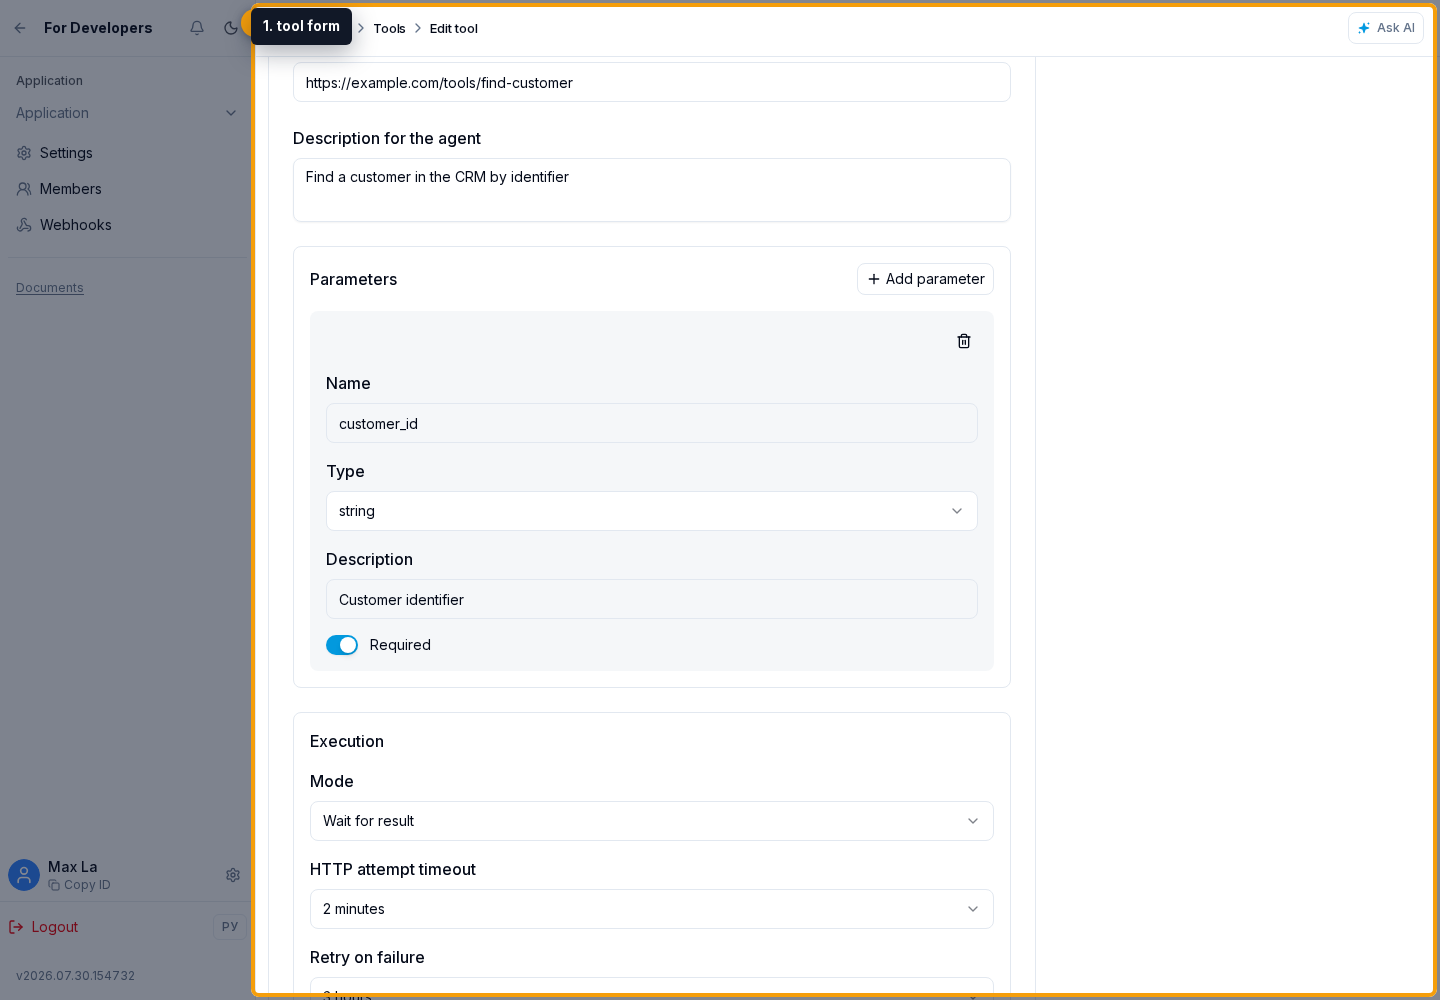
On the Russian tab, enter the name and short description. In the optional Response description field, explain what data the tool returns after it runs.
On the English tab, enter the English name and English description. If the Russian response description is filled in, add its English version in the Response description field.
Both names and both short descriptions are required; users see the version matching their Cabinet language. The response description may be omitted, but when it is used, enter both language versions. Users see it in the tool details and can understand the expected result of the call.
Then specify the technical settings:
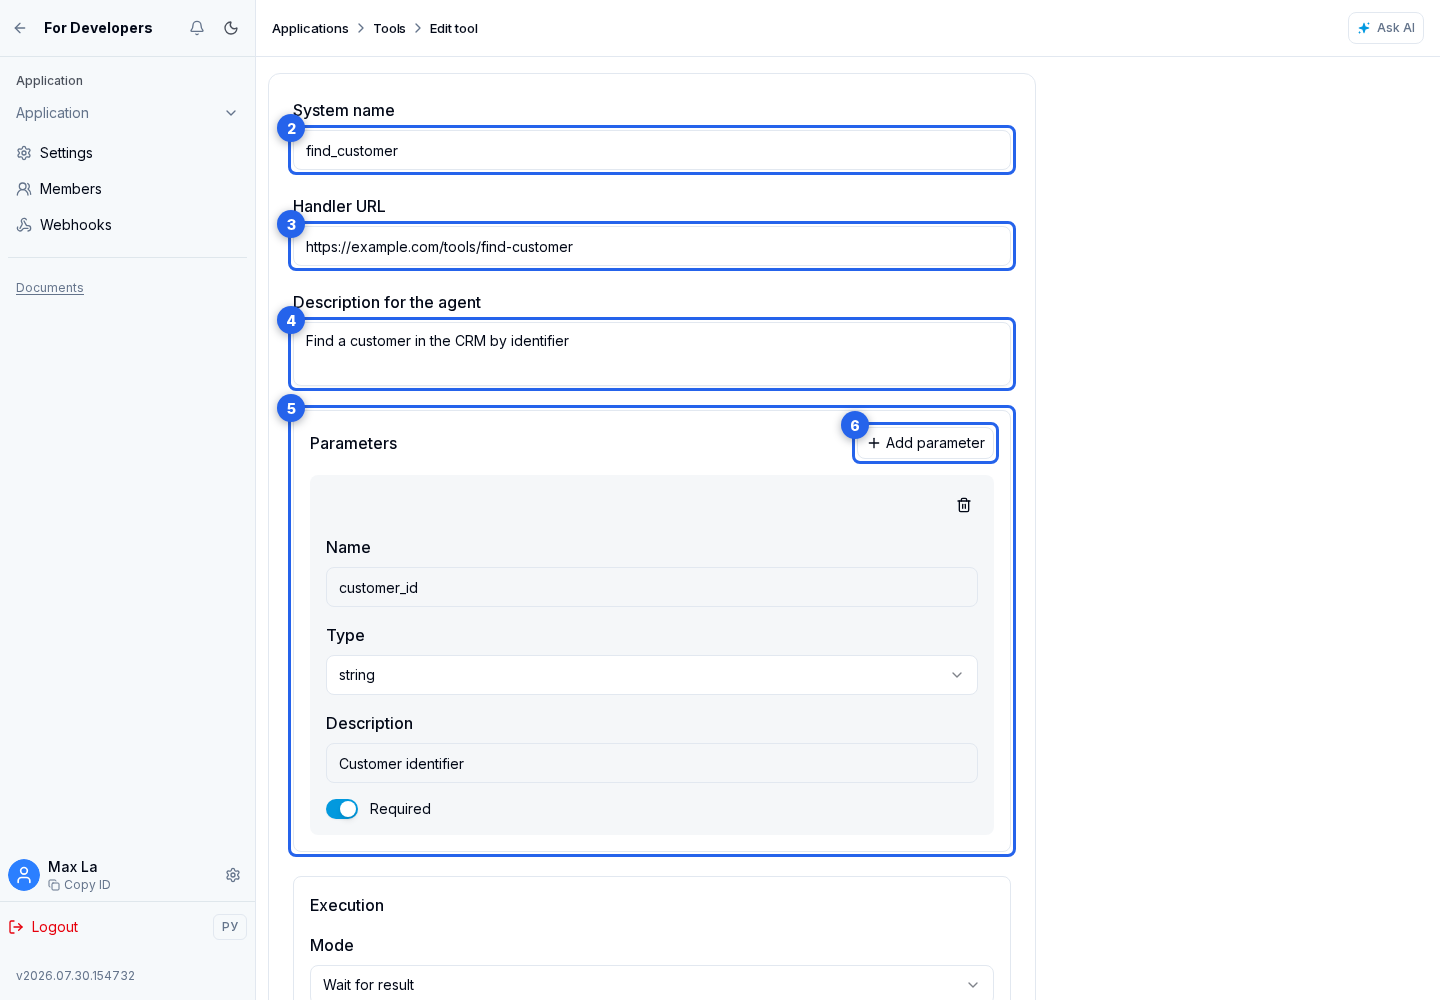
- a system name, for example
find_customer; - the handler URL with
httporhttps; - by default, the agent uses the Russian short description. Enable Technical description for the agent and enter an agent-facing description only when the model needs call conditions that should not be shown to users;
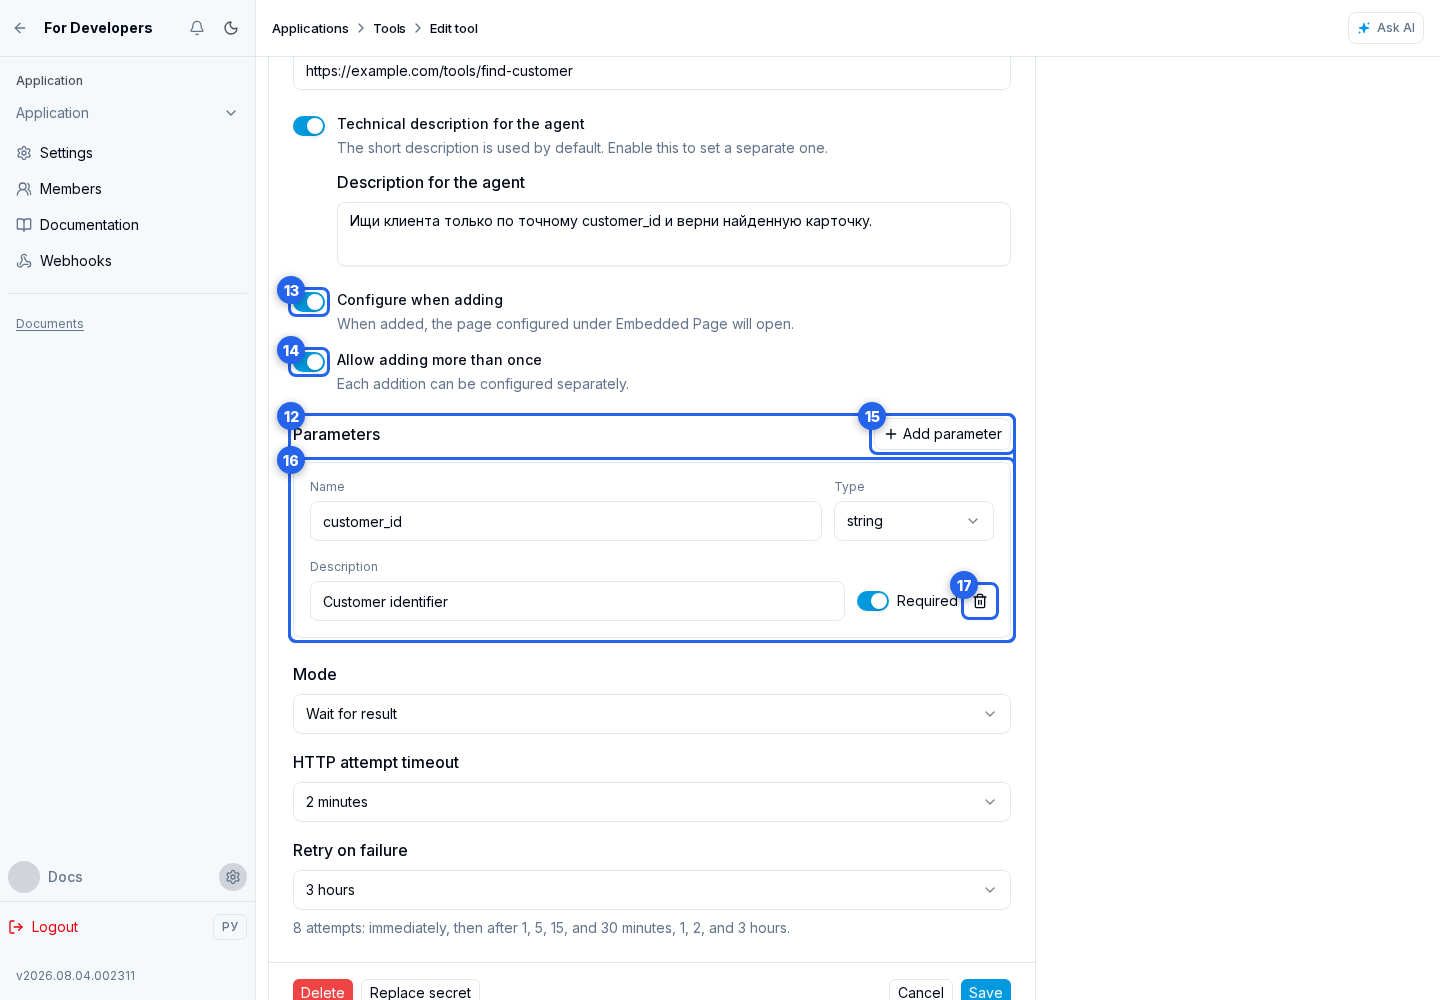
- in the parameter list, set the name, type (
string,number, orboolean), clear description, and required flag for each argument.
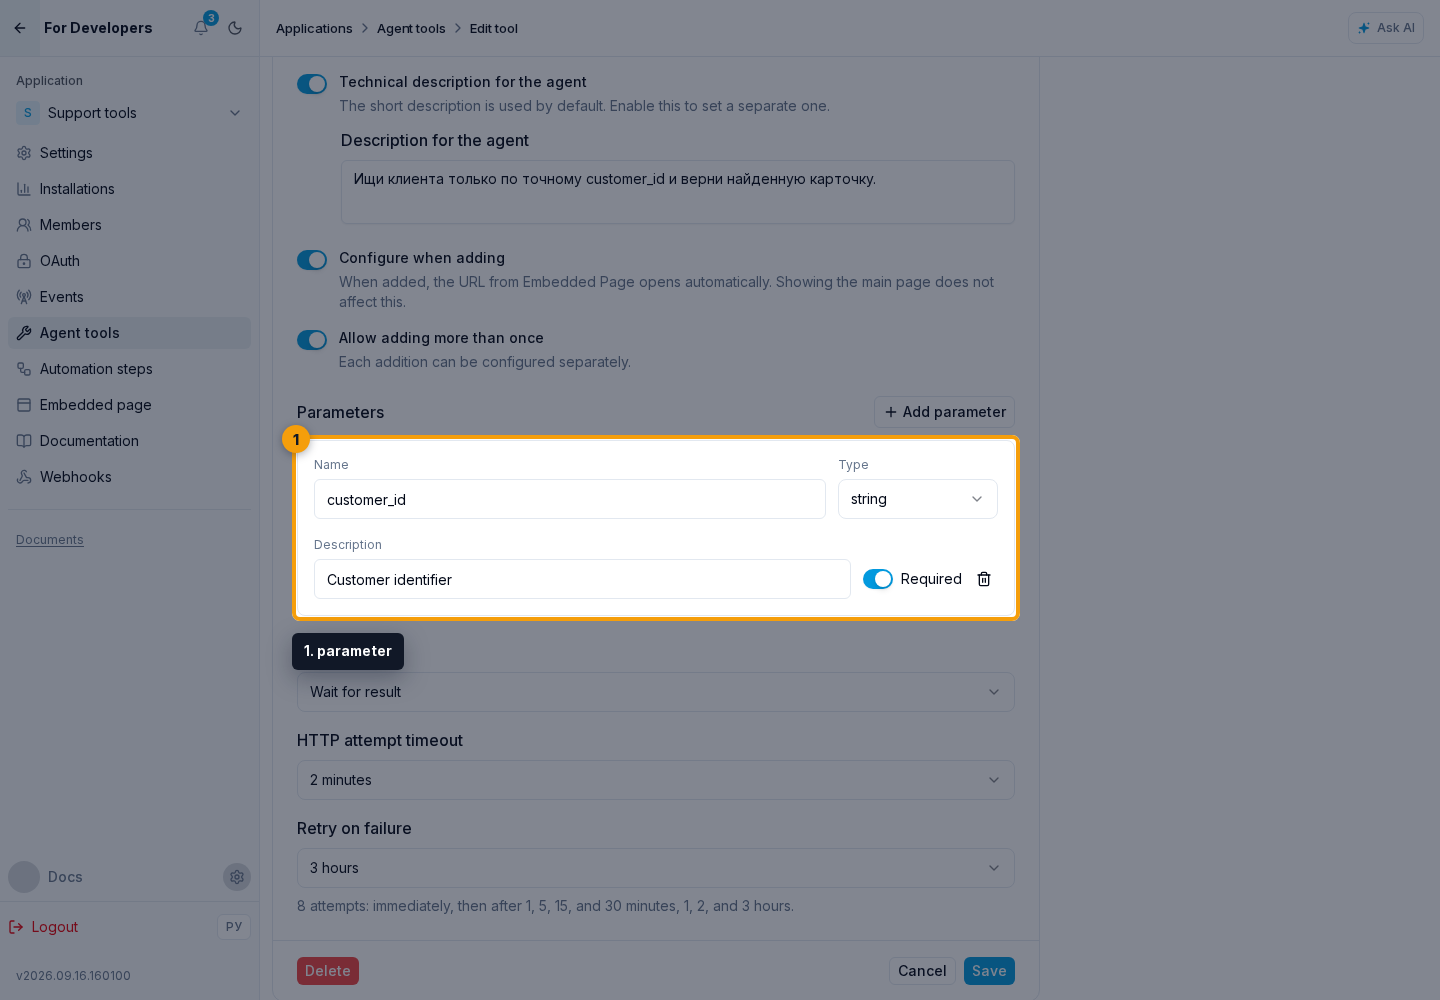
In Adding to an agent, enable Configure when adding when the user must select an account, access scope, or other settings before connecting the action. If needed, enable Allow adding more than once so one agent can have several independently configured instances.
Select Add parameter for each new argument. Every parameter has a remove action.
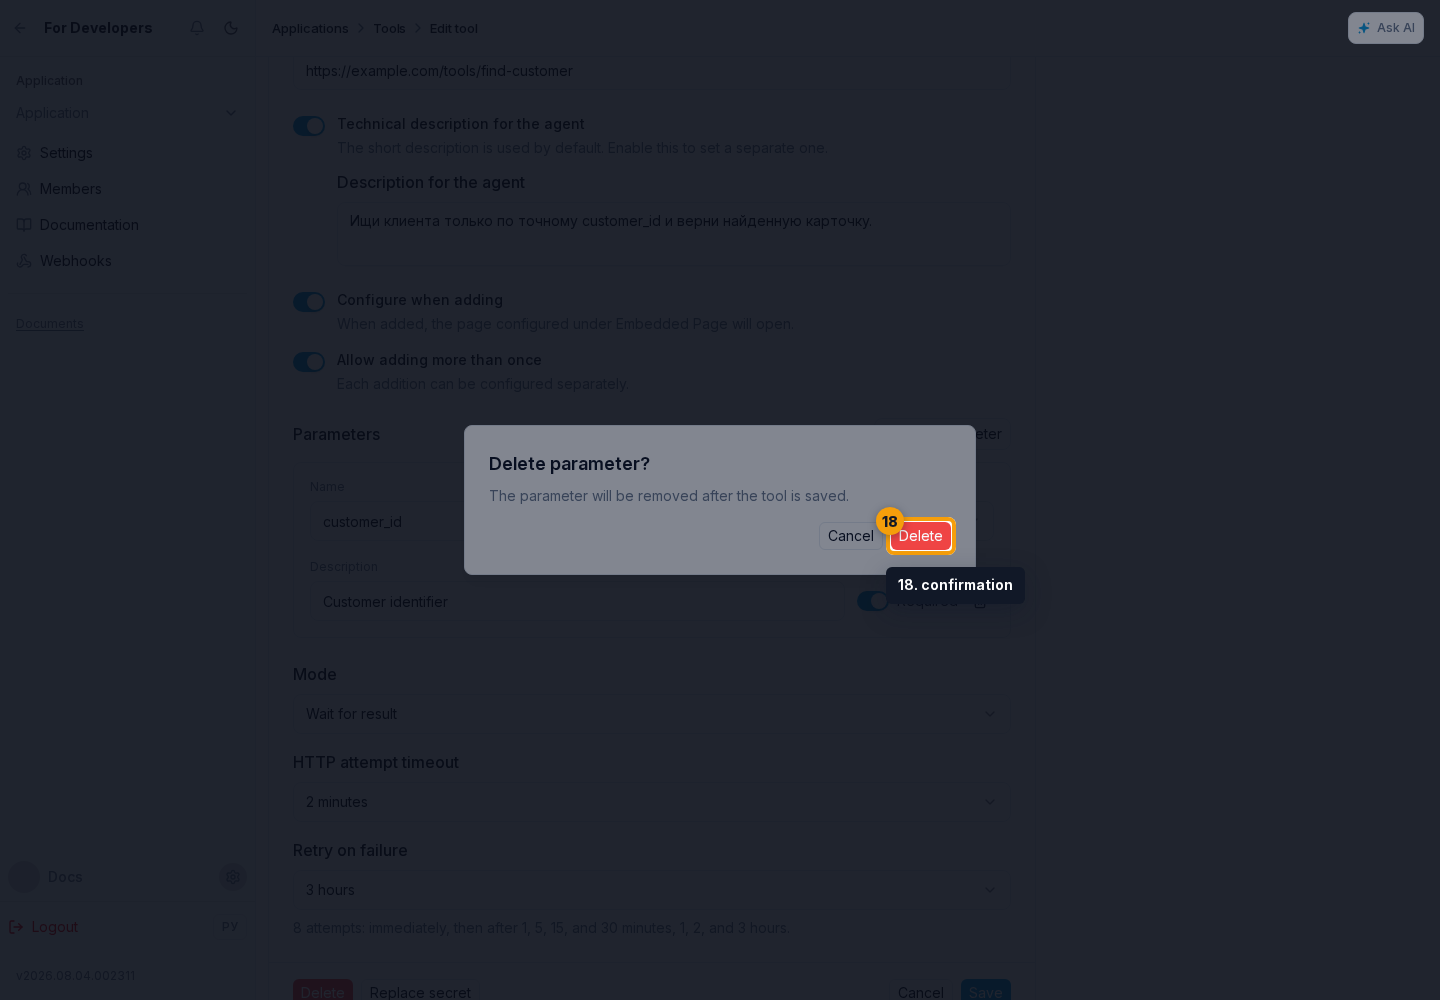
After confirmation, the parameter disappears only from the current form; the actual tool changes after the complete form is saved.
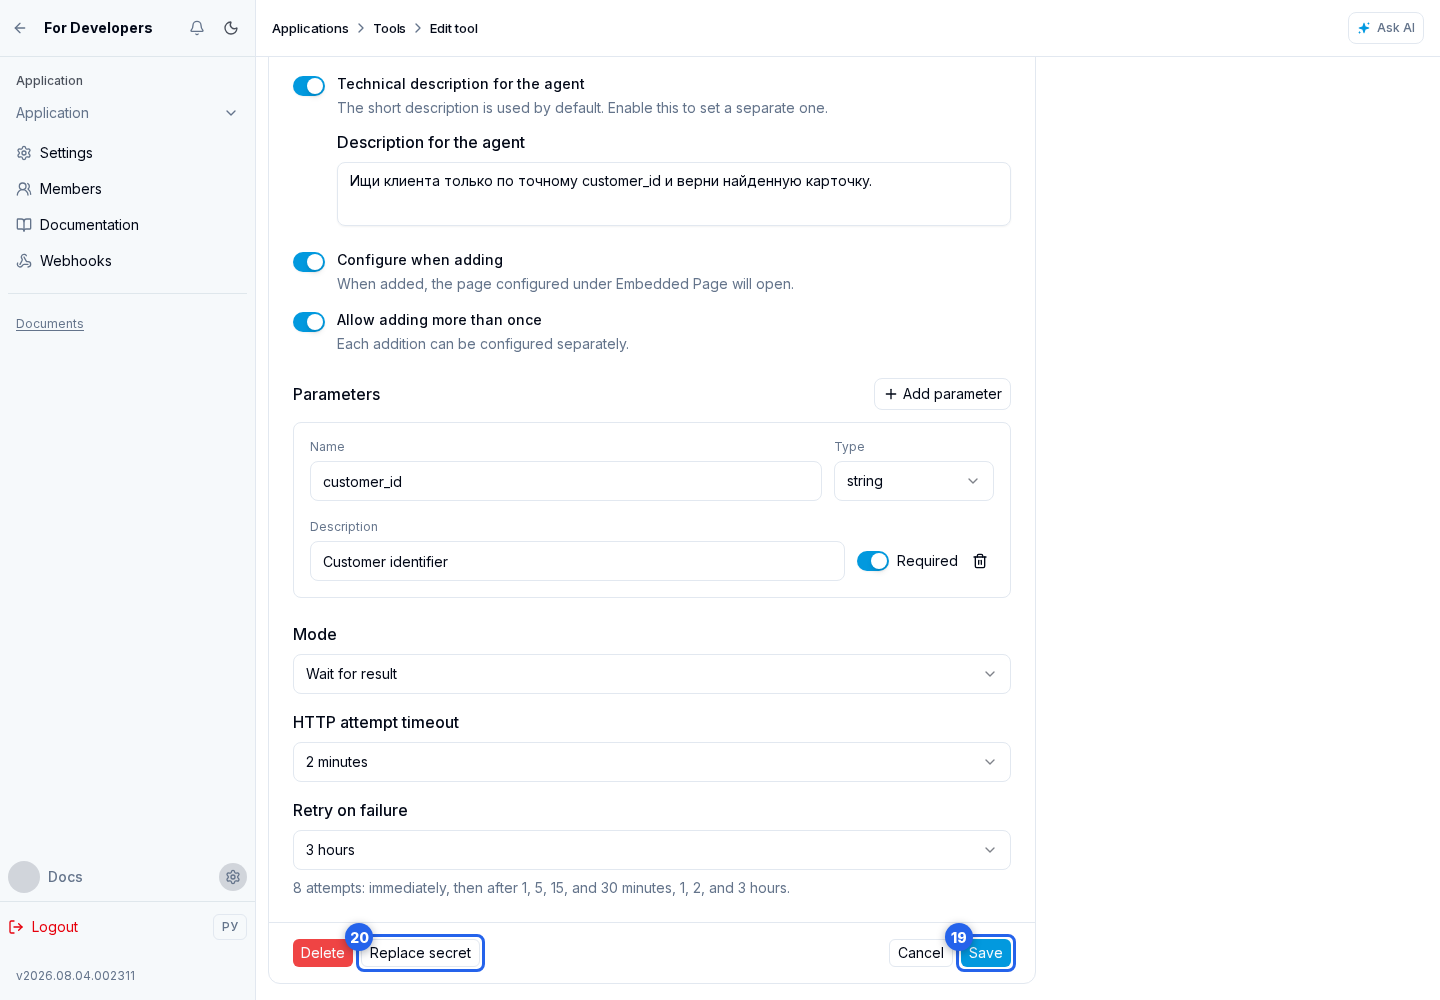
When the form is complete, select Save.
A saved tool in the list can be reopened and changed. Delete requires confirmation and permanently removes the tool from the application.
The handler receives JSON in this form:
{
  "event_id": "019d0000-0000-7000-8000-000000000001",
  "event_type": "tool_call",
  "timestamp": "2026-07-30T12:00:00.000Z",
  "app_id": "app-id",
  "installation_id": "installation-id",
  "project_id": "project-id",
  "agent_id": "agent-id",
  "dialog_id": "dialog-id",
  "lead_id": "lead-id",
  "tool_name": "find_customer",
  "tool_instance_id": "tool-instance-id",
  "arguments": {
    "customer_id": "123"
  },
  "configuration": {
    "account_id": "store-1"
  },
  "private_data": {
    "access_token": "write-only-token"
  }
}
agent_id and dialog_id are always included, while lead_id is included only when the dialog is linked to a lead. tool_instance_id distinguishes independently configured instances of the same tool. configuration contains regular instance settings and private_data contains decrypted protected values needed for the call; do not write them to public logs or responses. Both objects are empty for a regular non-configurable tool.
The call is signed with the shared secret for all application webhooks. Validate the freshness of X-Webhook-Timestamp, match X-Webhook-Event-Id to the body event_id, and verify X-Webhook-Signature using the same rules as public application webhooks. Do not execute the action until its signature has been verified.
Use event_id as an idempotency key because an automatic or manual retry may send the same action again.
Execution modes and retries
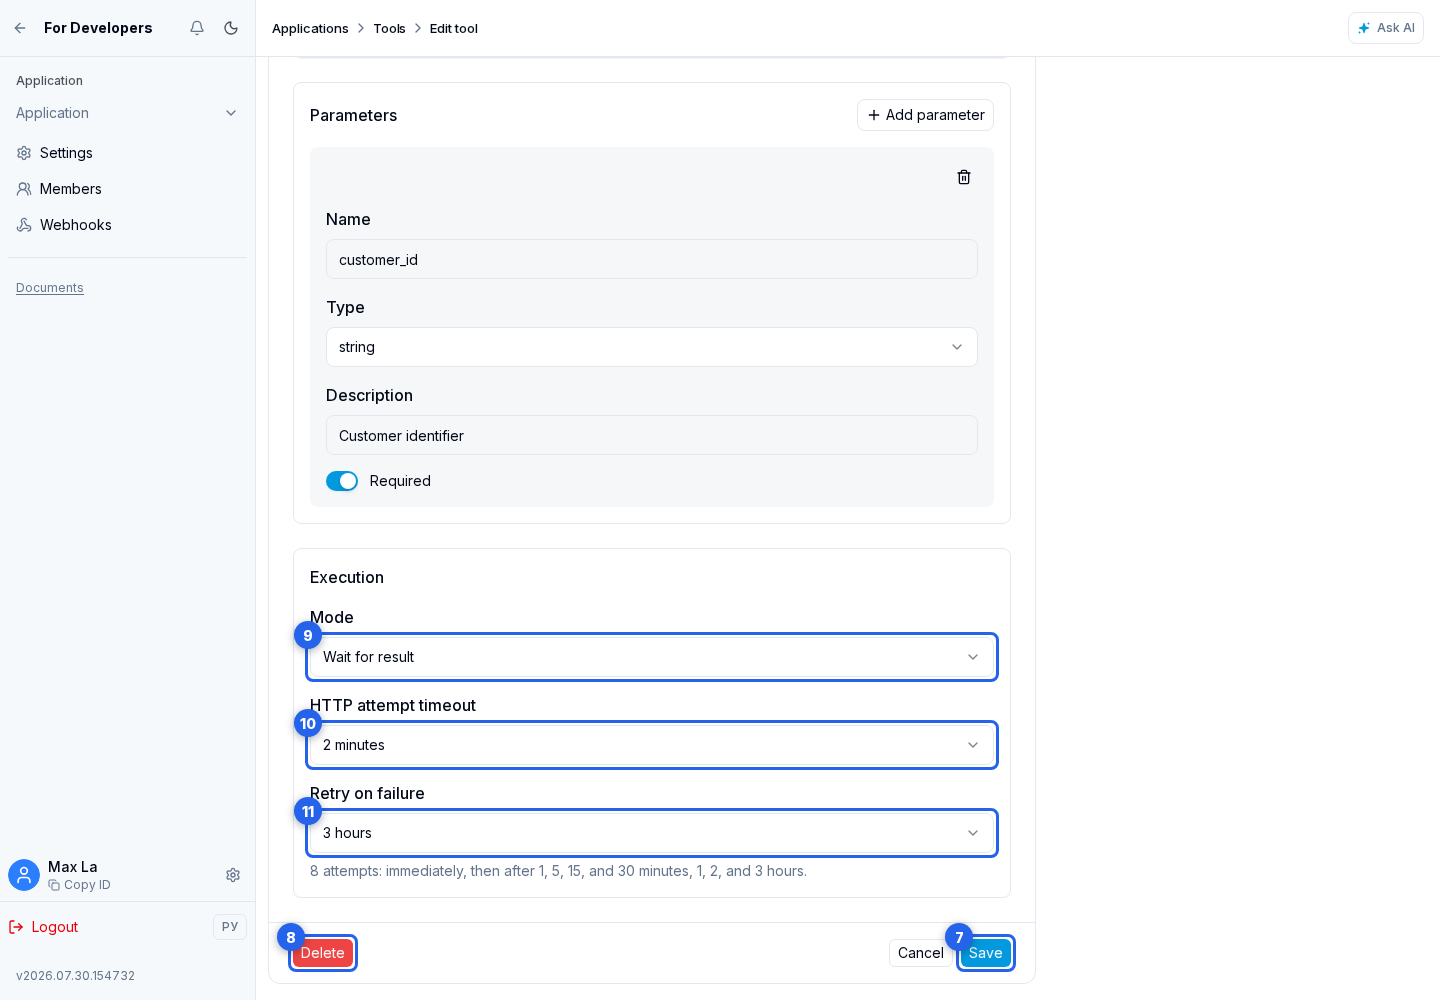
In Execution mode, choose:
- Instant execution — the agent waits for one HTTP response and receives its body as the tool result; there are no automatic retries;
- Wait for result — the request is queued, the agent pauses this step, and continues after a successful result;
- Background operation — the request is queued, but the agent does not wait for or use the response to continue the current step.
One attempt waits 10, 30, 60, or at most 120 seconds. Select the value in HTTP attempt timeout. For the two asynchronous modes, select a retry window:
- 5 minutes — 5 attempts: immediately, then after 15 seconds, 1, 3, and 5 minutes;
- 3 hours — 8 attempts: immediately, then after 1, 5, 15, and 30 minutes, and 1, 2, and 3 hours;
- 1 day — 12 attempts: immediately, then after 1, 5, 15, and 30 minutes, and 1, 2, 4, 8, 12, 18, and 24 hours.