
Widget greeting
Choose what visitors see before starting a conversation: a welcome screen or a message from an automation.
Main section: Widget.
Greeting
In the Greeting block, choose the default type: Centered text or Automation message. For centered text, configure the image, text and buttons in the same block.
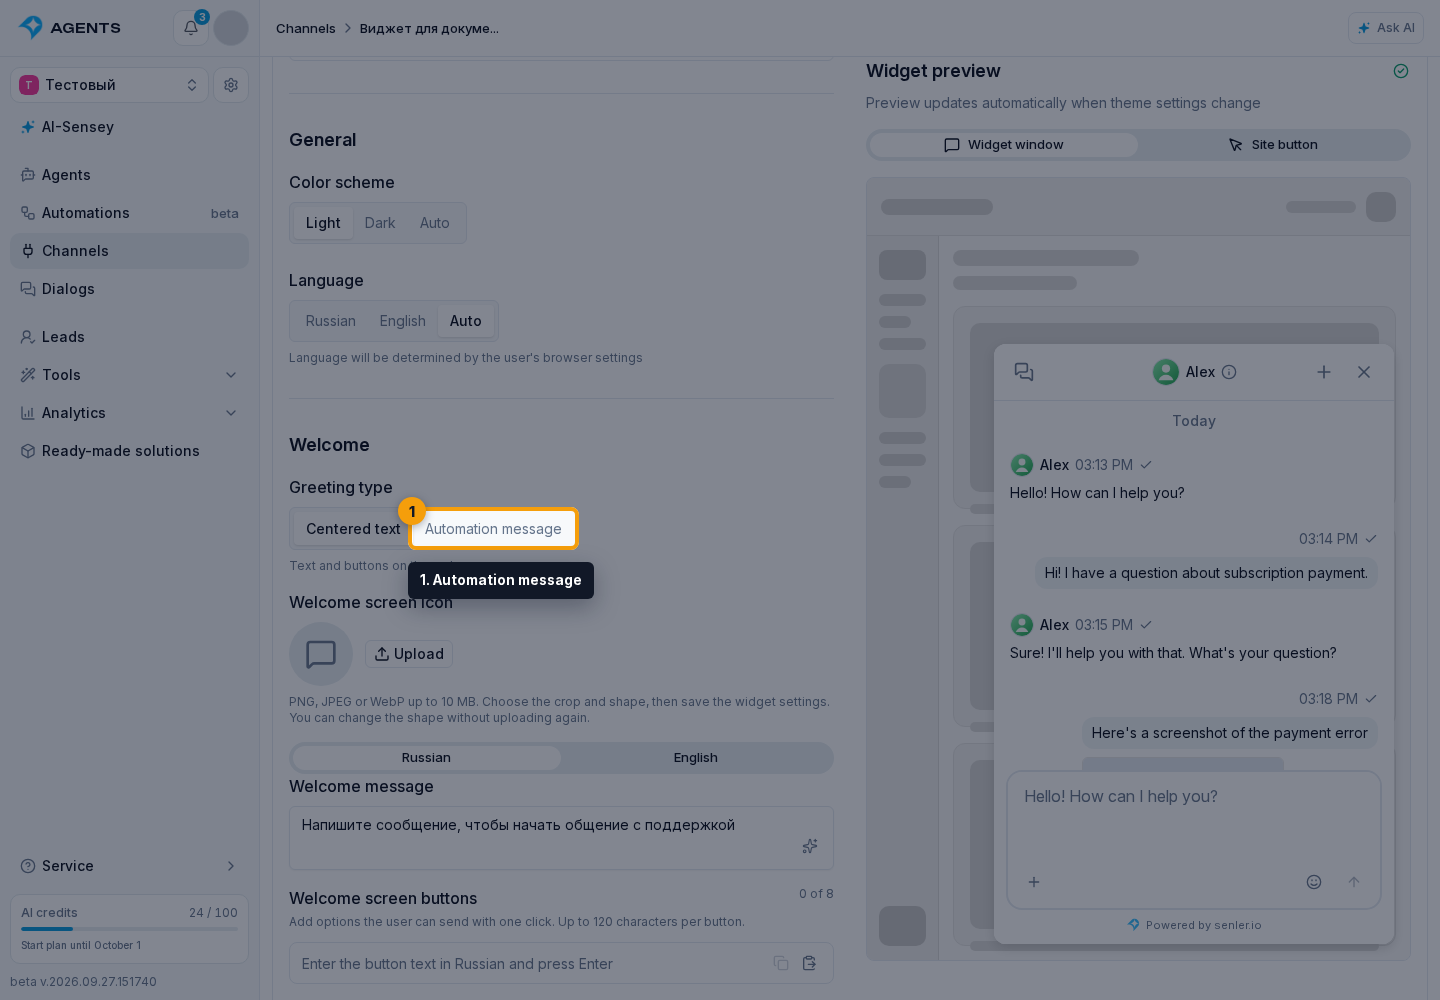
For a message, select an automation and a published message step. The automation list shows the name, avatar, type and status. If the selected automation has no published version or messages, an explanation replaces the step selector. The default message appears in the widget preview with the automation's name and avatar.
Use a Message step from a running, published automation with Widget as a channel type. The step's recipient must be Current dialog. The greeting can use predefined buttons and attachments, but not buttons or attachments from variables, a quote of the source message, or dialog, process, and trigger-event variables: these data do not exist before the first request. Unavailable steps show the reason in the list.
An attached lead contact is not shown in the greeting. Send it in a separate step after the conversation starts; use text and previously uploaded attachments for the greeting itself.
Additional messages
Add additional starting messages separately:
- Under Additional starting messages, click Add message.
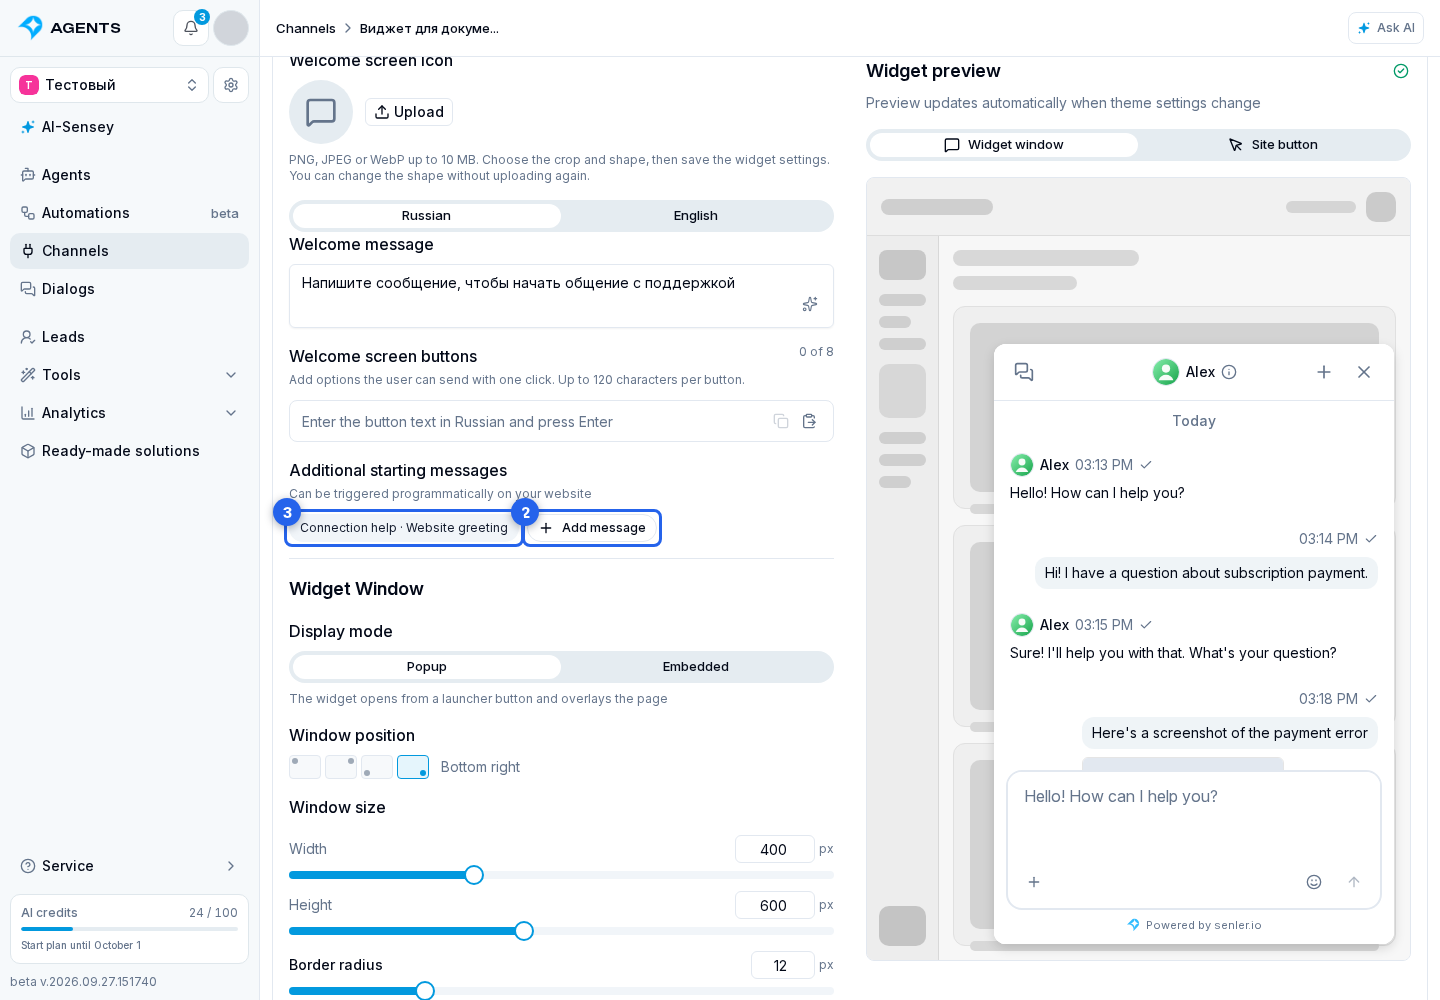
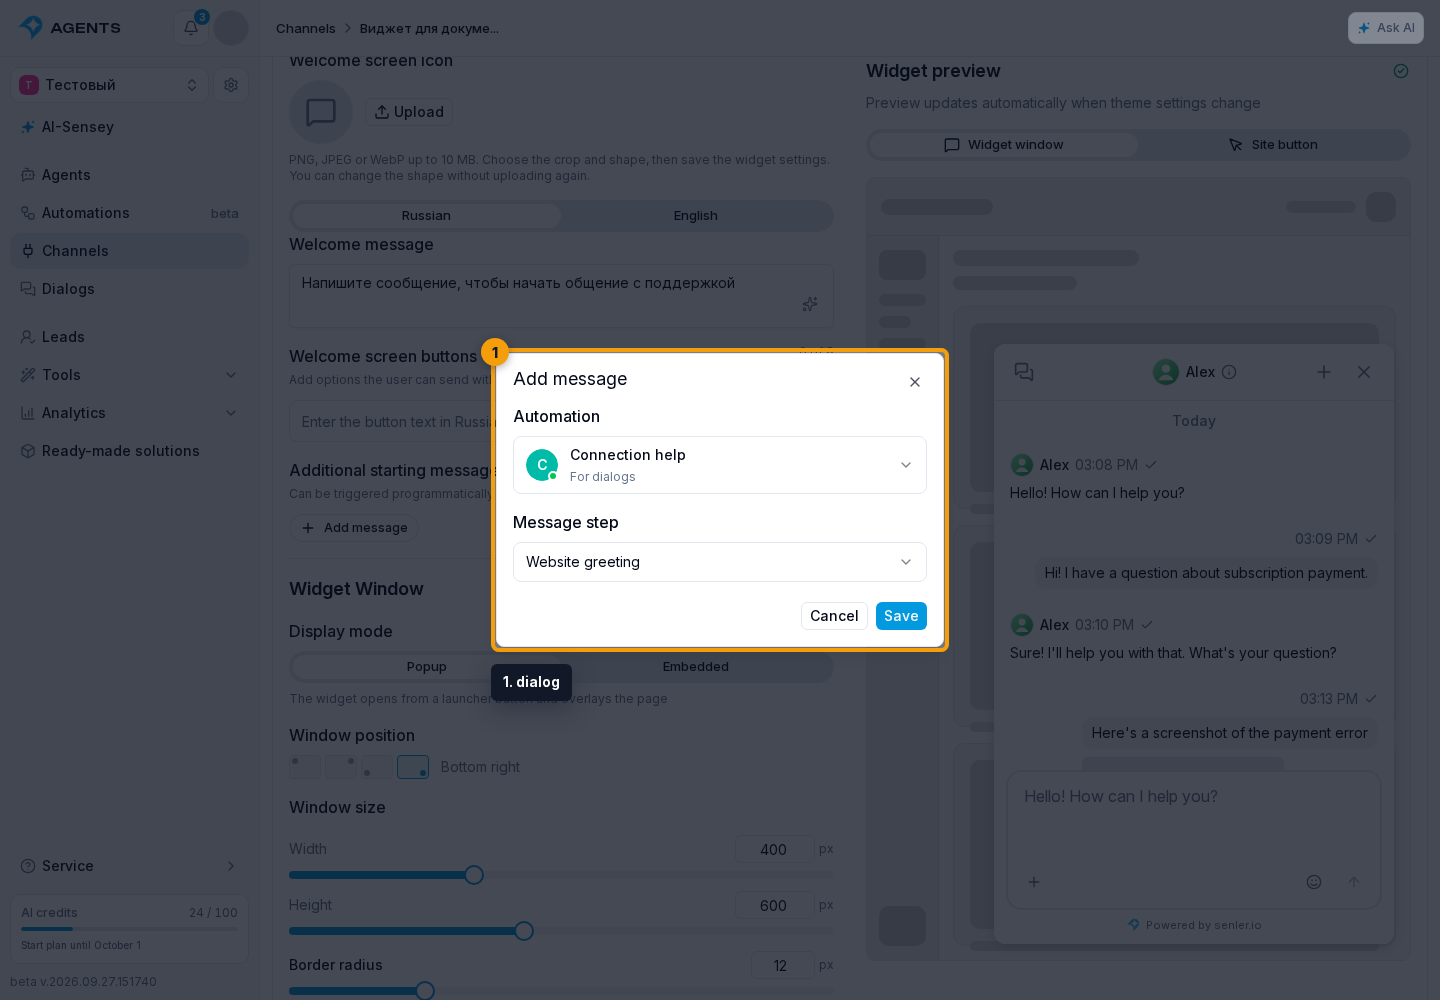
- In the dialog, choose an automation and a step.
- Click Save.
The message appears in the list with the automation and step names. You can add up to 20 messages, including when centered text is the default. The default message is allowed automatically and does not need to be added again.
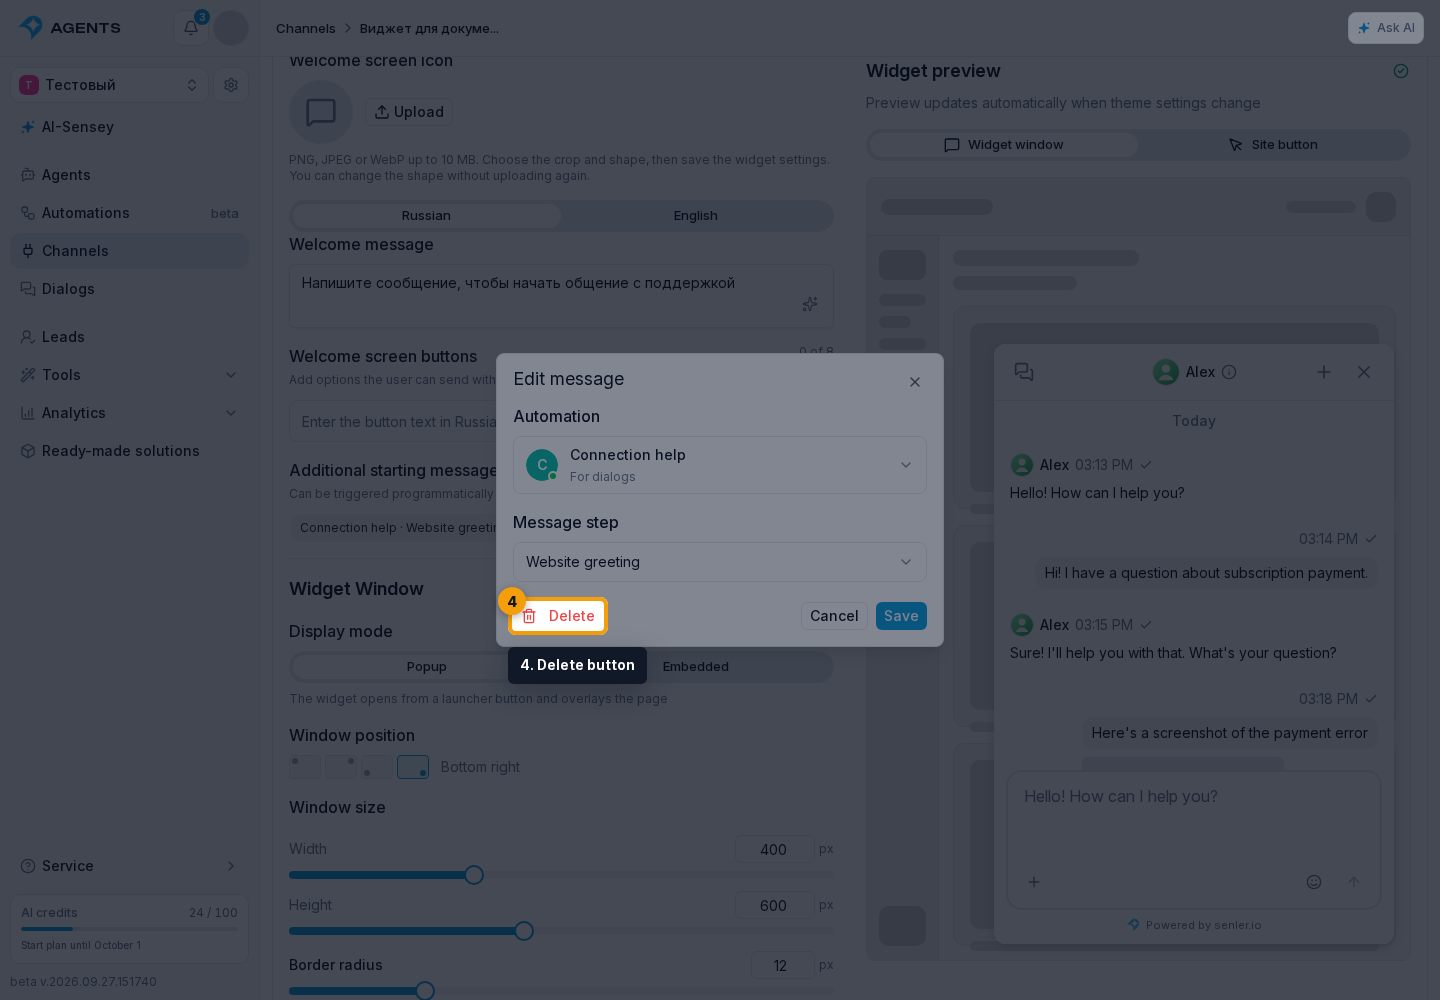
Click a message badge to edit the selection in the dialog and save it. The Delete button in this dialog removes the message from the list. Cancel or closing the dialog leaves the list unchanged. To apply additions, edits or removals on your website, save the widget settings with the shared Save button.
Choosing the website greeting
Select allowed messages from your website code through init or updateRuntime. For automatic selection, use website conditions: for example, one automation message for a visitor with no dialogs, another for someone who has already chatted, or a separate message on the pricing page. The website developer configures the conditions; the list in the cabinet specifies available messages, not display rules.
All allowed messages are available to all widget visitors. Displaying a message does not create a dialog or start the automation; the conversation starts after a reaction. Removing permission prevents an already displayed greeting from starting the scenario. To send messages after the conversation starts, use steps in a running automation rather than changing the greeting.