
Table editor
Edit cells and sheets, freeze headers, and ask AI questions with the selected data as context.
Open an existing table in the knowledge base or create a new one.
Workspace
Open the editor
The table editor opens as a separate screen. Its workspace consists of the editor and the workbook with sheets. You can change values, formulas, sheets, column widths, row heights, formatting, merged cells, borders, import, export, printing, history, and collaborative work.
If you need more rows, select Show 1,000 more rows below the workspace. The button is available to users with edit access.
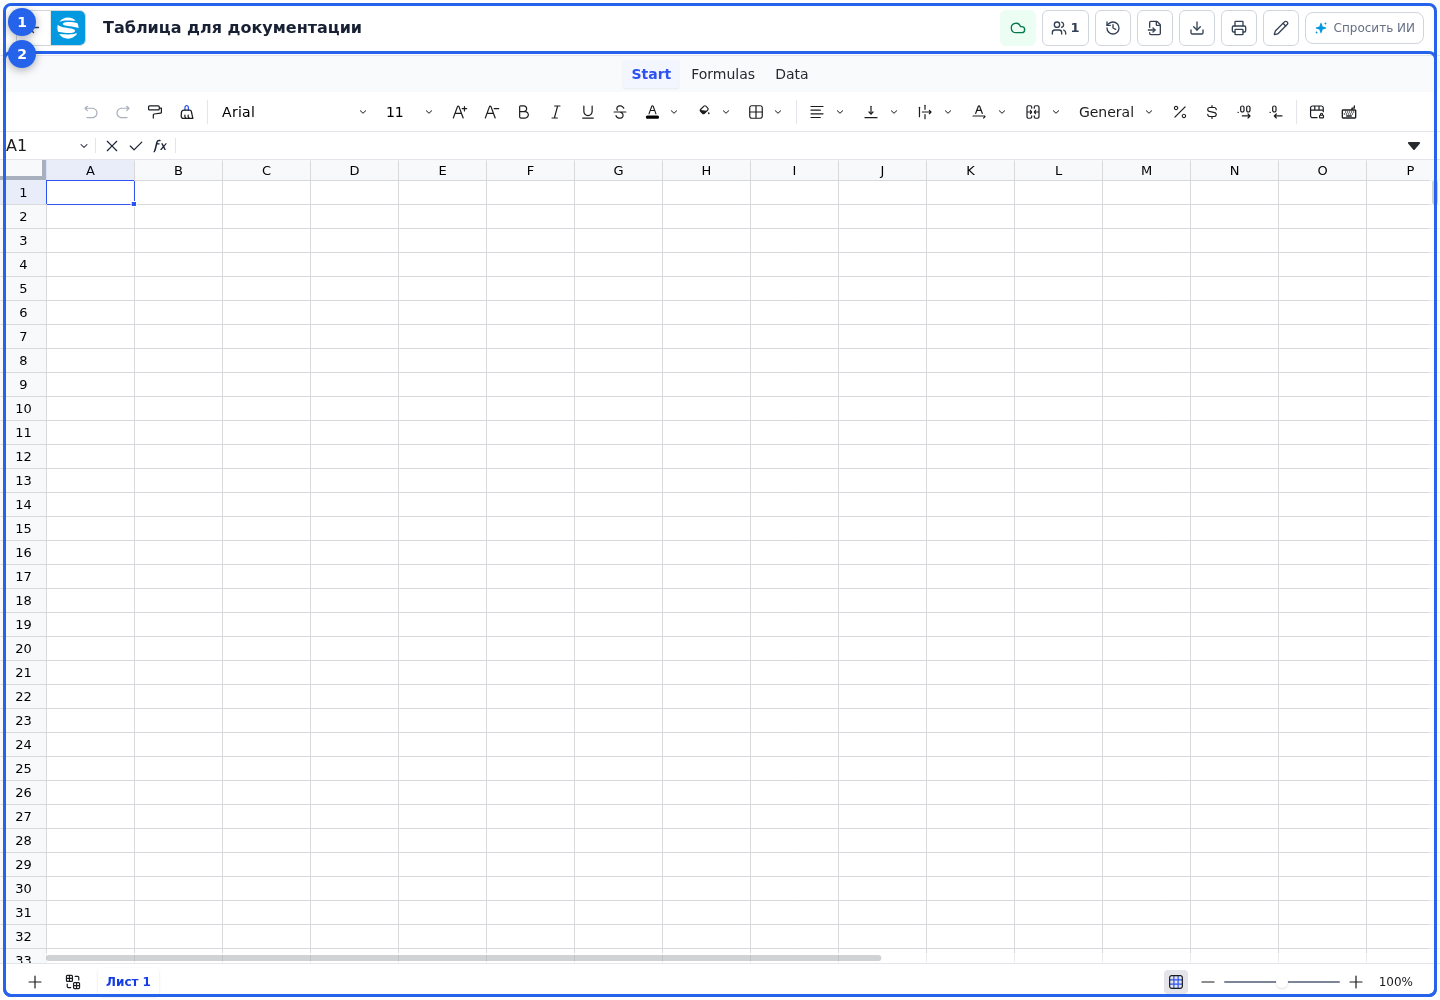
Use the top toolbar
The top toolbar shows the title and sync status. The status helps you verify that changes have reached the server.
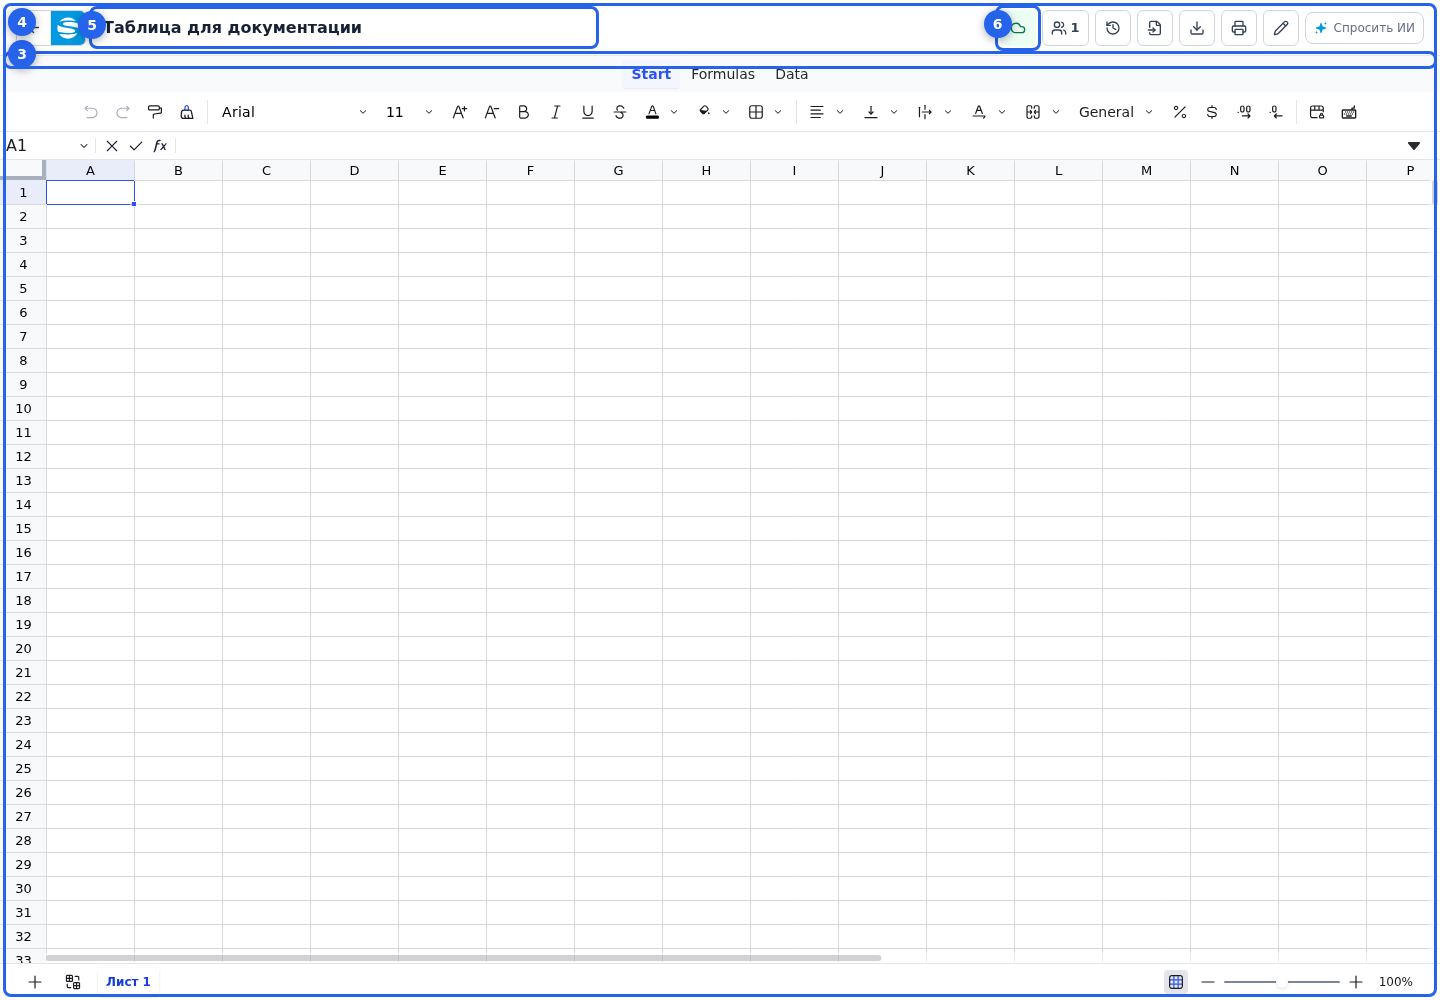
Back returns to the cabinet. The more actions menu contains commands that do not fit at the current width. From the top toolbar, you can rename the table, import XLSX, export XLSX, print PDF, open history, or view participants.
Rename the table
- Select Rename table. On a narrow screen, the command may be inside the more actions menu.
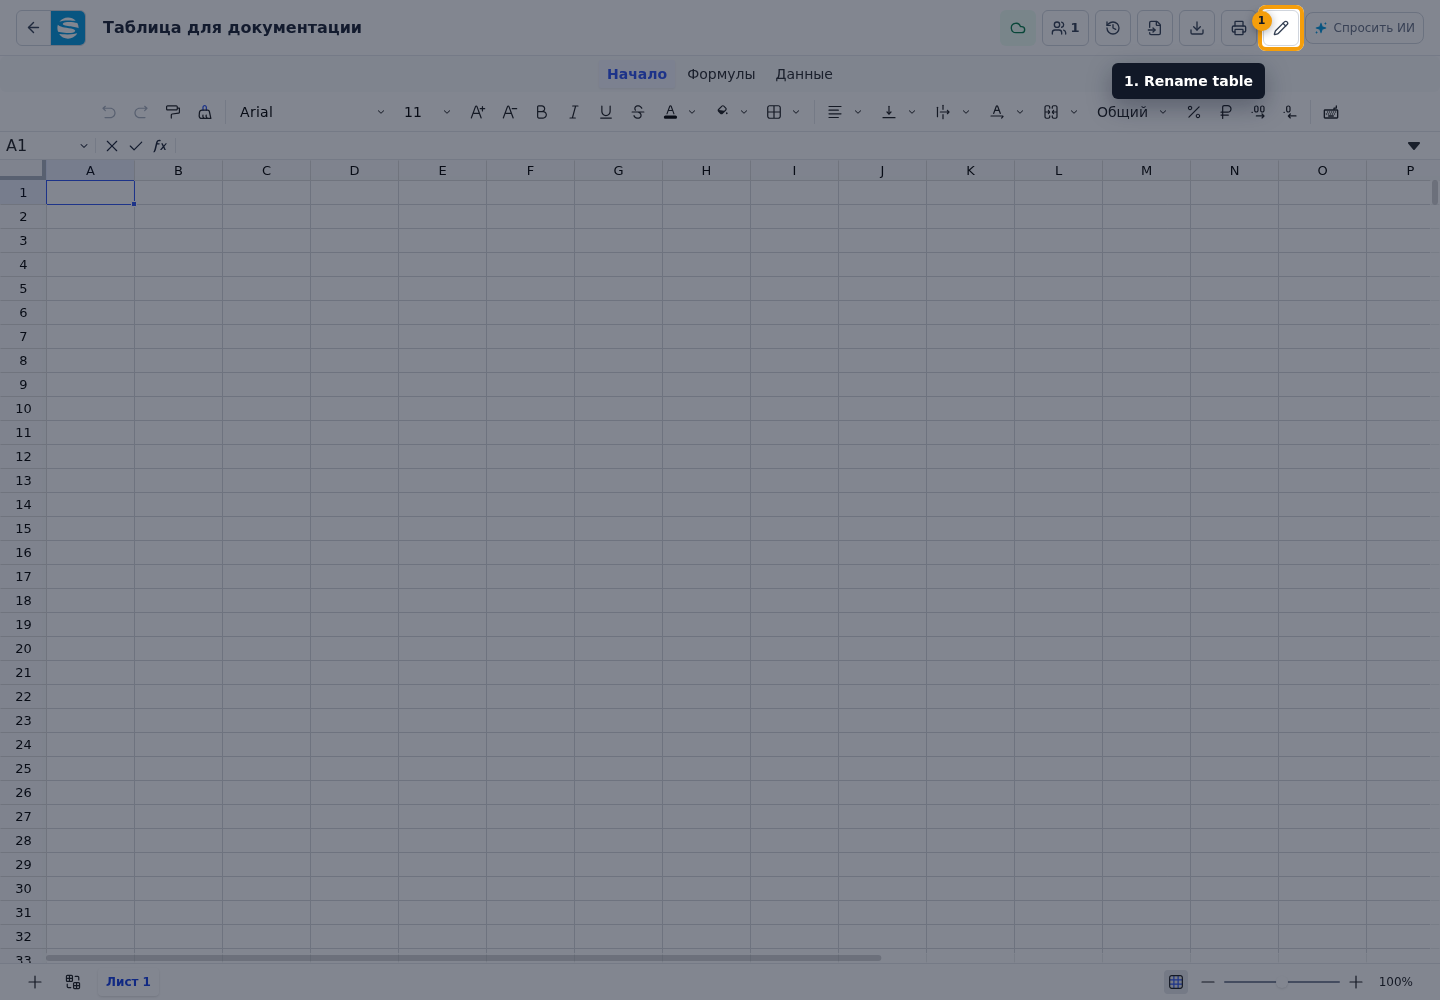
- Wait for the dialog to open.
- Enter the new title.
- Select Save.
- Select Cancel if you decide not to rename the table.
- The close button also closes the dialog and keeps the old title.
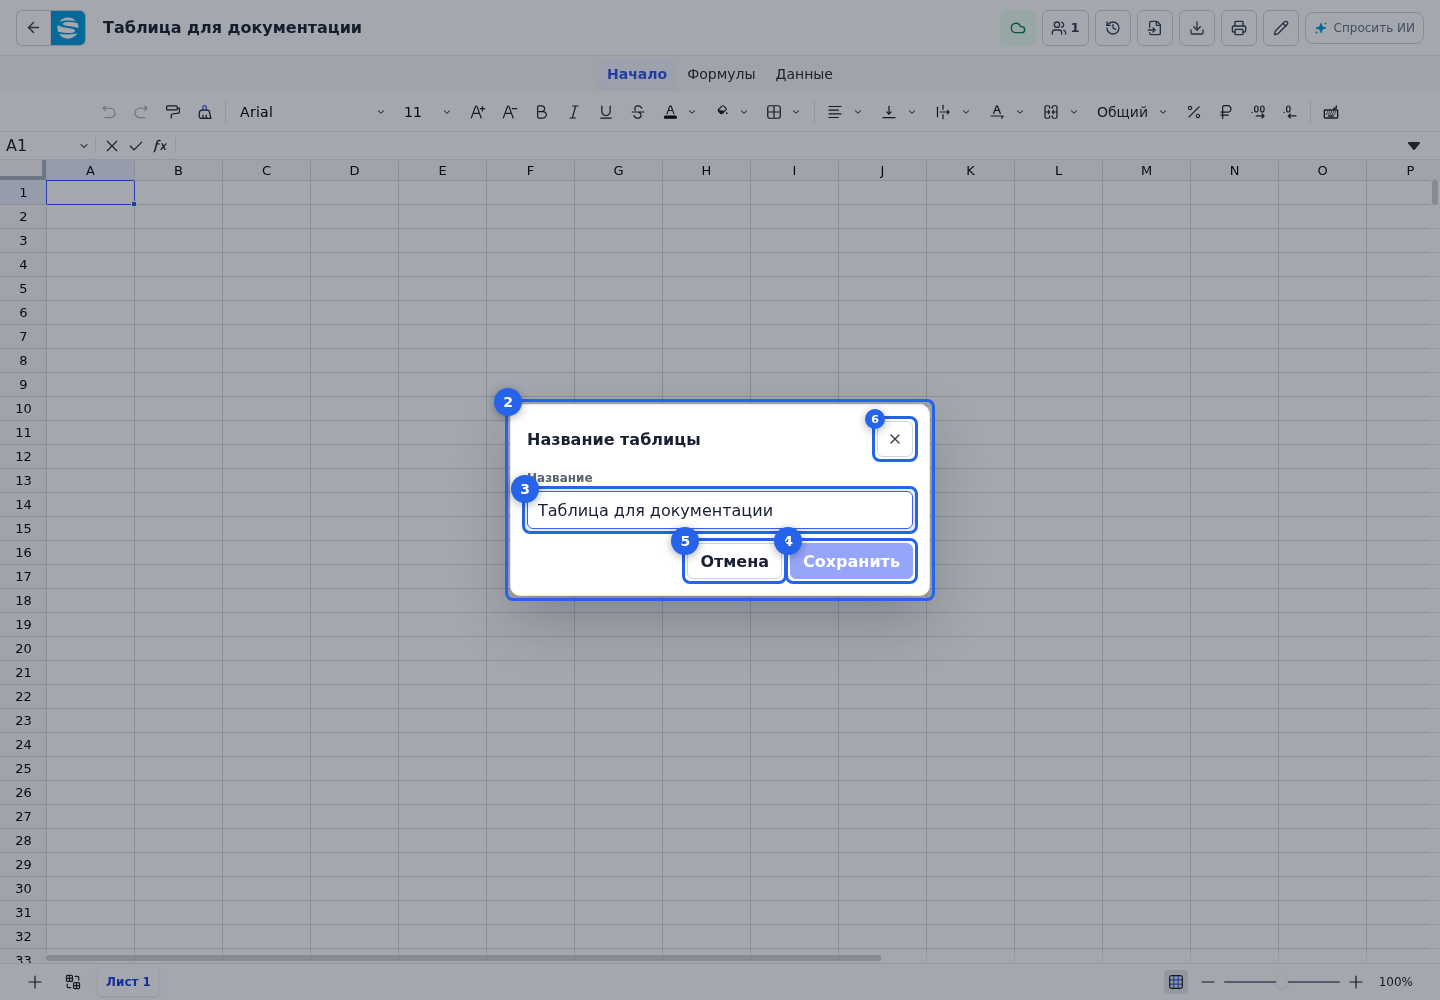
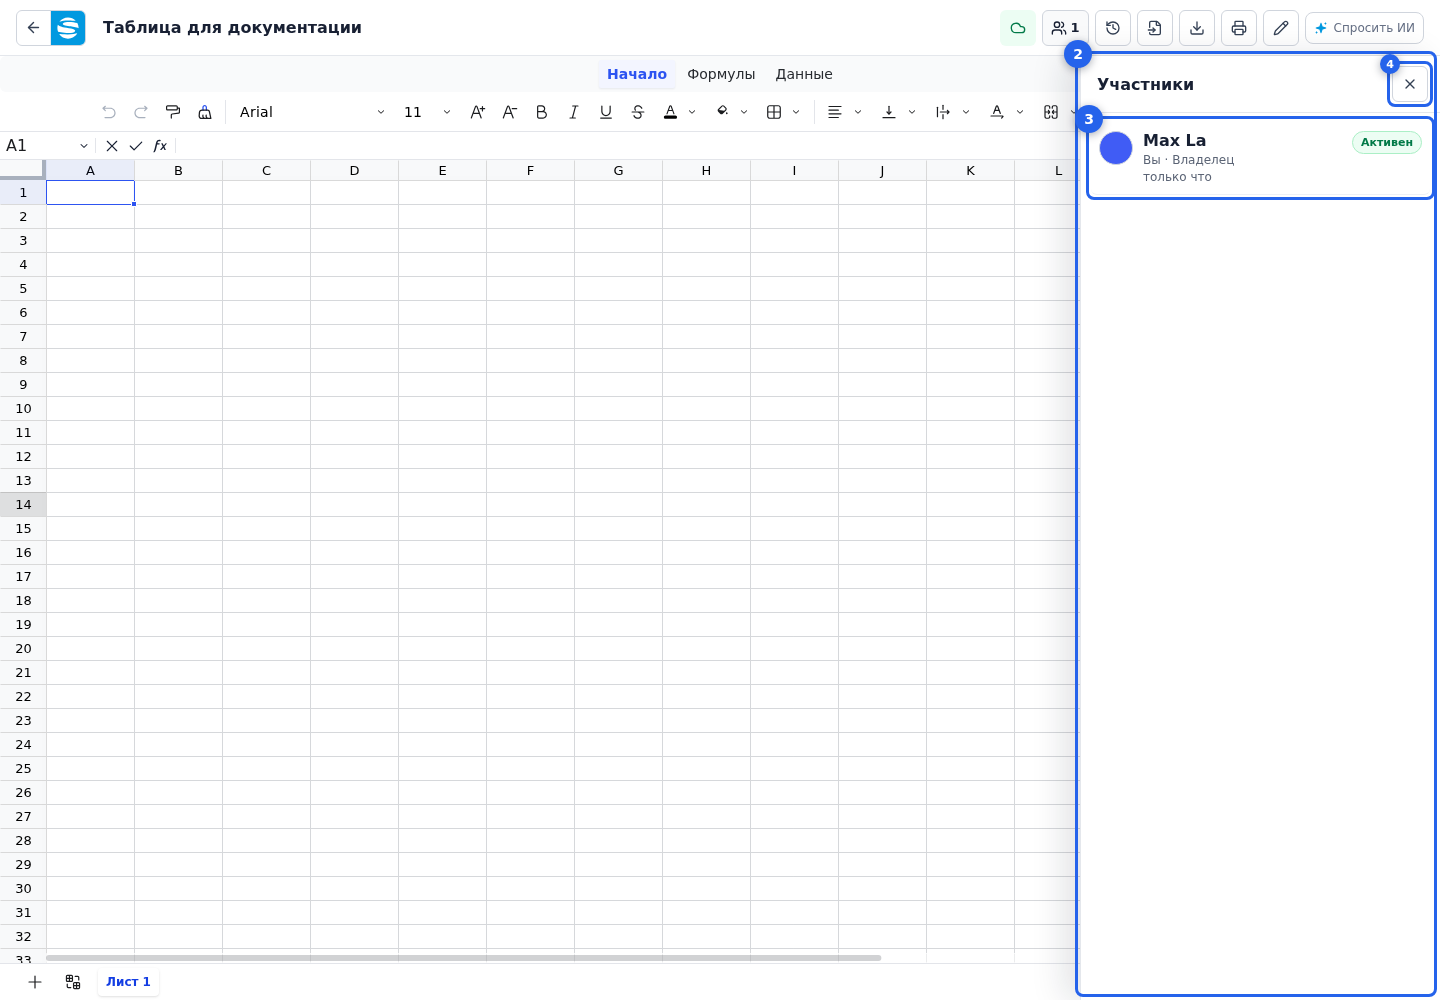
View participants
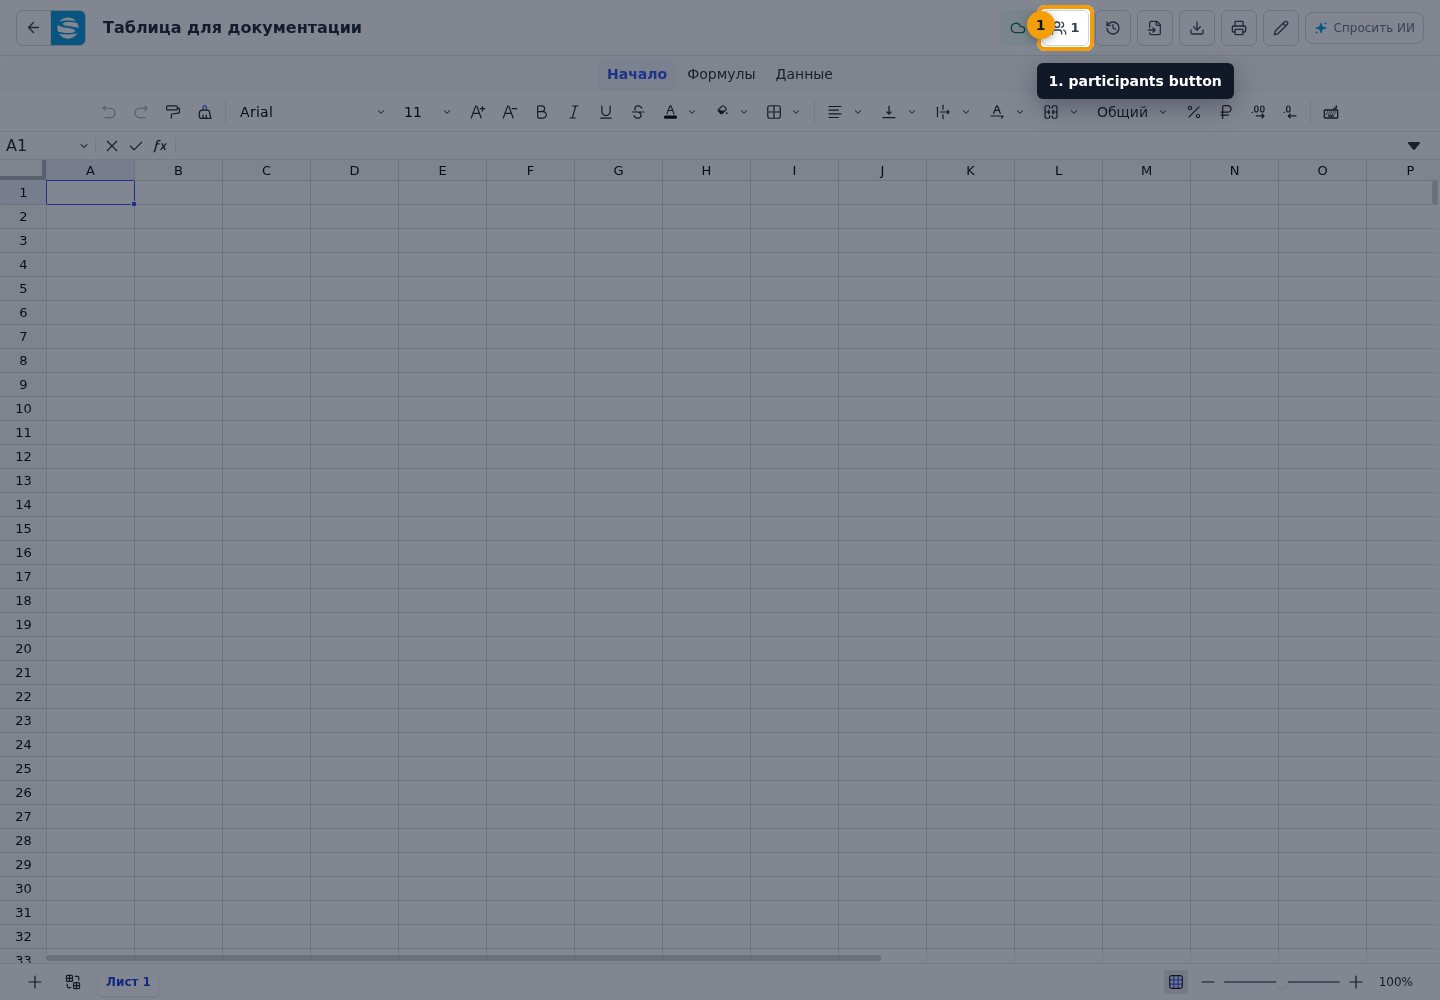
- Select the participants button.
- Find the required participant in the panel.
- Each row shows a user, their role, state, and latest activity. The current user is marked You.
- Select the close button to close the panel and return to the table.
Freezing rows and columns
Use the editor's regular commands to freeze top rows or left columns so headers remain visible while scrolling. The frozen state is saved with the workbook, synchronized with collaborators, and included in exports.
When it is no longer needed, use the corresponding unfreeze command. This change applies to the current sheet, so check the active sheet tab first.
AI in the table editor
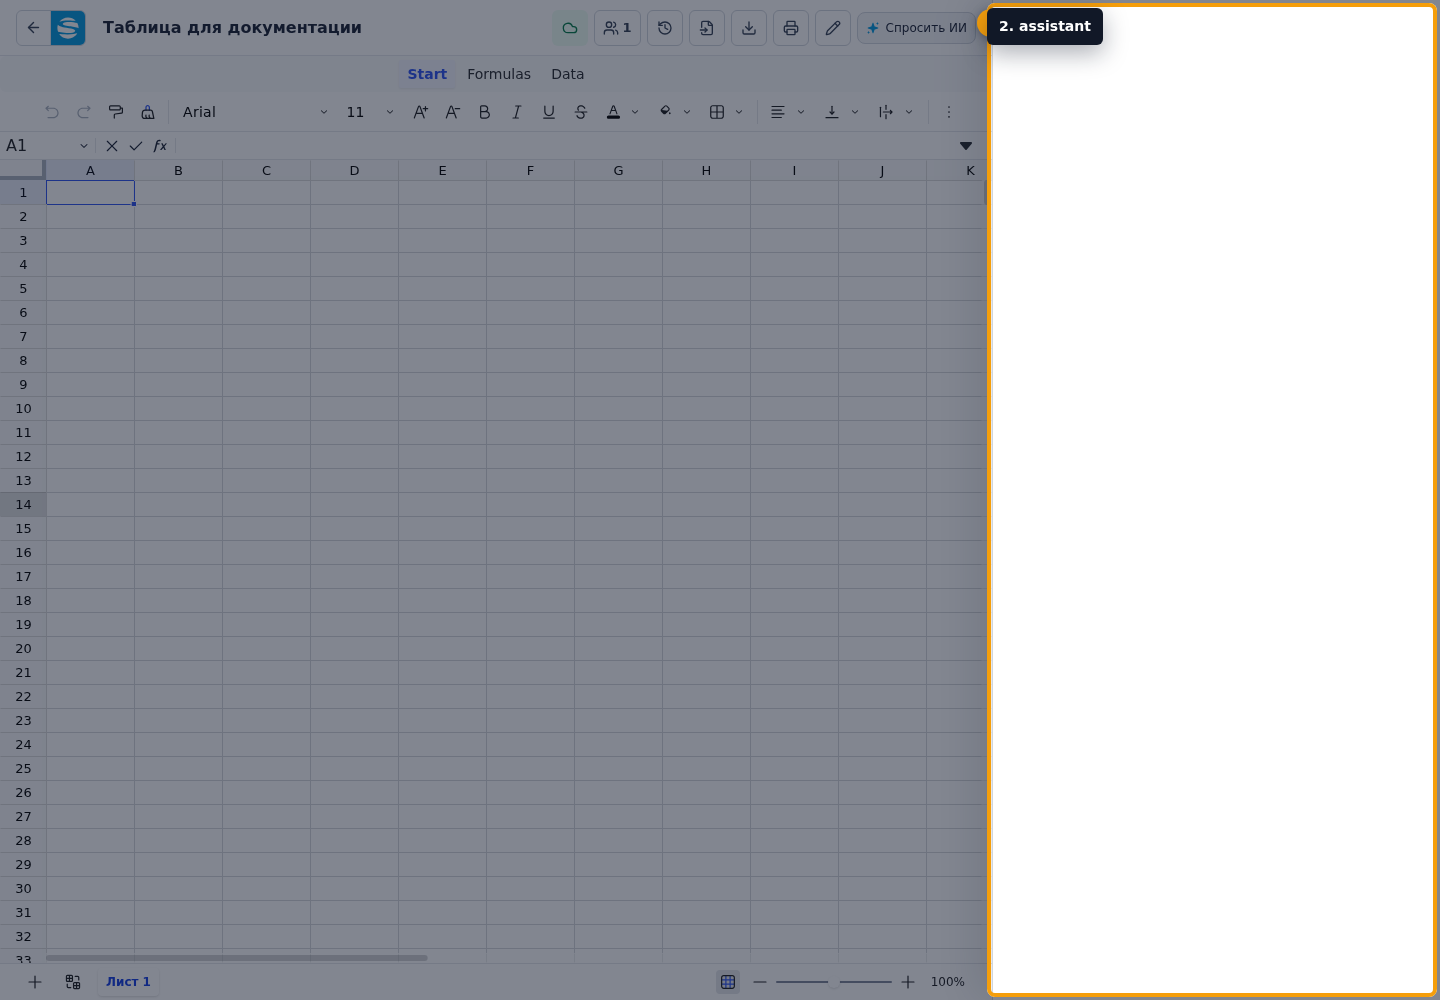
The editor has an "Ask AI" button. It opens the assistant with the context of the current table, open sheet, and selection. If the assistant fails to load, use retry.
To help AI understand where to change data:
- select one cell if you need to "insert here" or start a table from a specific place;
- select a range if only the current block should change;
- if rows must be added to the end, say that explicitly;
- if you need a border, grid, color, column width, row height, or merged cells, select the required range.
The assistant can help fill a schedule, price list, calendar, task list, change values, clear or move a range, add or delete rows, insert or delete columns, hide rows/columns, merge or unmerge cells, apply formatting and borders.
From the assistant, you can also open table history, participants, XLSX export, or PDF printing if the current user has access to that action.
After a successful change, the open table receives updates through collaboration mode. Usually you do not need to refresh the page manually.