Plugin tools
Connect actions and events from installed plugins to the agent. A configurable tool stores separate settings for this agent.
Main section: Tools.
Plugins
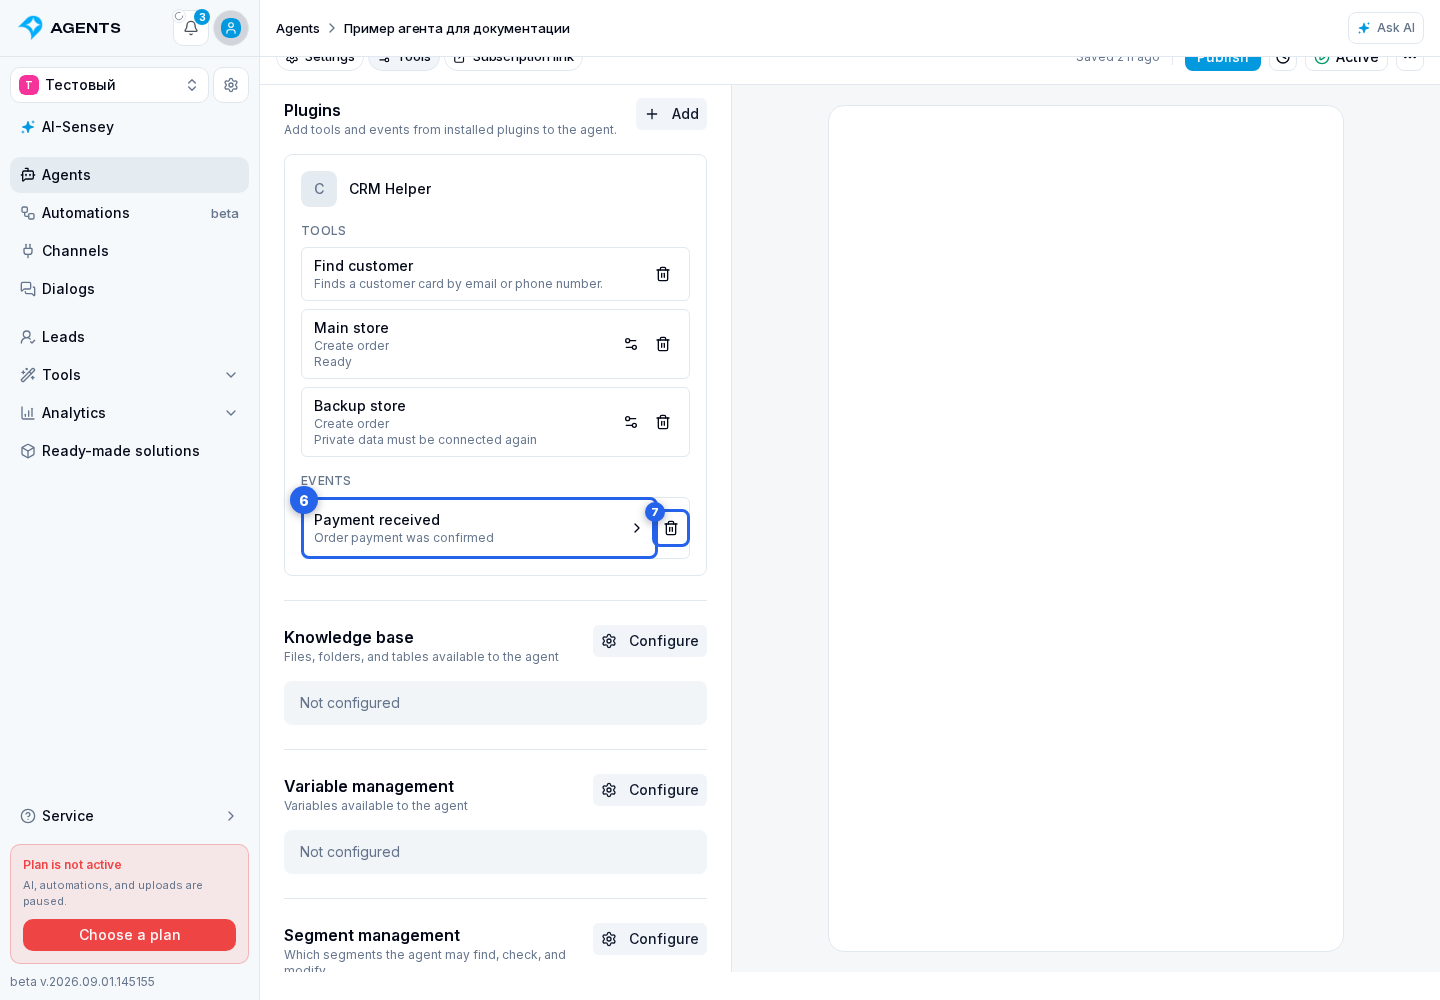
After a plugin is installed, its actions become available in the Plugins section on the Tools tab. Added resources are grouped by plugin, with Tools and Events shown separately inside each group. Names and descriptions use the cabinet language.
The section is visible for a new agent but asks you to save the agent first. After saving, select Add.
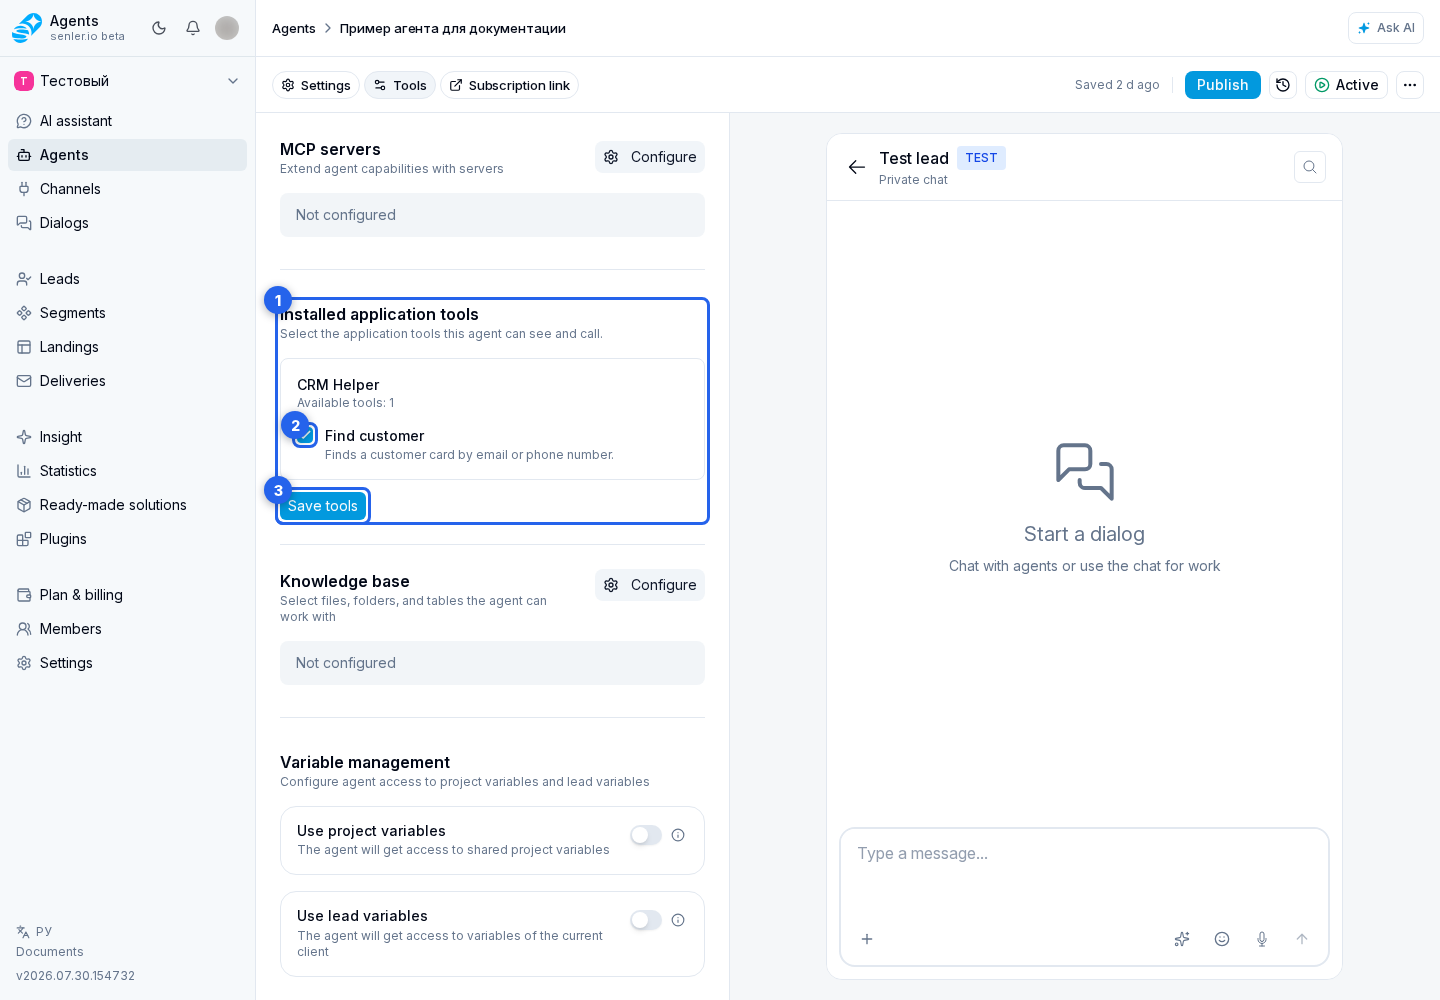
In the Add from plugins dialog, expand the required plugin.
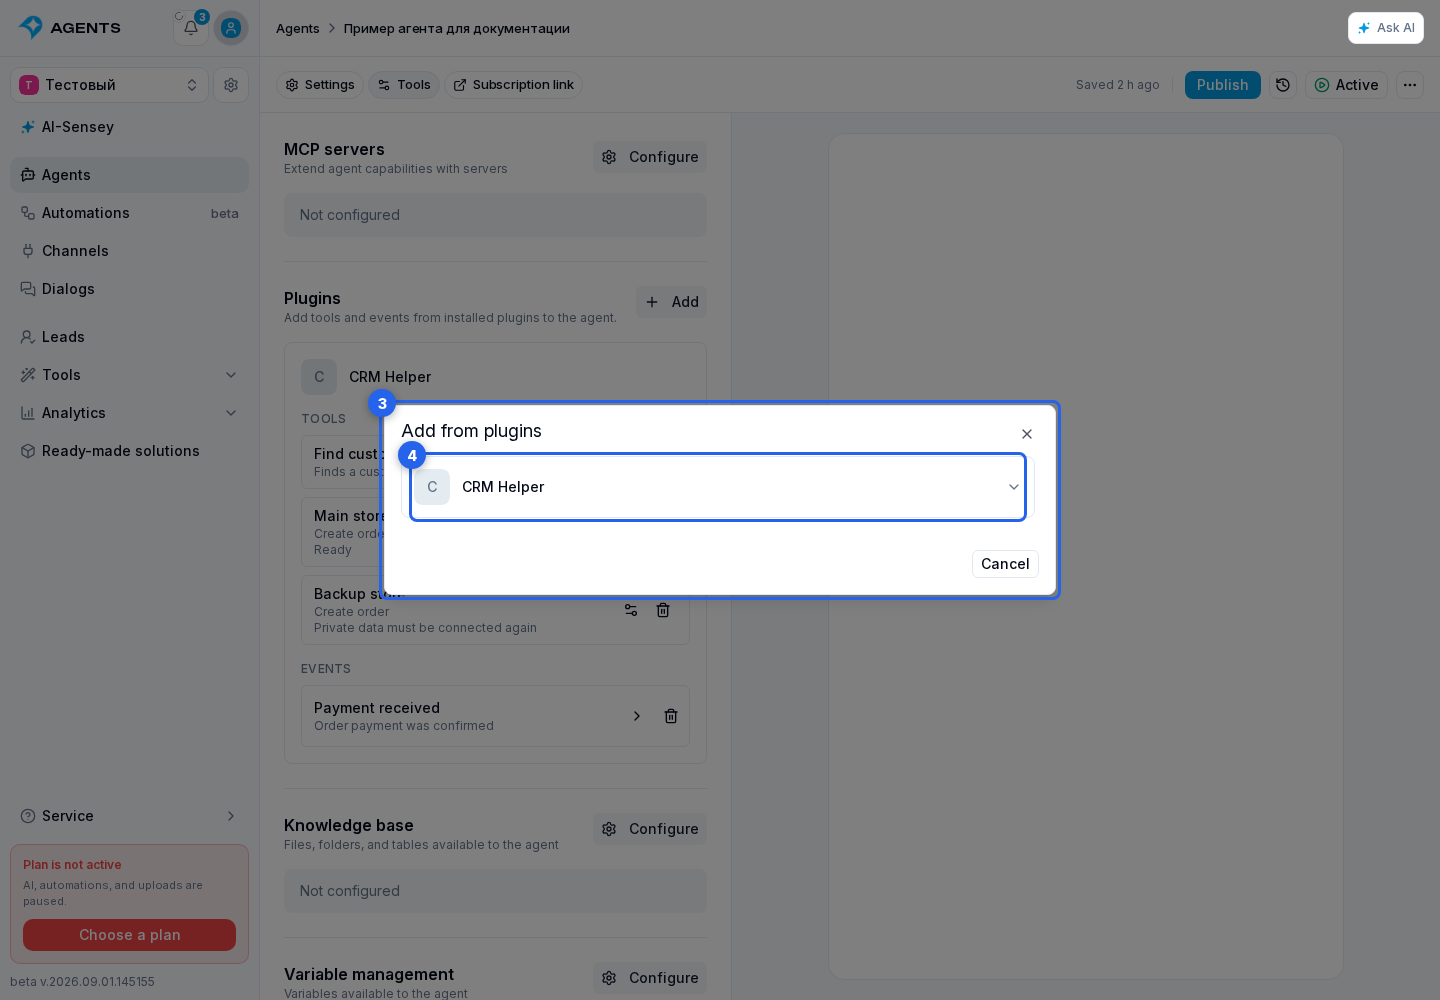
Select a tool or event.
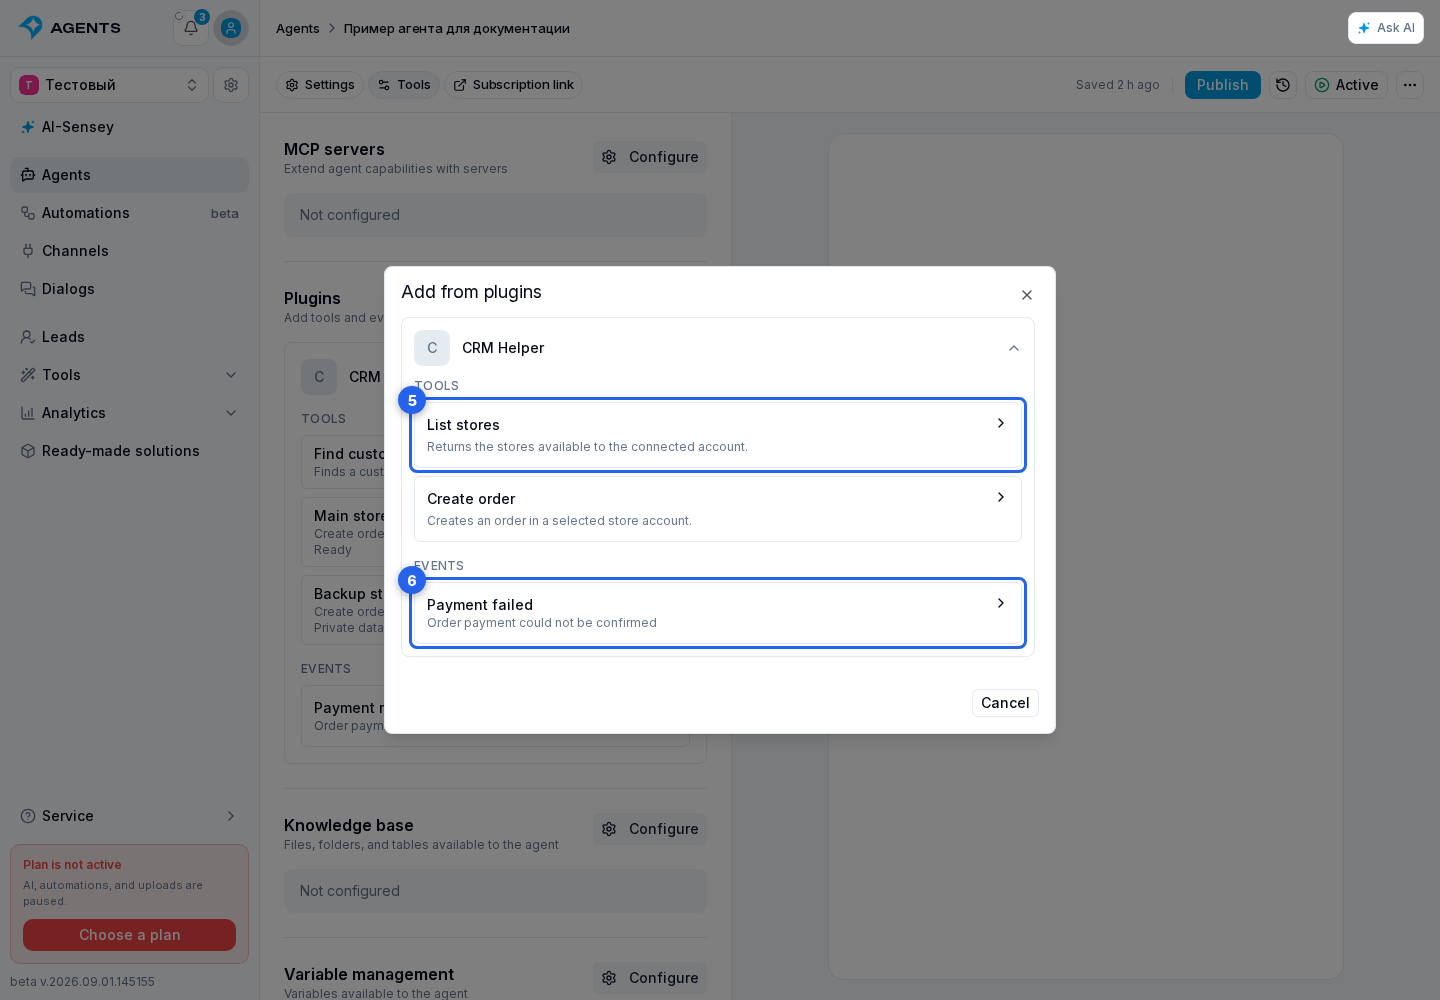
Before showing options, the cabinet refreshes installed plugin resources. If one MCP server does not respond, that group's tools show a temporary unavailability warning and are not offered for a new addition, while saved bindings remain on the agent. Events from other available plugins continue loading independently. Reopen the picker later; there is no need to remove and add saved instances again.
If the dialog says that all available tools and events have already been added, more choices appear after another plugin is installed, the developer publishes new resources, or an existing tool or event is removed. A tool that allows multiple additions remains available.
A tool or event can also be selected through the @ button in agent instructions: open Plugins and the required application. A regular available tool is added together with its tag. A configurable tool opens its configurator first, while an event opens the dialog describing its data; the tag appears after a successful addition. Next to the tag, clearly state when the agent should use that resource.
Regular tool
After selection, a regular tool is saved immediately as an agent tool; there is no separate Save button and the general agent draft does not need to be published. The remove action immediately removes it from the agent.
Configurable tool
After selecting a configurable tool:
- Complete the plugin form in the embedded configuration dialog.
- Select Add. The title and parameters are saved as a separate tool instance for this agent.
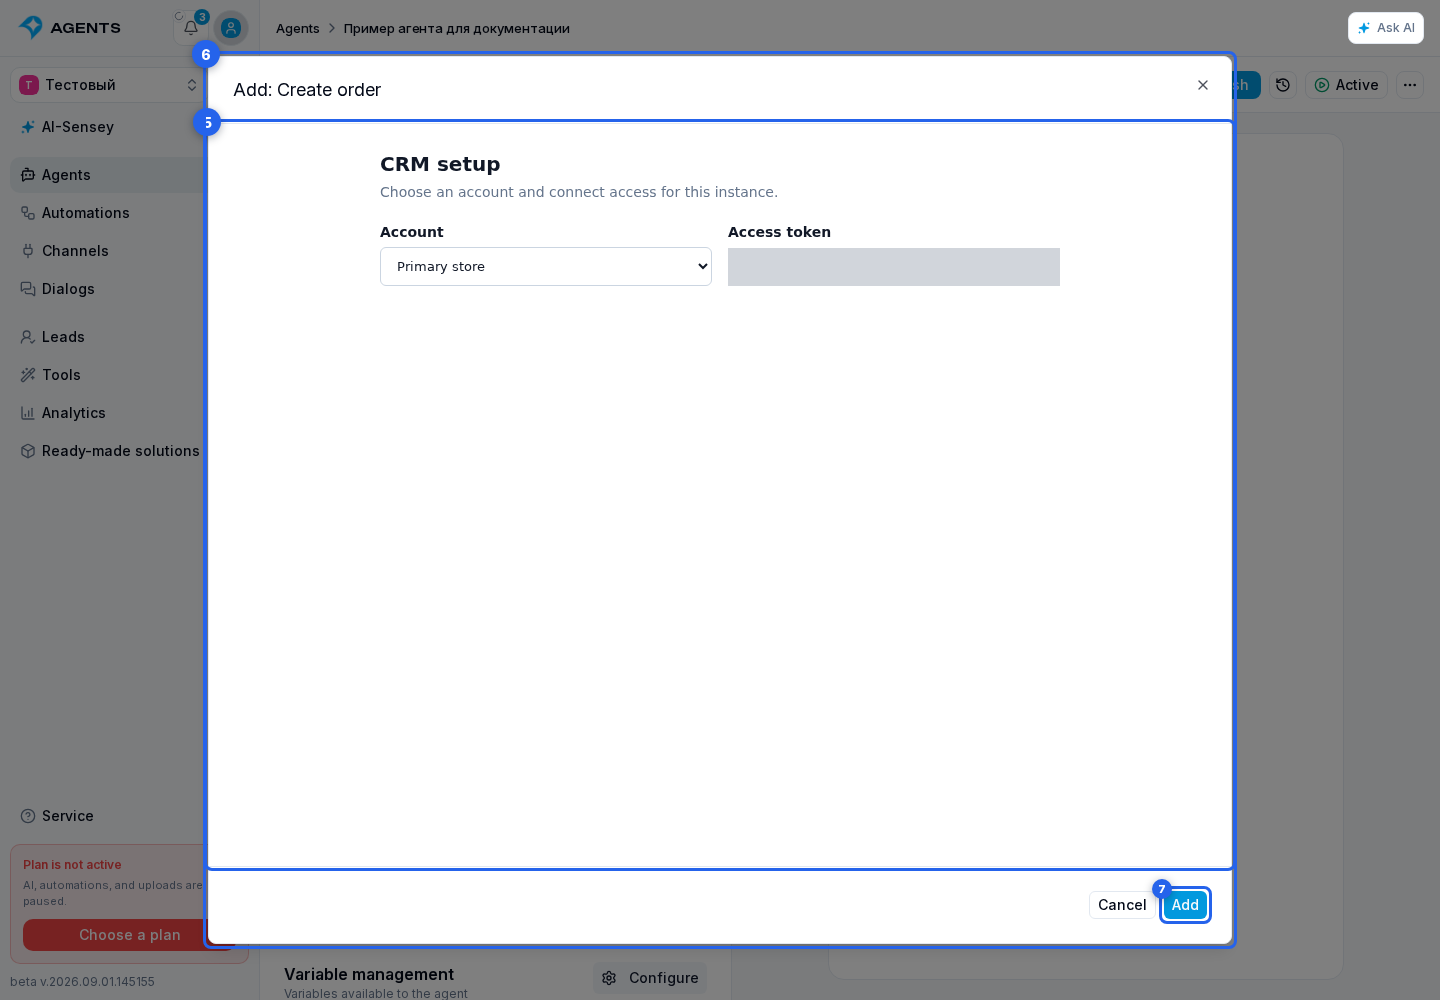
If selecting the button shows The app page is still loading, wait for loading to finish and select the button again. If the page is already visible but the application does not answer the save request within 20 seconds, retry; a repeated failure means the plugin configurator needs to be fixed.
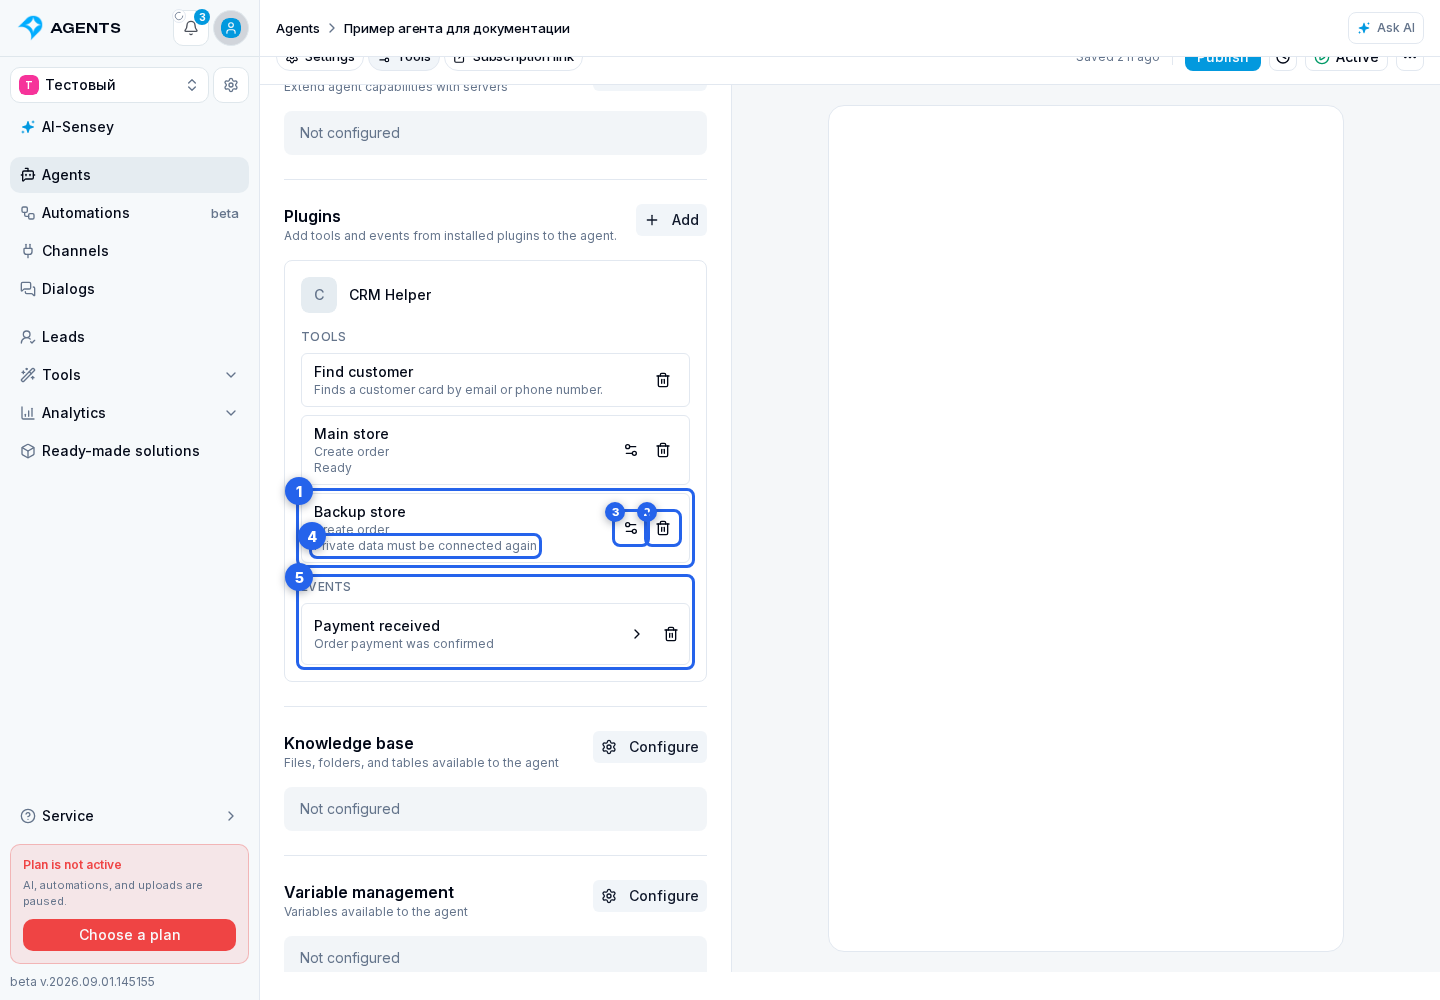
The plugin author decides whether the same tool can be added more than once. When allowed, create separate instances for different stores, accounts, or permission sets, for example. Each instance has its own title, settings, and private data. When multiple additions are not allowed, that tool disappears from the selection dialog after its first instance is created.
The configure instance action reopens the plugin form. The remove action immediately removes the instance from the agent, so use it only when the action should no longer be available.
An instance status of Ready means that it is available to the agent. Private data must be connected again means that the plugin is missing a required token, key, or other protected value. Open the instance settings and reconnect it. Until then, the agent cannot see or call that instance.
Review the tool data
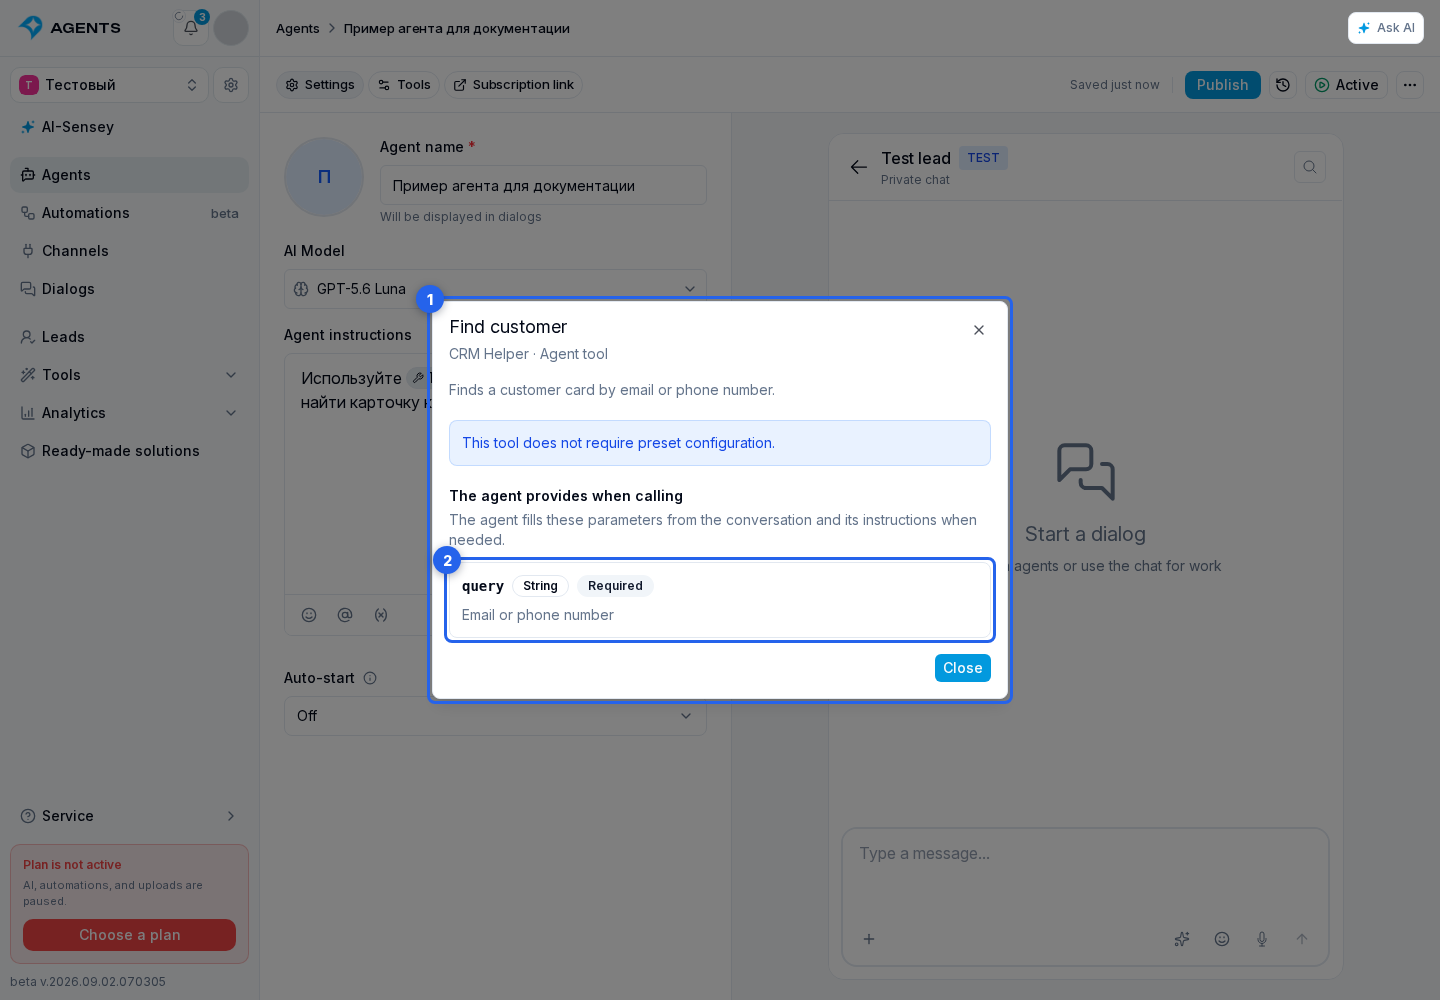
Select a tool tag that has already been added to the agent instructions. This opens the tool details dialog with the application name, the purpose of the tool, and the parameters it accepts at runtime.
Each tool parameter shows its technical name, type, whether it is required, its description, and allowed options when the developer supplied them. A regular tool shows its shared parameter set, while a configurable tool shows the set saved for that instance. If the application provides a configuration form for the instance, Change settings opens it again; Close returns to the instructions.
If Add is unavailable and the embedded-page message is shown, the application developer must fix the setup: a configurable tool requires an enabled embedded page that supports the configurator. The technical contract is documented in the Tools.
If the plugin, its tools, or the installation is disabled, the related actions become unavailable to the agent. This differs from a temporary MCP refresh error: saved bindings are not removed, and the cabinet shows a warning that the user should retry later.
Plugin event
Use the Events group to add events that the agent should respond to. A plugin can start the agent in the original dialog only for added events.
- In the shared add dialog, expand the required plugin and select an event.
- In the event details, review what the event means and which data the plugin will send to the agent. Then select Add.
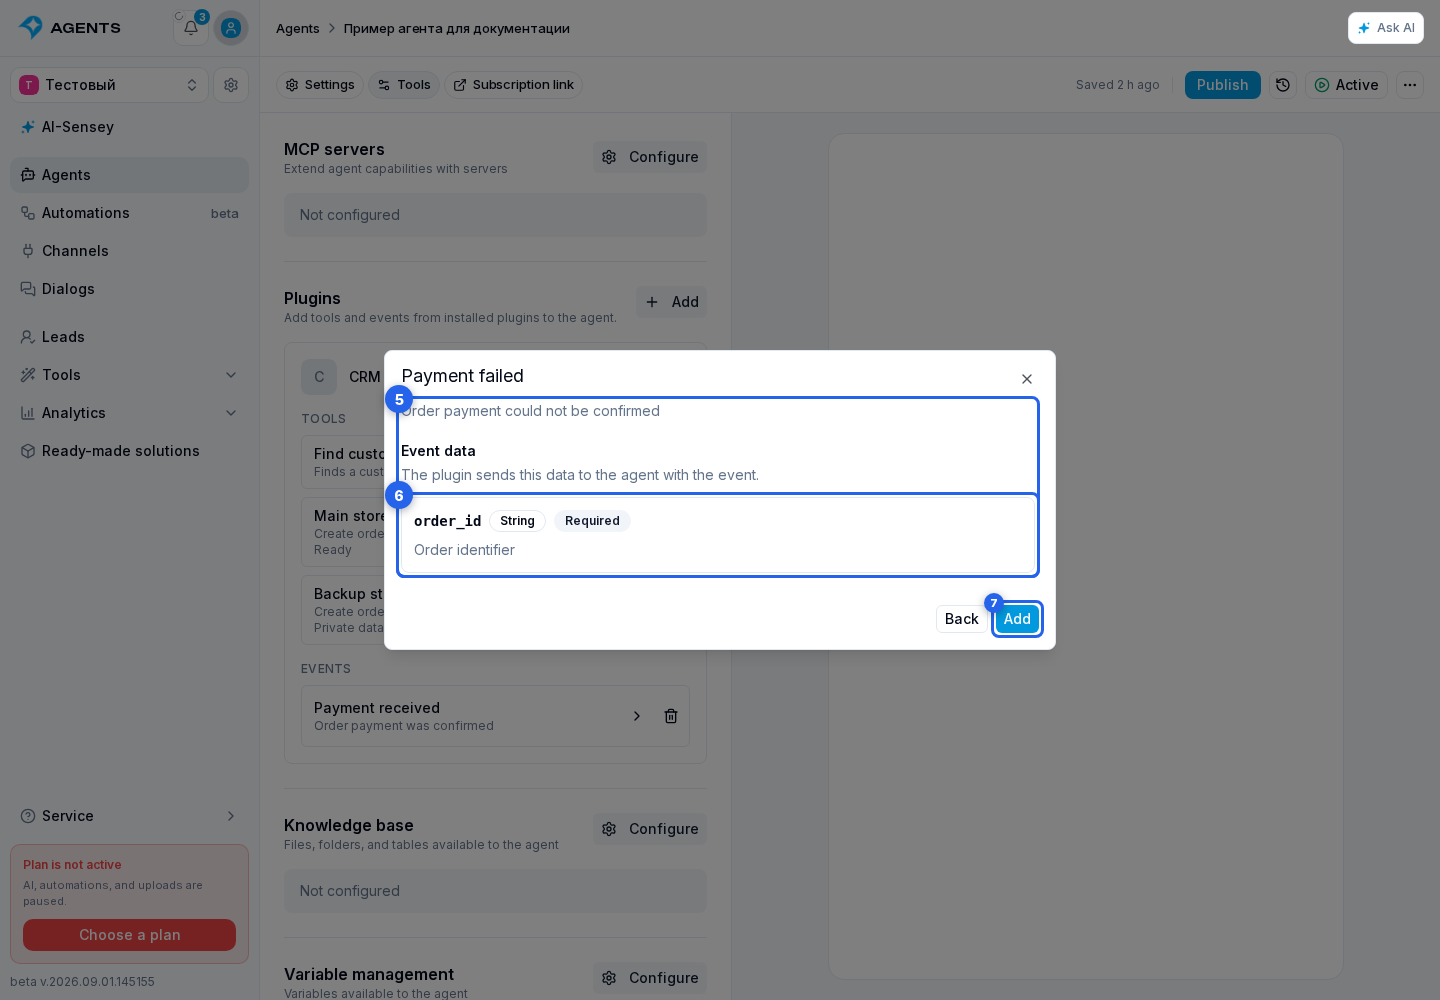
- The event appears in the plugin group as an agent subscription. Select it to view its details again. The remove action immediately stops this agent from responding to the event.