
Step Groups
Open the automation editor. Changes require permission to manage automations.
Select Multiple Steps
Use these shortcuts to work with a group of steps:
| Action | Windows And Linux | macOS |
|---|---|---|
| Select multiple steps with a marquee | Hold Shift and drag the marquee with the left mouse button | Hold Shift and drag the marquee with the left mouse button |
| Add one step to the selection or remove it | Ctrl + select the step | ⌘ Command + select the step |
| Move the selected group | Drag any selected step | Drag any selected step |
| Delete the selected group | Delete or Backspace | Delete or Backspace |
| Pan the canvas | Drag an empty area with the left mouse button | Drag an empty area with the left mouse button |
A step does not have to be fully inside the marquee: the editor also selects steps touched by it. After making a selection, drag any step in the group and the others move with it. Moving or deleting a group is saved as one operation, so Undo returns all affected steps. The Start step cannot be deleted.
Group A Section Of The Workflow
A visual group helps label and separate a large section of the workflow. It does not add a condition, change connections, or affect the step execution order.
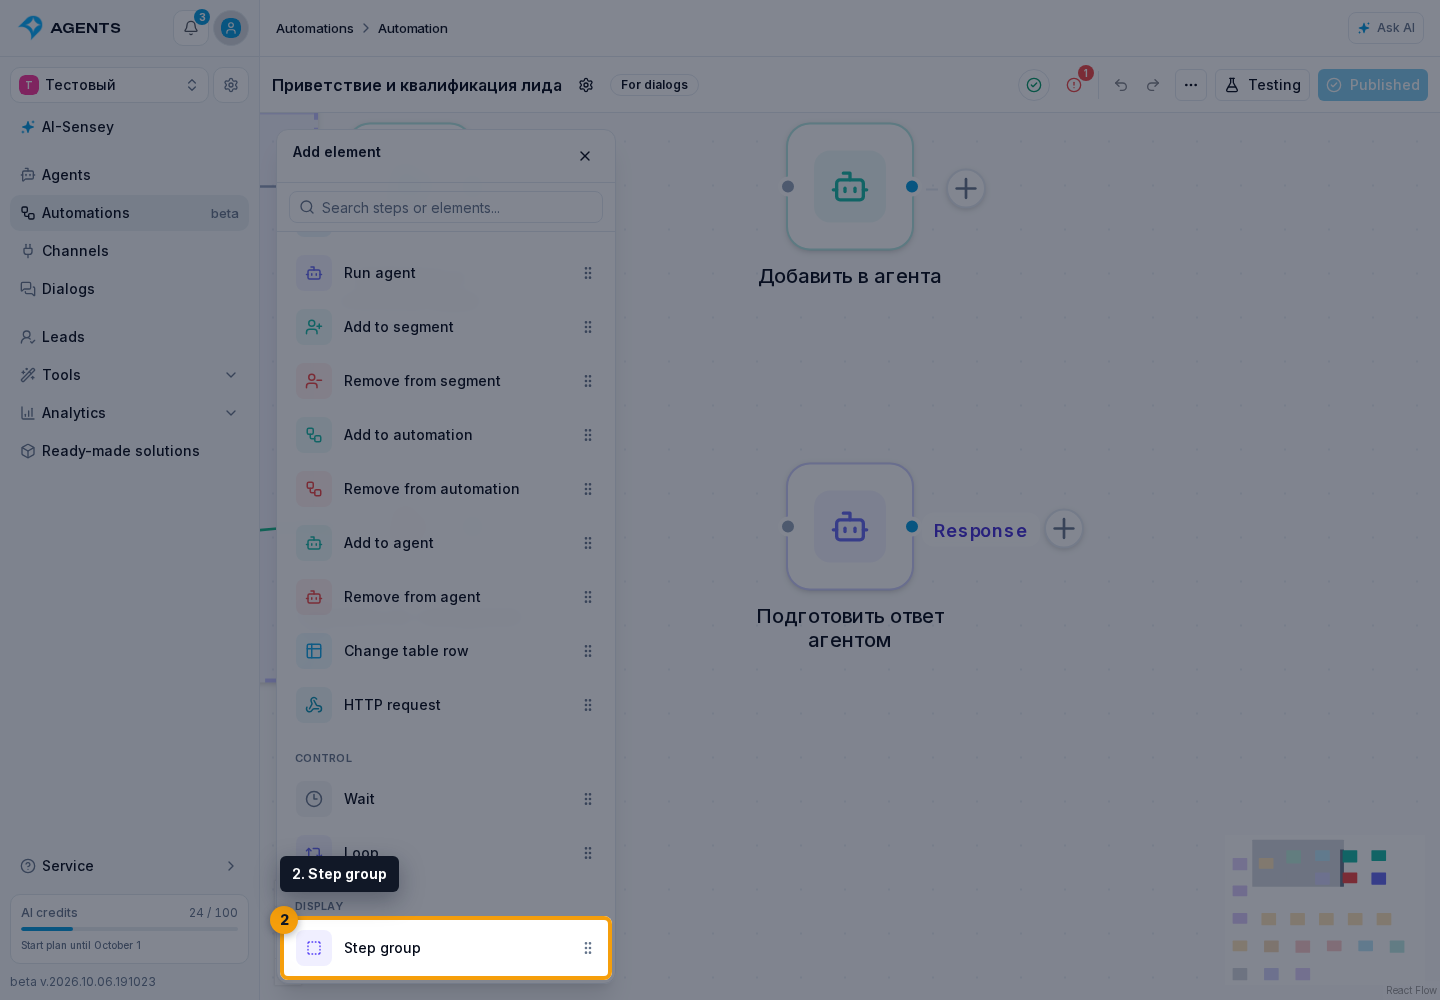
First select the required steps, open the element catalog, and choose Step group under Display. The editor creates a group backdrop around the selection. If nothing is selected, an empty group appears in the center of the visible workflow area; drag the required steps into it.
In the backdrop header, enter a title and, if needed, a short description. The change is saved after you leave the field; an empty title is not applied. The counter on the right shows how many steps currently belong to the group.
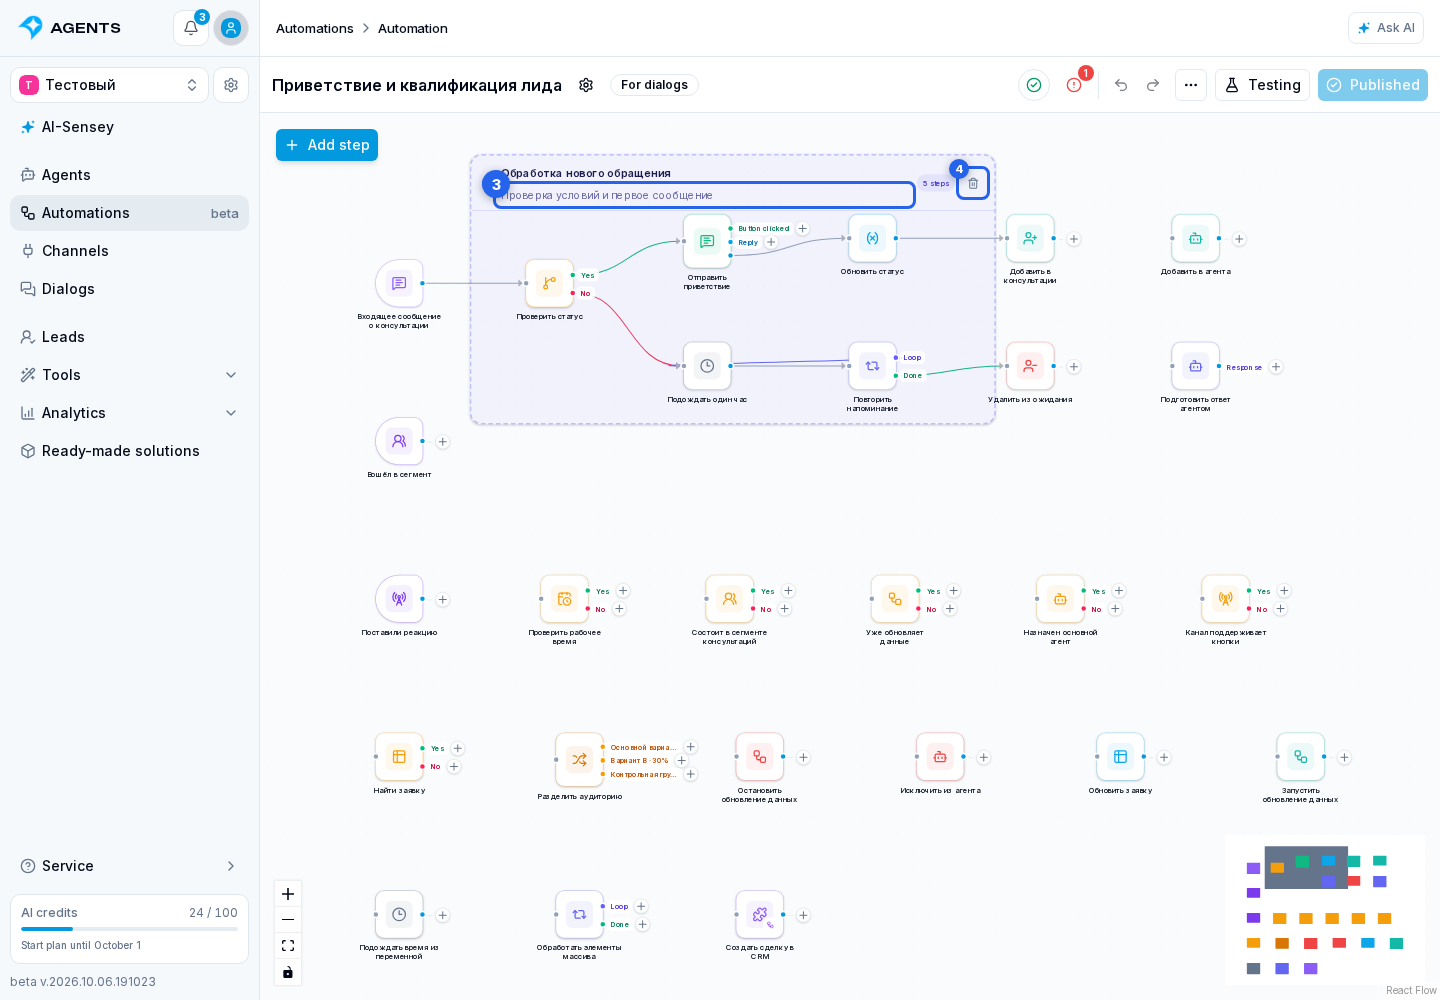
To change its contents, drag a step inside or outside the backdrop. A step can belong to only one group. A copy created inside a group is added to that group as well. A group can receive no more than 80 steps at a time: if more are selected, the editor adds the first 80 and leaves the rest unchanged.
Drag the group by its header to move the backdrop together with all included steps. After selecting the group, resize it using the handles on its edges. It cannot be made small enough to leave any included step outside.
The delete group button removes only the backdrop; the steps and connections remain in the workflow. You can undo the action from the top toolbar. Visual groups are saved with the draft and transferred when the automation is copied or shared.